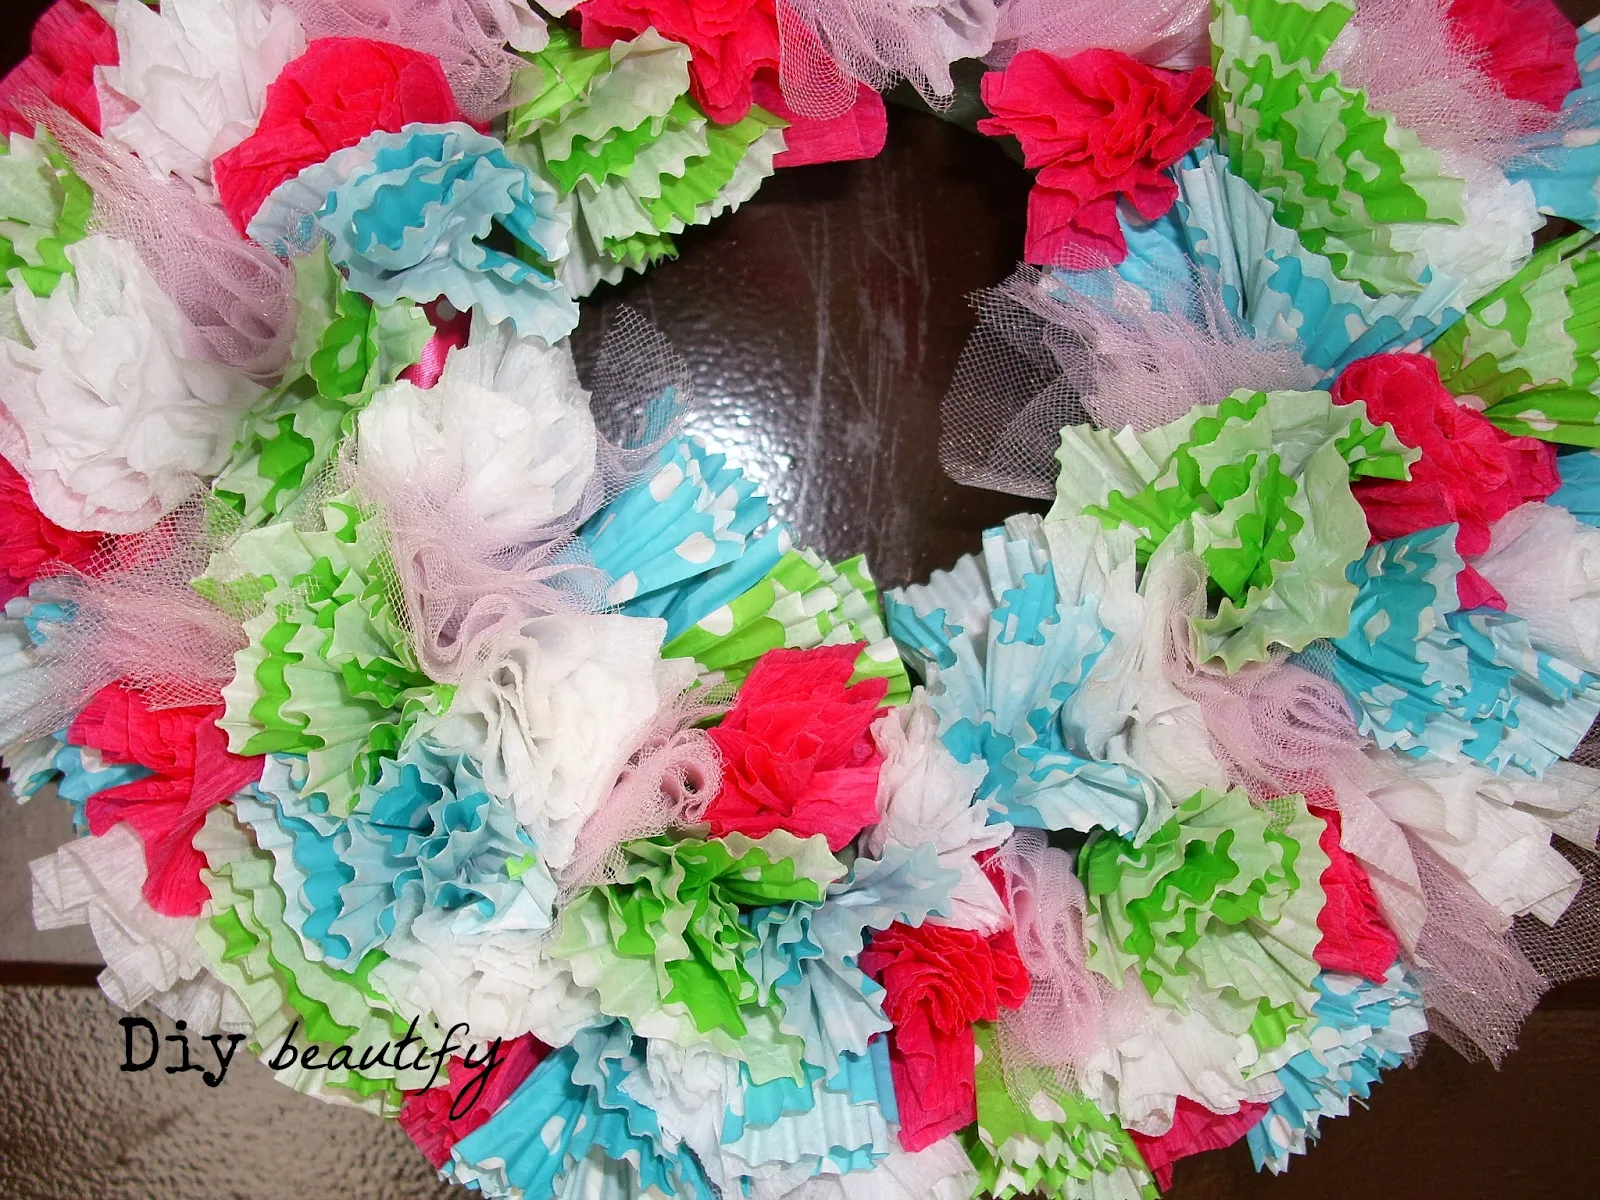
DIY Cupcake Liner Wreath
Easy Wreath for Birthdays or Spring
It's that time of year when Easter and Spring wreaths are starting to pop up everywhere. This Cupcake Liner Wreath was actually a party decoration I created for Little Diy's birthday party one year. It was a big hit with both her and her friends (her friend's moms too!!). The colors - and the concept really - are perfect for an Easter/Spring wreath so I thought I would share the simple steps with you.
This is such a simple wreath to make. I'm sorry I don't have a step-by-step tutorial to share, but I'll explain it the best I can. It's not difficult.
The base is a white Styrofoam wreath form. I used a small one, about 14" in diameter. You'll need a variety of cupcake liners in the colors and patterns of your choice. Michael's has some really cute ones in their $1 section near the front checkout and I'm sure Target's Dollar Spot would be a good place to check as well. I used some plain white ones as filler.
The very first thing is to wrap your ribbon around the wreath form. I used about 3 feet, which gave me plenty of ribbon to tie a nice bow and have tails for hanging down. Having the ribbon on before you begin gluing the liners on means you don't have to worry about adding one later. So you're really saving yourself the hassle of possibly forgetting and then trying to figure out how to fit a ribbon around all the cupcake liners :)
Have a glue gun heating. Take a cupcake liner and squish it so it comes together. I twisted the bottom and bent it flat so I had a little platform to put my glue onto and set that onto my wreath form. Hold it in place for a few seconds to let it set up. The key to getting the wreath nice and full is to put the liners as close together as possible. Fill up the entire front and sides so no white is showing. You want to offset the placement of the liners so that you don't have straight rows or too much of one color. Just eyeball it and it's sure to look amazing.
Once you get going, it goes very quickly. You'll notice that I added some light pink tulle in among my cupcake liners. I love the softness that tulle adds to projects, especially when they're for little girls :) I used the tulle that comes on a roll, cutting about 4" lengths, folded them in half, putting a little glue on the folded end and sticking that in among the liners, using the end of a pencil to get it down in there good.
The last thing that I added was a pick that I made to announce the birthday girl. It's just a white craft stick glued to the back of a chipboard shape. I first glued scrapbook paper to the front of the chipboard (it just looks white in the picture but it's a soft pink graph paper). Then I added stickers and polka dots with a marker. It was super easy to just poke down into the Styrofoam.
This cupcake liner wreath would be a really cute addition to a Spring or Easter door as well. What about a little chalkboard pick that says, 'He is Risen'? Or a bunny with a carrot and 'Hop On In'. There are a lot of cute sayings out there.
You can have this easy DIY cupcake liner wreath done in an afternoon and hanging on your door! Let your imagination guide you - that's half the fun :)
bringing beauty to the ordinary,
Proudly Featured at:
DIY Sunday Showcase
I Party With:
It's a Spring Thing Link Party
DIY Sunday Showcase at Pink When
Link Party Palooza at Tatertots and Jello
What to do Weekends at Craft a La Mode
Feathered Nest Friday at French Country Cottage
The Inspiration Exchange at Ella Claire Inspired
Frugal Crafty Home at Carrie This Home


Comments
Post a Comment
Your comments are like sunshine and chocolate! Thanks for taking the time to leave a nice one ;) I read all comments and love to respond if you leave your name and email! Otherwise, please look for my response under the post where you left it!