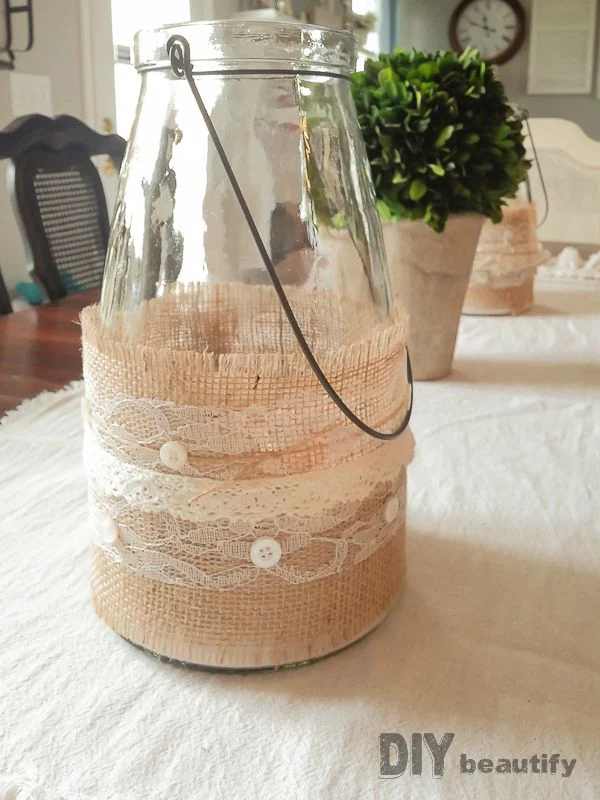
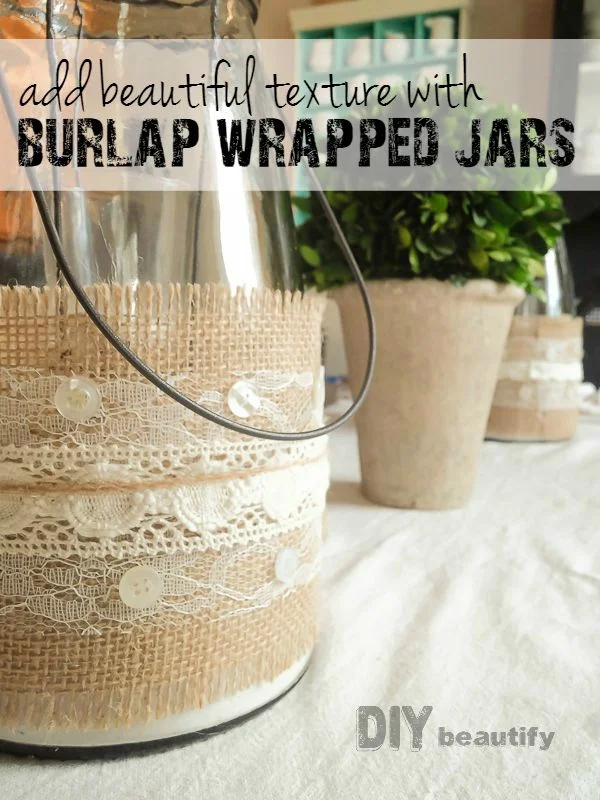
How to Make Burlap and Lace Wrapped Candle Holders
Combining textures, not only in home decor but also in my style, is something I love to do. When I was a little girl spending a day with my grandma (Nana), a visit was never complete until I'd gone through her button box. I loved running my fingers through all the different buttons!
It was just a simple cardboard box with a lid, but it was filled with buttons of all shapes, sizes and colors! I loved sifting the buttons through my fingers and looking for that special one that I hadn't noticed yet. I grew to love buttons.
I'm not sure what happened to Nana's button box after she passed away (it was probably the one thing of hers that I wish I had today), but I'll never forget those long summer days of sorting and playing with buttons.
I have a pretty good button collection of my own, sorted into sweet glass jars. I'll have to share it with you some day.
Buttons... as well as jars, burlap and lace are a few of my favorite things and I've combined them into the project I want to share with you today!
You may have seen similar items popping up in home decor catalogs and stores.
Don't pay top dollar when it's so easy to make these pretty burlap and lace wrapped jars yourself!Affiliate links included for your convenience. You can read my full disclosure policy here.
Supplies Needed:
- candle holders or glass jars of choice (the ones I'm using are from Kirklands)
- burlap ribbon or even regular burlap by the yard
- lace trim
- buttons
- hot glue
- scissors
What to do:
Burlap is the base so measure your jar where you intend to attach the burlap and cut your burlap 2" longer.
Note: wide burlap ribbon would make this project super easy; I only had a piece of burlap, so I cut it down to size. (Of course, now that this project is complete, I just found pearl-trimmed burlap ribbon at Walmart, which would have been stunning!)
Hot glue the burlap to your glass jar. I didn't add a lot of glue, just where the burlap started, about halfway around and again at the end when I overlapped my burlap onto itself. I wanted it to be easy to remove if I ever wanted to.
Repeat this step with your lace trim of choice. You'll see that I added a narrower strip of lace as a third layer. This is totally optional, do what you like best.
Tip: just remember to begin and end all your trim at the same place; that way you have a 'back' and a 'front' to your jars and you can turn them to feature their best side!
Tip: just remember to begin and end all your trim at the same place; that way you have a 'back' and a 'front' to your jars and you can turn them to feature their best side!
They look awesome as is, but I wanted to add some buttons to make them even better.
Add buttons with hot glue. I kept mine evenly spaced and did two rows, offsetting them on the bottom row.
In addition to collecting buttons, I also have a large shell collection...and sand!
Really!
After spending 7 years in Florida...how could I move away without taking a little bag of Siesta Key Beach with me (they have the finest sand of any beach I've ever been on!)
You can fill your jars with whatever you'd like, but for the rest of the summer I wanted sand and shells so that's what I did.
I do realize that you don't really see the sand and shells unless you're looking into the jars. That's okay with me..my candle holders taper at the top so it would have been difficult to get my burlap to look right if I had put it in the middle. If you have glass jars or candle holders with straight sides, you can glue the burlap around the middle and still be able to view any decorations inside the jar itself!
I will be using these burlap and lace wrapped candle holders on my mantle, my piano top, the console table...they are a great accent to use anywhere.
But for today, I've cleared the clutter off my dining table and set them there. Maybe their beauty will enable the five of us to keep our table clear...I did say maybe!
Here's what it usually looks like...
I really love the simplicity of this project. It's easy, inexpensive...and looks fabulous!
Combining textures like burlap, lace and buttons adds warmth and interest to otherwise bland glass vessels.
Of course, the fact that they are glass means if I ever tire of the burlap and lace, it will be easy to remove!
Don't forget to head over to Designer Trapped right now to see what else I made from lace...and leather too!
bringing beauty to the ordinary,
Featured at: Crafty DIY Home Decor, Shabby Art Boutique, Maison de Pax, Canary Street Crafts, Dwell Beautiful
Sharing with: The Pin Junkie, Designer Trapped, French Country Cottage, Design Dining and Diapers, Confessions of a Plate Addict, Maison de Pax, Addison Meadows Lane, The Turquoise Home, Shabby Art Boutique, Tatertots and Jello,


This one has to be pinned! Just lovely! Thanks for the great tutorial!
ReplyDeleteThank you so much Mary, for the Pin and your sweet comments! I hope you try this project!
DeleteI love these! Pinning to my DIY vintage burlap wedding board now - these would make great DIY centerpieces for a frugal bride! I made some similar ones for my wedding! Thanks for the great tutorial.
ReplyDeleteThank you Chelsea! They are perfectly frugal and would be awesome for weddings!!
DeleteToo sweet Cindy ♥ I'm delighted to be featuring this project on Shabbilicious Friday tomorrow.
ReplyDeleteHugs ~ Kerryanne
Cindy, I absolutely adore these and your beautiful table setting. This is just my style. Pinned! And, following. :) I would love it if you would come share this with my readers tonight @ the What to do Weekends party!
ReplyDeleteTheresa from Shoestring Elegance
http://shoestringelagance.blogspot.com/?m=1
Thanks so much Theresa!
DeleteCindy, this is such a good look. Thank you. Did you make the table runner as well? If so where do I find your instructions? That, along with the jars, is stunning. Charlotte Coble. chc525@att.net
ReplyDeleteCharlotte, thank you for your sweet comments. Yes, I did make that table runner. I don't have it on the blog because I made it before I started blogging. However, it is made from a canvas drop cloth and the ends have ruffled layers that I added with my sewing machine.
Delete