DIY Mini Terracotta Clay Seedling Dishes
Follow this step by step tutorial to make a set of miniature terra cotta seedling dishes from air dry clay. Stack them, decorate with them, or pile them in a bowl or cloche to show them off!
This post may contain Amazon or other affiliate
links. As an Amazon affiliate I earn from qualifying purchases.
My full disclosure policy can be found here.
Everything is cuter when it's smaller, and these tiny terracotta dishes are no
exception! I ordered a set a couple years ago from
Cultiverre.com
but I haven't seen them since. Antique Farmhouse sells a large set of
tiny terracotta dishes with crate, but it's often out of stock, which is why I decided to come up with a DIY
dupe so anyone could make their own set of adorable, stackable mini seedling
pots anytime!
You are not going to believe what I used to shape these little DIY clay
dishes, keep reading and I'll dish all the details! If you're interested in
the
homespun fabric and wood bead sunflowers, check out that tutorial here.
How to make DIY terracotta clay seedling dishes
These little DIY clay dishes are not perfect. They have a handcrafted look and
they're quite simple to do! You might already have most of the supplies at
home. Here's what you'll need.
Supplies
- terracotta colored air dry clay (I used this brand)
- cling wrap
- small sauce bowl like this
- a couple of plastic eggs (I raided my Easter stash)
- disposable gloves*
- plastic spoon
- something to protect work surface
*
this clay will stain everything it touches, which is why I highly recommend
wearing disposable gloves (I used multiple pairs as I was making these
terracotta pots)
Below are the steps that you will take to form these little terracotta bowls.
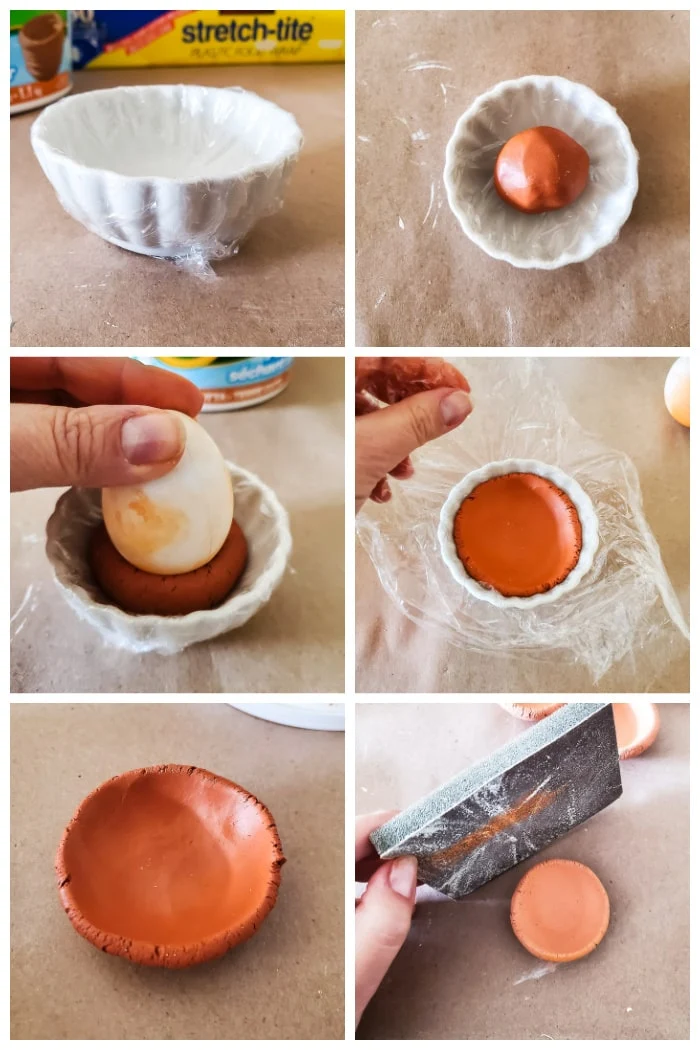
I've illustrated the steps below.
Step 1 - cover sauce bowl with cling film
Take a moment to line a sauce bowl with cling film. The inside is what
matters, so be sure to press out any air bubbles before wrapping the film
around the dish.
Step 2 - work a ball of clay
Use the disposable spoon to scoop out a ball of clay. How much you need will
depend on how big your bowl is, how thick you make them, etc. Start with about
a golf ball sized ball of clay, and make adjustments after you experiment.
Work the clay in your hands to soften it up, forming a ball. This was my first
time working with the terracotta clay, and I quickly realized it was going to
stain my hands something awful, so I wore disposable gloves for the rest of
this DIY.
Step 3 - press clay ball in bowl
Place the clay ball in the center of the bowl. Take the plastic egg, and press
it down into the clay, rotating it sideways until the clay forms the shape of
the bowl. You'll need to be gentle, but firm at the same time if that makes
sense!
Press hard enough to shape the bowl but if you press too hard, the clay will
become too thin and won't hold its shape.
Tip: It helps to have more than one egg to help shape the bowls; I found the clay started to stick to the egg after making a couple of bowls.
Step 4 - lift cling wrap to remove
Remove the clay bowl by lifting the cling wrap. Be gentle, as the clay is soft
and fragile and can easily warp.
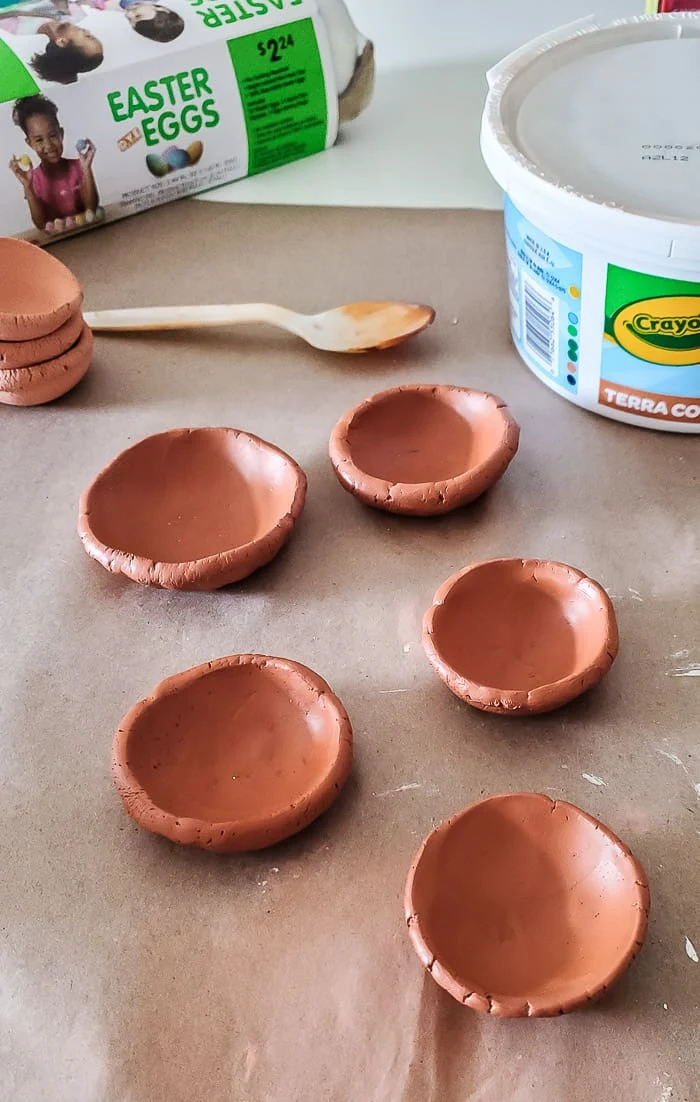
Step 5 - dry
Set the clay dishes aside to dry. This may take anywhere from 12-24 hours, or
more, if the clay is thick in any areas. After 12 hours, flip the bowls over
to dry the bottoms.
Step 6 - moisten cracks
The edges of the terracotta bowls will have some cracks. While the clay is
still soft, you can moisten your finger and gently rub it along the cracks to
smooth them out. We'll take care of the rest in the next step.
As the little clay dishes dry, they will lighten in color.
Step 7 - sand
When the clay dishes are completely dry, take some sandpaper (or a
sanding sponge) and sand the edges to further smooth the cracks. Start with a lower grit
like 80, and then finish off with a fine grit like 220 to get a really smooth
surface.
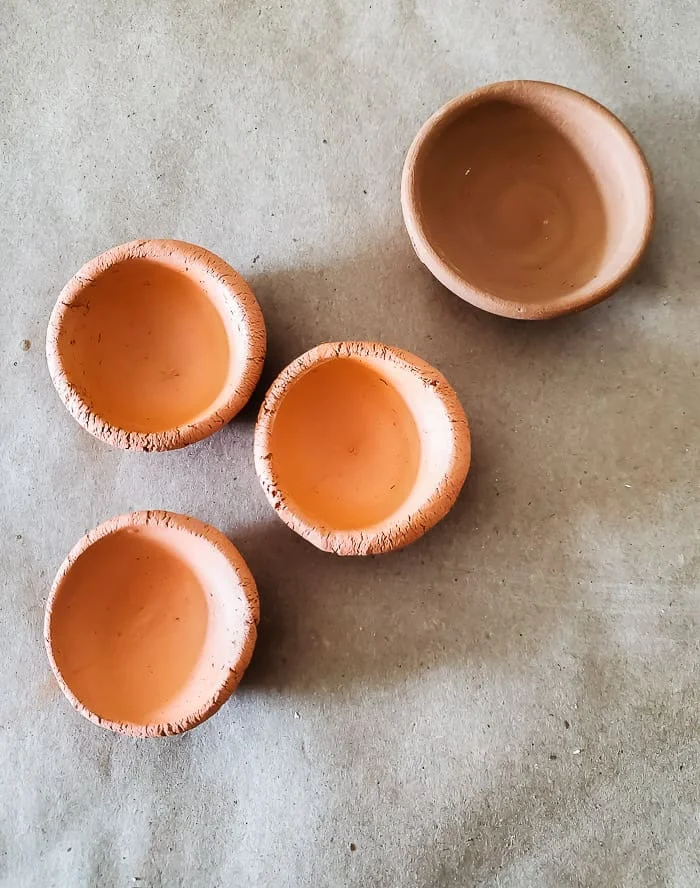
Here are my three handmade terracotta bowls next to the one I bought. You can
see that one edge is a little thicker than the other, and I haven't sanded the
edges yet. They're far from perfect, but they are an inexpensive and sweet
solution if you want to make a set of your own mini terracotta seedling pots!
How to decorate with terracotta seedling pots
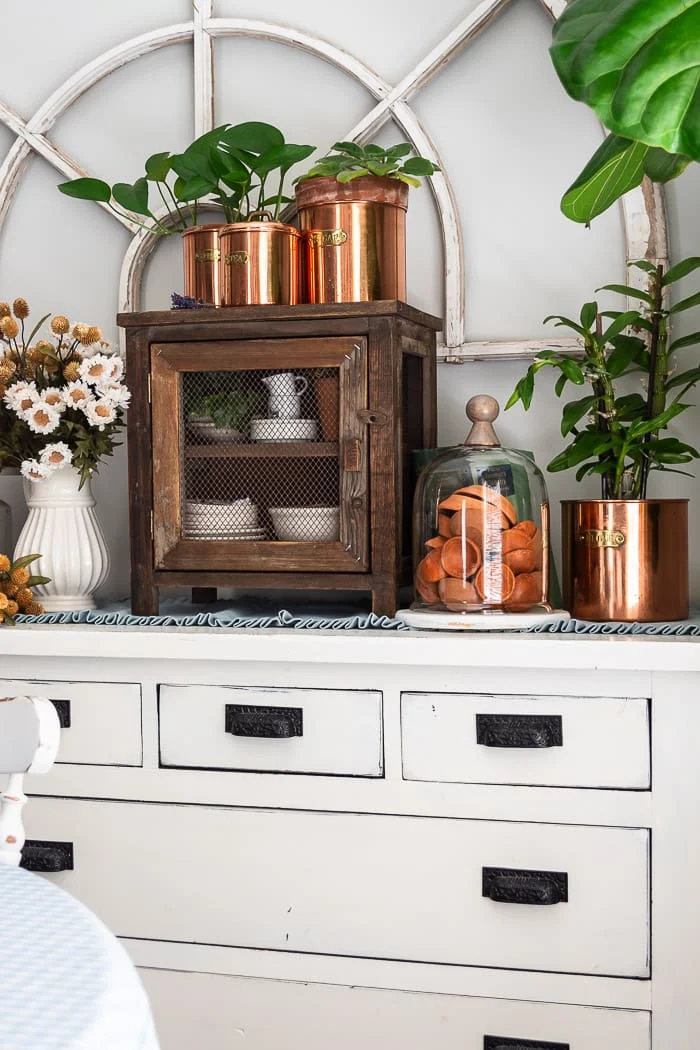
I love to create stacks of these mini dishes and use them in my hutch with
white ironstone. They are wonderful for Fall decorating because the warm
colors work so well with the colors of autumn.
Terracotta is one of those colors that plays nice with most other colors! I
paired it with some copper pieces and some early Fall stems on my coffee bar.
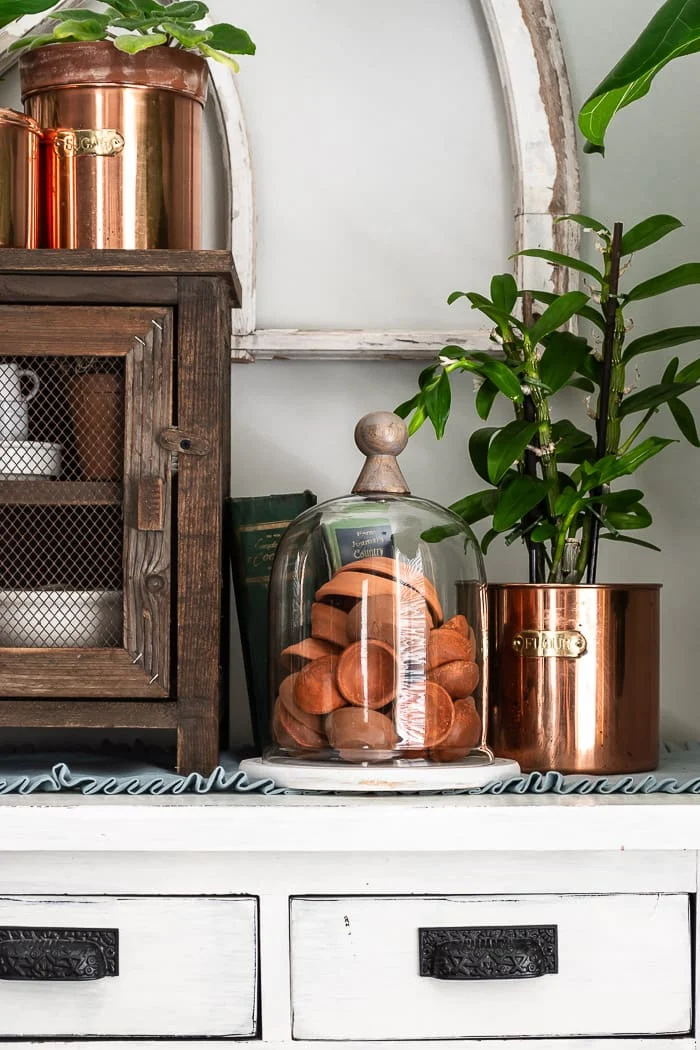
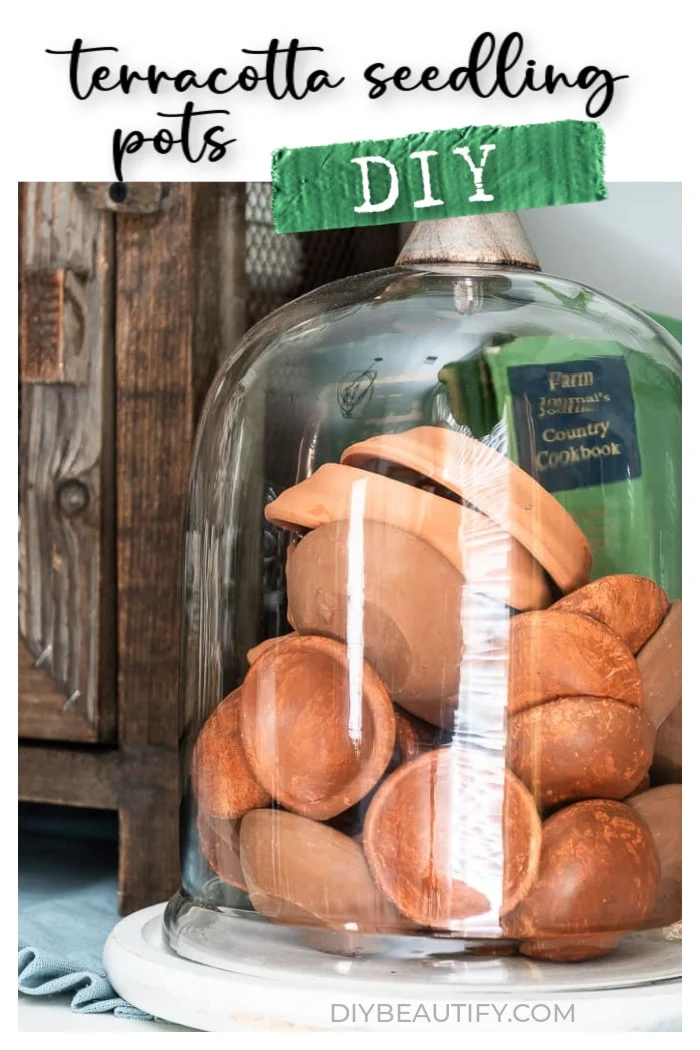
Adding stacks of these mini dishes to a glass cloche is an interesting way to
display them.
I mixed my terracotta pots in with some small saucers to fill up the cloche.
I am loving these warm colors paired with blue, and plan to continue that with
my fall decorating this year.
Terracotta seedling dishes make the perfect little vessels for a tealight
candle, and I love them paired with my
DIY chunky drippy candles
that I made last year.
You can use these small handcrafted bowls in your craft room to corral small
supplies, keep one beside the sink to hold your rings. Oh the possibilities!
Just a note: you do want to be careful not to let these air dry clay bowls sit in water, otherwise the clay will melt. I found this out the hard way when I made my terracotta clay herb markers.






Those are adorable and I love terra cotta!
ReplyDeleteI absolutely LOVE these! I came across a different post of yours on Pinterest, but gave your blog a look through and this one especially caught my eye bc I picked up a bag of mini clay pots at the thrift shop & never wanted to use them in anything, lol, because I didnt know where to find more & know that terra cotta is not only popular, but it seems to have greatly risen in price, lol! I also recently bought terra cotta clay to make something else (a different brand that was prob more expensive than the one you used bc I forgot all about the Crayola one even though Ive used it before, sigghhh!) & it never even crossed my mind to MAKE more little pots! Lol, funny how the obvious can be right in front of you, but you just don't see it! Looking forward to scrolling through more of the blog & def signed up for emails =)
ReplyDeleteHappy to inspire you and welcome to my community!
Delete