Wood Slice Pumpkins
DIY Wood Slice Pumpkins
If you were driving down Gallatin Rd in middle TN about half past two on a steamy day this summer.....


....you
may have noticed two gals rolling, lugging, huffing and straining to
lift two large and heavy logs into the trunk of a silver Honda Accord
Coupe.
That was me...and my friend Jessica!
We
got a lot of strange looks and possibly a whistle or two! I know we looked
bizarre! Those logs were heavy, awkward, and hosting a few tiny friends
(hopefully the ants were all there were, lol).
Our husbands think we're lost our marbles (and you might too)...but we had plans for those logs...wood slice diy projects! And we thought we were very clever to find logs for free because have you seen the price of wood slices at Michaels???
They're about $15 for a medium one.
Which is ok if you only need one and are using a 40% off coupon.
Which is ok if you only need one and are using a 40% off coupon.
BUT, I had in mind a few projects that would require a lot of wood slices!
It just involved a bit of sweating, grunting, lifting and embarrassing ourselves on a major thoroughfare!
Oh yeah, and convincing Mr DIY to rev up the chainsaw - wink!
But the result was these adorable Wood Slice Pumpkins.
This post contains affiliate links, which are always products I personally recommend. Thanks for supporting my blog!
This post contains affiliate links, which are always products I personally recommend. Thanks for supporting my blog!
After
sanding all the splinters and rough edges from the flat side of the wood slices, I painted it with regular old acrylic paint and once dry used a paint dauber to add dots. These little sponge tools make uniform polka dots SO easy! I then waxed and buffed it for some sheen.

To help the stem stand up better, I drilled a small indentation in the top of the wood slice and then used both hot glue and E-6000. The combination helps the stem to stay put immediately (hot glue) but gives it added strength and durability for the long haul (E-6000).

I had mismatched chipboard letters that spelled 'FALL', so I painted them so they'd match and glued them to the pumpkin. I finished it off by tying burlap ribbon and a pretty green rose ribbon around the stem.
 .
.

To help the stem stand up better, I drilled a small indentation in the top of the wood slice and then used both hot glue and E-6000. The combination helps the stem to stay put immediately (hot glue) but gives it added strength and durability for the long haul (E-6000).

I had mismatched chipboard letters that spelled 'FALL', so I painted them so they'd match and glued them to the pumpkin. I finished it off by tying burlap ribbon and a pretty green rose ribbon around the stem.

The 'BOO' pumpkins were created the same way, but I made a word template using my Cricut Diecut Machine and painted the letters onto the slice.
Some of them stand fine on their own, the other ones need a little help with a picture stand.


Who knew a wood slice could look so cute, right?

I made a few other things out of my wood slices, which I'll show another day.
Have you created anything using wood slices?

My Wood Slice Pumpkins and I are participating in a
blogger challenge/blog hop called #MakeIt. A group of fabulous bloggers
and I have teamed up to work on monthly seasonal projects. This month
is all about PUMPKINS! Take a look at all of the other pumpkin projects below
and visit some of the other blogs to see how they were created.
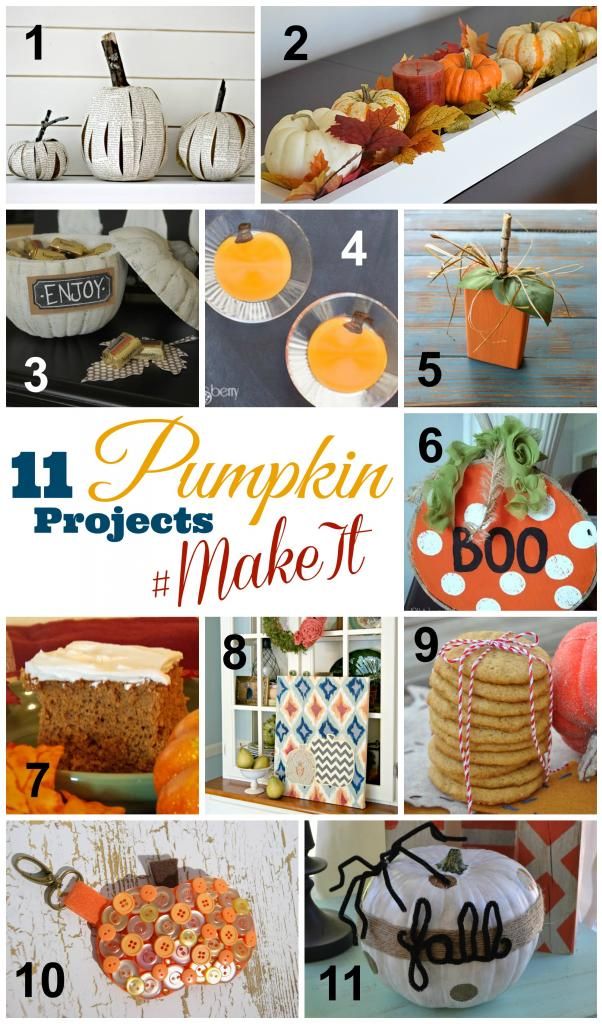
Make sure you check out the other projects in this roundup featuring PUMPKINS!
bringing beauty to the ordinary,


Sharing with:
Delineate Your Dwelling Link it or Lump it, Confessions of a Plate Addict The Scoop, Yesterday on Tuesday Project Inspired, The Dedicated House Before and After Wed, From My Front Porch to Yours, Elizabeth and Co Be Inspired, The Happy Housie Work it Wednesday, Maison de Pax M&MJ A Peek Into my Paradise Happiness is Homemade French Country Cottage Feathered Nest Friday, The Pin Junkie, Tatertots and Jello Link Party Palooza, 3 Little Greenwoods Show Me Saturday, PinkWhen DIY Sunday Showcase, Designer Trapped Think & Make Thurs, Setting for Four Monday Funday, The SITS girls Sharefest, Upcycled Treasures The Makers Link, Living Well Spending Less Thrifty Thursday, Design Dining and Diapers Inspiration Gallery, Tatertots and Jello Link Party Palooza,

All I can say is....... ADORABLE!
ReplyDeleteThanks very much Lindsay ☺
DeleteVery Very Very Cute! I just love it to pieces!
ReplyDeleteAw, thanks so much Holly☺
DeleteWow! These look great! My gosh everyone is adding to my "to-do" list. Although we have enough trees to do this without the gathering along a street! lol Have a great week Cindy!
ReplyDeleteHaha, well if you do decide to do it, there is a solution you can get to soak the wood in so it won't split. Unfortunately I've experienced some of that 😠
DeleteGo you; making your own wood slices! We have some old logs and I've thought about it, but we don't have a chainsaw. Boo. - Anyway, great projects. My favorite is the Boo pumpkin, but both are awesome.
ReplyDeleteAw, thanks so much Ginger!
DeleteCute pumpkins! I love how you made your own wood slices - so much cheaper than buying them at the craft store!
ReplyDeleteThank you Bonnie!
DeleteAt first I thought, "What?" Then I finished reading your post and saw the finished project - totally cute!
ReplyDeleteOh, how funny. I lived a very long time ago in Hendersonville. That must have been quite a site, but I don't blame you. I saw a whole bunch of neglected wood pallets one day on the side of a major road and I really wanted to stop. The prices are insane. Your project turned out lovely. The polka dots are so cute!
ReplyDeleteSo cute! I have a friend that is a chain saw queen. lol! She has cut us a chicken and a watermelon slice out of logs. What we won't do. lol!
ReplyDeletehugs,
Jann
Seriously adorable! Thx for sharing at Project Inspire{d}... featured you this week!
ReplyDeleteThis is a wonderful project, featuring you tomorrow at WIW:-) Hugs!
ReplyDeleteI love this project. Something I could do with old wood logs we find. Would love if you shared this on the Merry Monday link party.
ReplyDelete