How to Craft Primitive Rustic Fabric Acorns
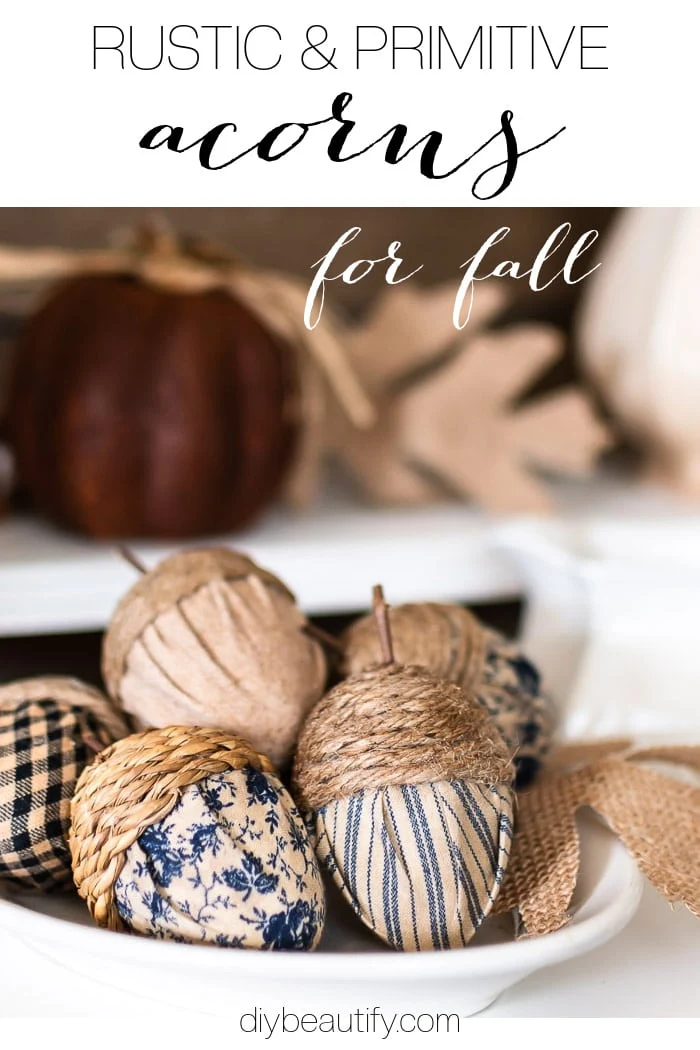
Turn a few plastic eggs into the cutest primitive and rustic fabric acorns! An easy Fall craft and affordable addition to your seasonal home decor.
This post may contain Amazon or other affiliate links. As an Amazon
affiliate I earn from qualifying purchases.
My full disclosure policy can be found here.
If you're looking for an inexpensive Fall craft, this is it! I challenged
myself this year to spend nothing on Fall supplies because I already have so
much. I can't wait to show you how easy these darling rustic acorns are to
craft!
Why acorns?
Looking back at 10 years of Fall crafts and tutorials, I realized that most of
my Fall decor focuses on pumpkins.
See my entire catalogue of Fall ideas here. I wanted to broaden my horizons and make something different for my home
this season. Acorns are popular around this time when the weather starts to
cool off and the oak trees drop their leaves. We don't have any large oaks
around us, so I wasn't able to scavenge any acorns and decided to turn my hand
to crafting some large fabric acorns that have a primitive, rustic vibe.
How to Make Rustic Fabric Acorns
While these acorns are easy to make, you will want to be sure to read my Tips
below for the best results!
Supplies Needed
- fabric remnants (I used homespun check*, coffee stained drop cloth** and some primitive blue fabrics in a stripe and floral)
- plastic eggs (I used the solid ones that Walmart sells at Easter)
- jute twine, rope, cording (you could even use brown leather cording)***
- hot glue
- small twigs
- fabric scissors ( these are my favorite and they're under $8)
- a 4" round object to trace
- needle and thread (optional)
*you can purchase packs of Fall homespun fabrics that are 5" square
here
**follow the directions in
this post
to stain drop cloth with coffee and cinnamon
***if you're a crafter, you likely have several rustic twine options on
hand already, if not, visit the dollar store to see what they have!
Step 1 - cut out fabric (all steps are illustrated below)
Trace 4" circles onto the backs of fabric, and cut out with fabric scissors.
You'll need one circle per egg.
Step 2 - stitch fabric (no-sew optional available!)
If you're handy with a needle, thread a needle with thread (color doesn't
matter because it will be covered with twine), and stitch a loose running
stitch around the circle, leaving about 3" at each end (don't knot).
Optional - If you'd rather not sew, that's no problem! Just skip this step
and pick up in the next step!
Step 3 - glue fabric to egg
Slip the pointed egg of the egg into the stitched and gathered fabric (pull
the ends together to tighten the stitches and knot) evenly around the egg. Use
a few dabs of hot glue to secure the fabric to the egg, pulling fabric taught
and smooth as high up as it will go. The tighter the fabric, the more of an
acorn shape your egg will have.
Optional - If you didn't stitch the fabric, place a drop of hot glue on the
point of the egg and stand it in the middle of the fabric circle. Use your
fingers to pull and gather the fabric up the egg, gluing as you go to secure
fabric in place. Try to evenly space gathers as much as possible.
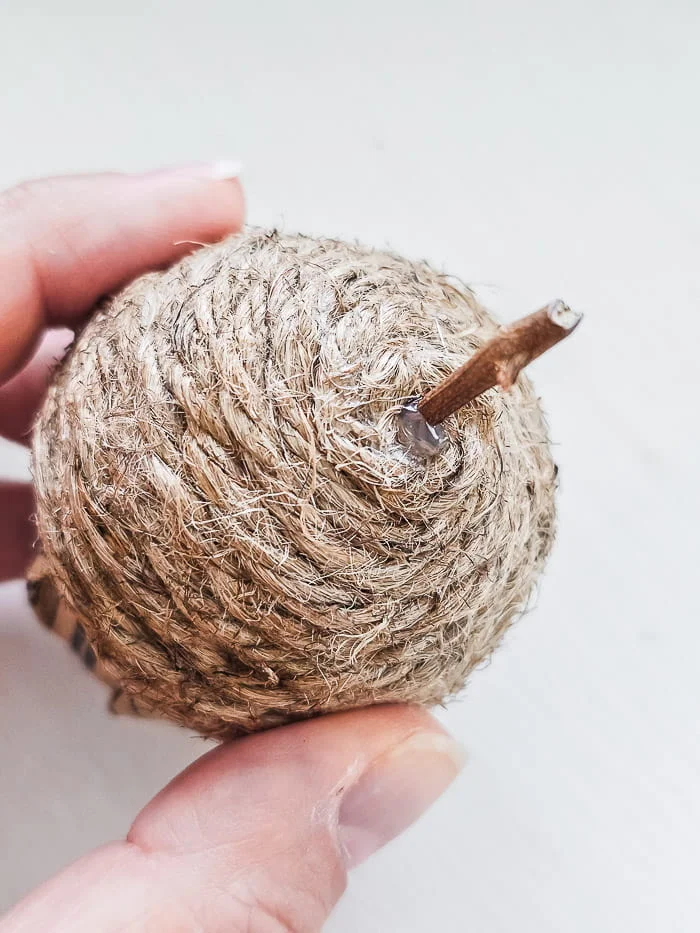
Put a drop of hot glue just below the stitches and press twine in place. Wrap
the egg top in twine, using glue as needed to hold it in place. Continue
wrapping around the egg, all the way to the top. Cut twine and tuck end down
into hole with a little glue to secure.
Step 5 - attach stem
Cut a small stem or twig from outside and place a little hot glue on the end.
Tuck it into the hole at the top of the twine to create the acorn stem. Hold
in place for a few seconds until the glue sets.
Keep reading for my tips for success!
Tips for the most realistic DIY acorns
- Be sure that the point of the egg is at the bottom of the acorn for the most realistic shape.
- Pull fabric tightly so it adheres to the shape of the egg. Try to create even gathers but don't stress about getting it perfect, it won't matter!
- When gluing the twine for the tops, cut the ends at an angle to reduce bulk. Keep the twine layers as close as possible to cover the top of the fabric, and to create a solid looking acorn top.
- You will have a lot of glue strands and even some twine fuzz. To reduce this, use a lighter to carefully burn the twine. Keep flame moving evenly and quickly, and you'll see glue threads and twine fuzz vanish. Do this before you add the stem! You can see how I did this when I made my DIY bee skeps HERE. Burning the twine will also slightly darken it, which gives it more dimension.
- If you have sensitive fingers, wear silicone finger tips to protect your pinkies from the hot glue! I may have burned off all my fingerprints 😕
I am so pleased with the results of these rustic fabric acorns and I'm
sharing a few ideas for styling them in your fall decor!
Ideas for styling fabric acorns
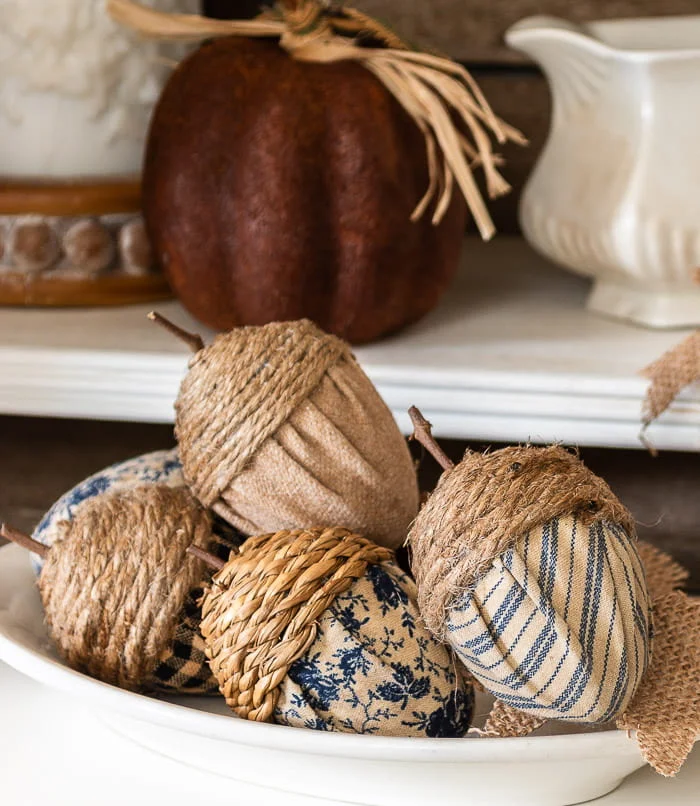
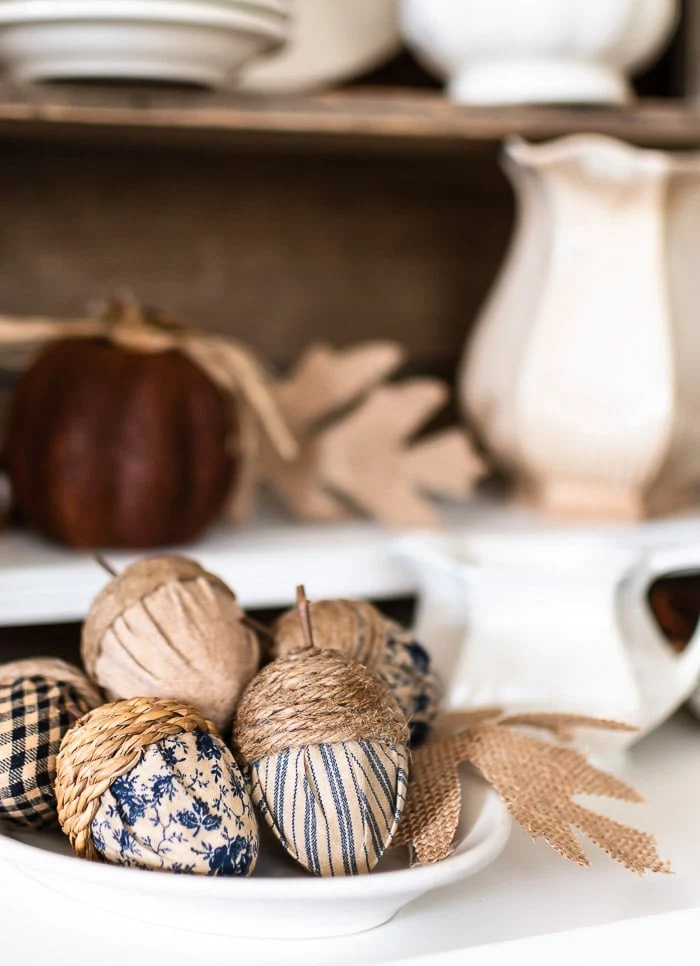
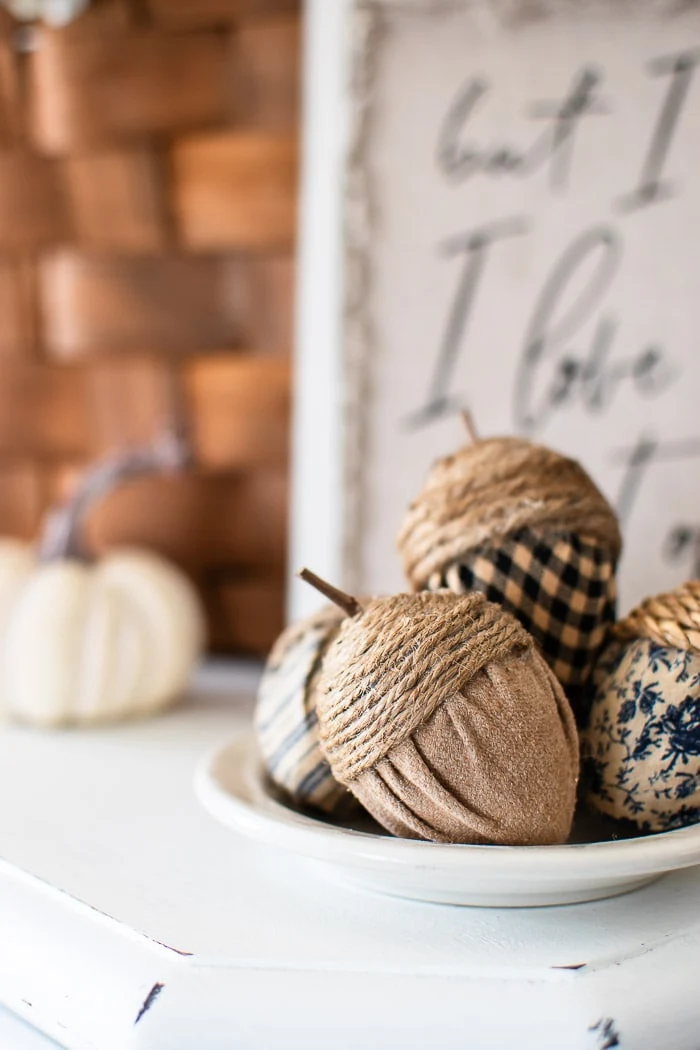
Pile your crafted fabric acorns in a small bowl or plate with a couple of fall
leaves. Because my acorns have patterns, I used minimal decor around them so
they don't get visually lost in the clutter! White vintage ironstone pieces
help to anchor the acorns and give contrast!
The same rule applies if you used light colored fabrics for your acorns, use
darker surroundings so they stand out.
For a more colorful display, pile acorns around a wreath wrapped candle. I
recently made this
candle with a blue floral napkin, and along with my
blue gingham DIY tablecloth, it makes a cute display on my kitchen table.
The woven basket ties in with the colors of the acorns and makes for a
pleasing, eye-catching display.
Other ways to style DIY acorns
I'm sure you can think of additional ways to use these acorns in your fall
decorated home, here's just a few more I thought of:
- create a garland by stringing acorns along a length of ribbon or jute, and hang along mantel
- glue acorns into a wreath (this is more permanent) for your front door
- use acorns to decorate individual fall place settings by placing one on each plate, you could even tuck in a name tag!
I hope you enjoyed this simple and affordable Fall craft and are excited to
create your own version of rustic fabric acorns to use in your home ❤
Additional DIYs featured in this post:
bringing beauty to the ordinary,






They are beautiful. What size plastic eggs did you use? Thank you.
ReplyDeleteGoodness, are these twine and fabric acorns ever adorable, Cindy! What a neat way to customize fall!
ReplyDeleteThank you Donna!
DeleteHow cute! Definitely going to try this this fall- thank you!
ReplyDeleteThank you, enjoy making your fabric acorns!
DeleteIn a million years I would have never thought to do this Cindy! What a cool and creative way to celebrate Fall and using the eggs is totally genius too. Pinned and will share them on my Friday Faves later this week. They're perfection! Hugs and happy fall, CoCo
ReplyDeleteOh my so refreshing looking for fall. My mind is soaring now on what I’d do for my house, and where I’d place them. First thing I’d add small rock inside for weight whether used inside or out. In my home, it would get knocked over in an instant (clumsy folks). I like this as it’s not orange typical fall colors, but could be if you choose. I see these outside with fall decor easy enough. I might use bigger eggs outside so they don’t get visually lost. Thanks for sharing great idea and inspiration
ReplyDeleteYou're supposed to have fingerprints? I must have missed that one when I started crafting. Seriously, I love these. My fall centerpiece needed something, and they will fill the bill admirably. Thanks loads.
ReplyDeleteYay, so happy you're excited to make them! I think fingerprints must grow back lol!
Delete