Adding Shelves and Storage to a Builder-Grade Laundry Room
Good morning friends. If you've been following along with my Farmhouse Modern Laundry Room Redo on a budget, today is Day 2.
I already showed you how Mr DIY and I updated an ugly vinyl floor with beautiful peel and stick tiles. The floors look great...but I really couldn't wait to get going on the shelves and storage part of this makeover!
Nothing is worse than wire shelving...both in looks and function, and I was ready to bring farmhouse charm to this boring laundry room.
There are two parts to today's project...the cabinet and the shelves. The shelves have been in the DIY beautify family for a Long time, hehe (my last name is Long in case you didn't know that little tidbit). My father-in-law made them way back when our sons were little and sharing a bedroom in FL. The shelf went around the perimeter of their bedroom, about 12" from the ceiling, and held their special 'boy stuff'. We saved the shelves when we moved and I'm so glad we did.
The cabinet was a very lucky steal found at my local Habitat ReStore. It was brand new and while the color wasn't bad, it didn't fit the Farmhouse Modern look that I was going for in my laundry room makeover. So I painted it. I used a homemade chalk paint recipe (mixed with Behr's Paint and Primer in Swan Wing). It's a nice creamy white...not too white, not too creamy. Sadly, I don't have a before pic of the whole cabinet for you guys. Things got moving pretty fast, and the cabinet was lying on my kitchen table with the doors off before I thought to take a picture. But this will give you a good idea of what the color looked like before.
I ended up needing 4 coats of paint to get the coverage I wanted. Usually 2 coats are enough; I'm thinking it had to do with the chalk paint mixture I used (more on that another day).
The first coat always looks bad, and you think you've totally ruined your piece. My advice: just keep swimming, swimming, swimming. It gets better!
This is after 3 coats; making progress, but still not quite there.
Once the cabinet was painted, I waxed with clear wax, buffed, and Mr. DIY added the handles that I picked up from Lowes.
Then it was decision time. I only had one cabinet, so had to decide if I wanted it hung in the middle of the room with shelves on either side....or did I want the cabinet on one side with shelves extended out the other side. Our original plans included an industrial bar for shirts to hang until we realized how high it would need to be to allow room for the shirts - Mr DIY is a tall dude! I didn't want the cabinet to feel like it was floating in the middle of the room, and decided having it up against one wall would help to visually ground it. Not to mention, my shelves would have been really short if we'd hung the cabinet in the middle...and I didn't want to have to go out and buy all new baskets. This Farmhouse Modern Laundry Room Makeover was all about using what we had, and doing it as inexpensively as we could.
So with the help of our trusty teenage son, the cabinet was hung to the left and secured with 150-lb anchors. Ugh, the lighting! It looks so much better in person, I promise!
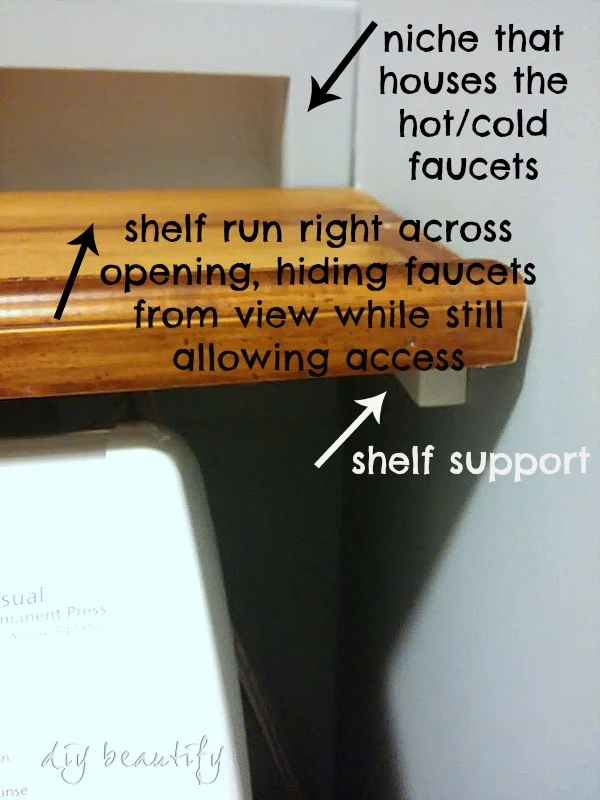
On to the shelving. We decided to add one long shelf above the machines and two shorter shelves to the right of the cabinet. The problem we had to work around was the electrical outlet as well as a niche for the faucets on that wall. They are an eyesore, but Mr DIY assured me he could disguise them with the shelf.
After cutting the shelf to size, he also cut pieces of 1x2 to fit. These would be the supports for each shelf and would run along the entire back and partway along the sides. My job was to paint the shelf supports to match my lovely new cabinet.
This is the bottom shelf, the largest one that runs across the top of both machines. You can see how it goes right across that niche, disguising the hot/cold faucets from view, while still allowing access when we need to turn the water off. Is my man brilliant or what?
Here is another genius solution. Mr DIY cut a small notch from the back of the shelf to accommodate the cord for the power supply. You hardly notice it...and the integrity of the shelf is left intact!
The shelf supports were screwed to the wall and then the shelves themselves were attached to the supports with screws. Everything is good and secure.
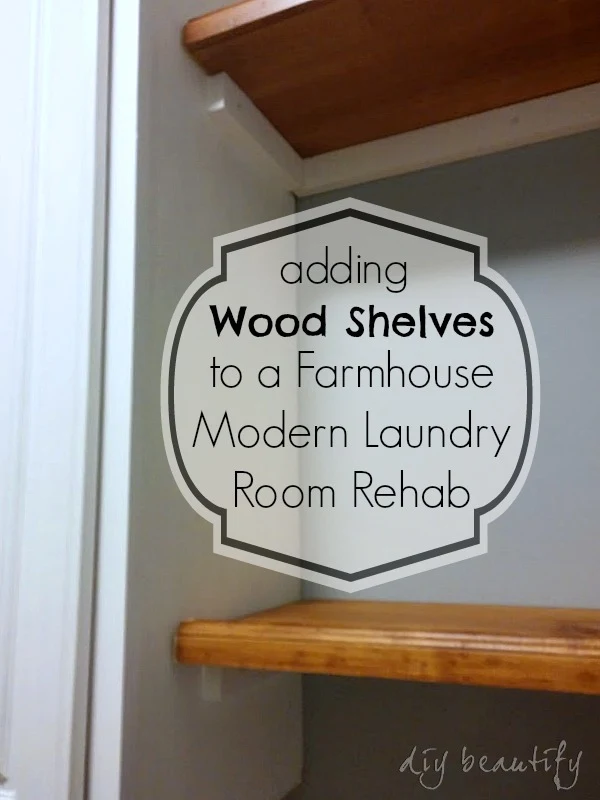
We allowed 20 inches in between each shelf. I like how it gives the room a uniform look. You can't really tell, but the shelves have a trim section on the front that keeps things from sliding off.
bringing beauty to the ordinary,
Become a DIY insider!
You'll never miss a post, and you'll get all my FREE tutorials
and more...delivered straight to your inbox!
and more...delivered straight to your inbox!
Let's be Social! Follow along on Pinterest, FB, Twitter, Instagram
This blog's content is for entertainment purposes only and is not professional advice. By reading this blog and attempting to recreate any content shared on it, you assume all responsibility for any injuries or damages incurred. Read my full disclaimer here.


It's looking good, and you did a great job on the cabinet!!
ReplyDeleteI am jealous...my "laundry room" is part of the garage, and has NOTHING going for it at all!! The garage is not climate controlled, so it is hot in summer and cold in winter!!
BUT, the good news is...I DO have a place for a washer and dryer, so I don't have to beat our clothes on the rocks in a stream :^)
I can't wait to see your finished room!
Blessings,
J
Haha, thanks Jaybird!! I finally got fed up with the mess and dysfunction of the room...but yes, I am grateful to have a dedicated space! I'm so sorry you have to work in your garage...Love your perspective though :)
DeleteLooking good! I just started painting the kitchen cabinets and have a long way to go, but the first two door cabinet turned out great. We added glass and they are now awesome!
ReplyDeleteThanks Laura, it's a lot of work but so worth it! I'm sure yours are beautiful with the addition of glass!
DeleteHi again. I'm wondering how your laundry room cabinet is holding up a year later? Would you ever, or have you and I just haven't seen that page yet, use chalk paint in the kitchen? Would you go ahead and use satin paint instead of flat if making your own chalk paint, and then follow that up with a good finishing wax to add extra durability in such a high traffic room? Thanks again for such insightful and inspiring blogs!
ReplyDeleteI appreciate your question, Witney. The cabinet has held up beautifully. I'm actually planning to paint my kitchen cabinets soon. You can paint anything with chalk paint, it's what you finish it with that determines the durability. For the kitchen cabinets, I'll probably use a water-based top coat by General Finishes. It's more durable than wax and comes in different finishes, including flat, which is perfect for those of us who love that look. Hope that helps!
Deletewhat kind if wood did you use for the shelving? Also what did you anchor the closest shelf to the machines to on the left side. I see the wall on the right is anchored but what is anchored to on the left. we have a counter in ours on the left side so trying to figure how I would anchor it around or two that? suggest.
ReplyDeletesomalleyrn@gmail.com
DeleteThis comment has been removed by the author.
ReplyDeleteThis has been inspirational for me. How did Mr DYI attach the 1 x 2 to the wall without a stud? What kind of drywall anchors and screws did he use? Also what kind of screws did he use to attach the shelves to the 1 x 2? Thanks!
ReplyDelete