Tie Dye Swirl Technique
This post is sponsored by the Tulip One-Step Tie-Dye Kit and Blueprint Social. All opinions on tie dye and summer and candy and tweenagers are entirely my own!
My 10-year old daughter and I could almost be twinsies (that darn age thing!). We not only look alike...we both love the beach, the color aqua, summer, movies, candy AND we both enjoy making stuff! Bonding together over a fun craft is one of our favorite things, and we recently celebrated the arrival of summer with a Tie Dye project. I'm going to share a fun and easy Swirl Tie Dye Tee technique with you today!
Little DIY was ecstatic as she has been wanting to experiment with tie dye for a long time! We used the Tulip Tie Dye kit (found at Walmart, Target, Hobby Lobby, and more) that comes complete with everything you'll need to complete this project. The only additional purchase you'll need to make are white cotton t-shirts.
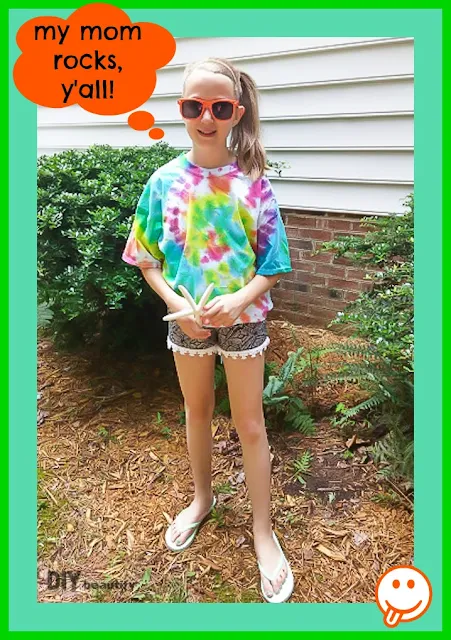
I think of tie dye as the quintessential summer DIY project! A great tie dye tee is a summer icon just like Popsicles, punch buggies and coconut sun-tan lotion! And everyone needs a rainbow swirl tie dye tee! Especially if you're 10...and totally cool! 'Cause you're totally cool when your mom forces you to stand around in your grandma's woods and flower beds holding a random starfish just so she can get pictures!! And you still choose to smile!
We were visiting grandparents in NC (they pretty much live in a cute little cabin in the woods) and this craft was a great one to do outside in the bright, sunshine-y weather. We had a blast making our tees and learned a lot in the process as we were attempting to perfect and simplify the Tie Dye Swirl Technique so that it would be easy for you to make one too!
There are a couple tricks to getting that perfect swirl effect, and that's what I'm going to share with you today.
Let's get to it and tie dye some tees.
Supplies:
- White cotton tee, washed and dried
- Tulip tie dye kit
- kitchen bags or other plastic to cover work surface
- tape to secure bag to work surface
- plastic bags to put your dyed tee into
- paper towels
Prep is important. We set up a couple of covered card tables outside because it was a beautiful day. For this technique to work correctly you will need to cover your work surface with something slick, like a plastic kitchen bag. Tape it down so it won't move on you. Premix all your dyes before getting started.
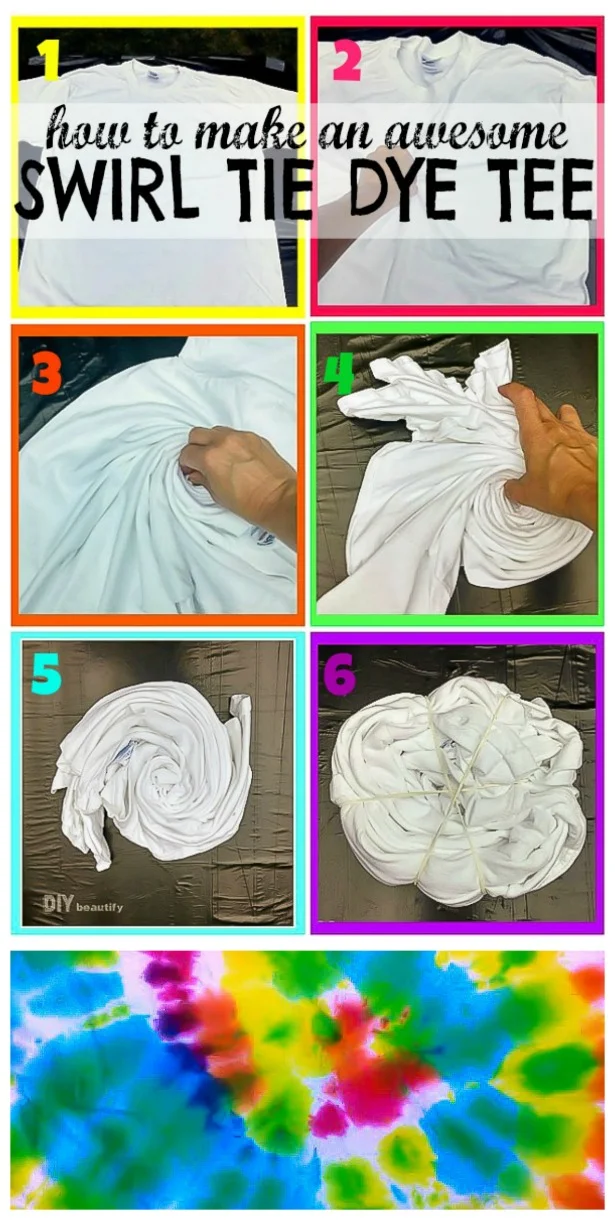
Here are all the steps (pre-dye) because getting the tee twisted and folded right is the most important part of making the swirl effect; I'll break each step down below. I would encourage you to read through all the steps carefully first before getting started to familiarize yourself with the technique.
Step One:
Lay a tee flat on the table.Step Two:
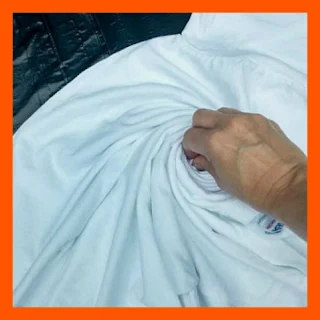
Find the middle of the tee by dragging your fingers from the armpits straight across to the middle of the tee. With one hand pinch the fabric and start twisting it one direction.Step Three:
Keep twisting the tee into a swirl shape. Try not to let go of that first twist until you have most of the tee twisted. It's going to get hard, but you can do this. Keep it as tight as possible as you continue twisting the tee into a swirl.Step Four:
Using your other hand, encourage folds (or pleats) in the excess fabric as you continue to twist and turn the tee. The hardest part is holding it tightly together!Step Five:
Once the tee is completely twisted, it should look like this. Do Not pick it up!! Have three rubber bands handy (remember, they are included with the kit).Step Six:
Without picking the twisted tee up (you might need another pair of hands to hold the tee for you at this point), stretch the rubber band wide and slide it across the table and onto the shirt, securing the twists in place. Try to strategically place the rubber bands so they'll hold any errant ends of the t-shirt in place. The slick surface on the table really helps with this step. You'll use 3 rubber bands, so you'll end up with 6 wedges. Whew, now you can let go; hard part's over, now the fun begins!Step Seven:
Before applying any paint, lift the shirt and lay down several layers of paper towel to absorb excess dye.
To make a rainbow shirt, apply pink, orange, yellow, green, blue, purple in that order, one in each wedge. Use your rubber bands as a guide for where to apply the paint. Of course you use the colors any way you wish!
Tip: try to avoid squirting the paint at an angle...it will just squirt all over. Flip the bottle completely over and squeeze generously where you want color.
Step Eight:
Once you're done the front, flip over and repeat on the reverse. For best results, saturate well. Then toss shirt into a plastic bag and let rest for 8-12 hours. Follow the results on the kit to wash in hot water and dry.Here are our fabulous Swirl Tie Dye Tee results, with one very happy 10-year-old to boot!
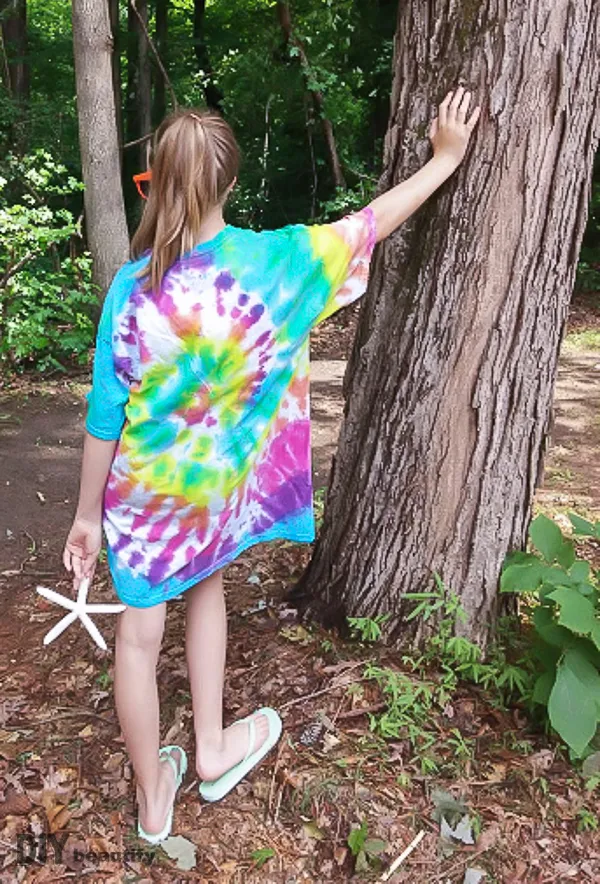
The back of the shirt turned out just as cool as the front. Don't forget to add dye to the back!!
We're adding a little beach-y ambiance to grandma's woods here!
Here's another swirl shirt with more blues and yellow and just a touch of pink.
The Tulip tie dye kits are awesome because they contain everything you need for the best results.
I hope Little DIY and I have inspired you to get creative this summer with someone you love and make your own Swirl Tie Dye Tees! It's a fun way to spend time with someone special and make something cool that is functional too!
If you want to learn more about the Tulip line of Tie Dye products and get project ideas, including all the ways you can Tie Dye Your Summer, make sure to follow them on Facebook, Twitter, Instagram, Pinterest and YouTube.
bringing beauty to the ordinary,
Sharing with: Designer Trapped, The Pin Junkie, Tatertots and Jello, Yesterday on Tuesday, M&MJ,


Your daughter is a great sport lol! I call myself the serial do-it-yourselfer and yet I cannot tie dye to save my life! Seriously my shirts are so ugly. My husband always threatens to share them lol. You make me want to give it one more go. Yours turned out fantastically! XO
ReplyDeleteThank you Christy, that is so funny to hear. I'm that way with decorating cakes...they are always a disaster!
DeleteHaha :) I hope you give it one more go, we had a lot of fun and wound up with a LOT of cool shirts. And yes, my daughter Was a great sport!!