DIY Farmhouse Heirloom Pumpkins for Less than $10
Don't overpay for heirloom pumpkins! This video tutorial will show you how to make large pumpkins with soft colors for less than $10!
This post may contain Amazon or other affiliate links. As an Amazon
affiliate I earn from qualifying purchases.
My full disclosure policy can be found here.
Every Fall, the same thing happens...
I think that I couldn't possibly come up with any more Fall decor ideas than I
have in the past - certainly not more DIY pumpkins...and then I'm inspired and
before you know it I've made
crochet chain pumpkins
and
glossy porcelain pumpkins
and
white waxed pumpkins with gold stems
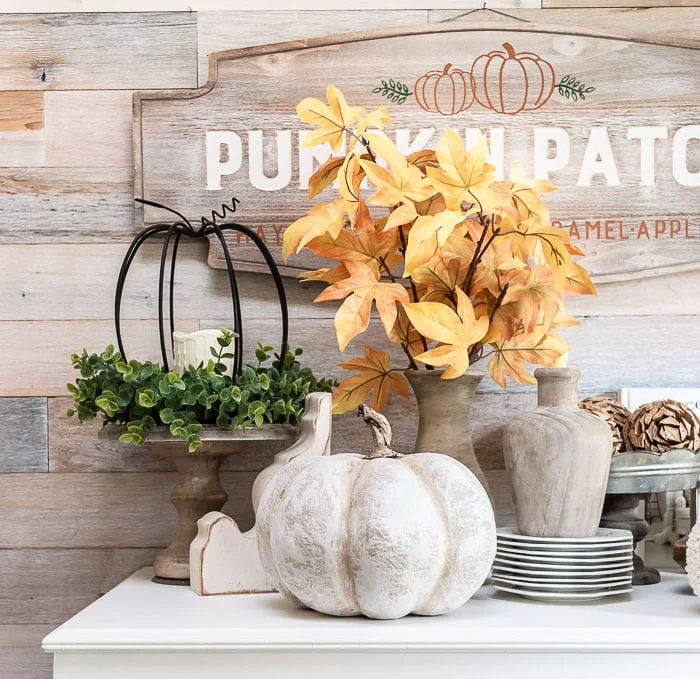
and farmhouse pumpkins with realistic stems made from clay!
This is a great time to remind you to follow me on Instagram, YouTube, Pinterest and Facebook, and to Sign Up for my newsletter and join my DIY Tribe so you never miss a new post!
Inspiration
I didn't set out to make these farmhouse heirloom pumpkins but I was inspired
when I found some large
paper mache pumpkins
at Hobby Lobby. They were just crying out for a farmhouse makeover, and I
needed to add some larger pumpkins to my Fall decor. If you've priced the
larger size pumpkins this year, they are expensive!
$20 is way more than I wanted to spend on one pumpkin, so I found a
budget-friendly way to make 3 pumpkins for around $20. Because I had all the
supplies on hand besides the pumpkins, this craft was really affordable. I'm
sure if you enjoy crafting and DIYing, you have many if not all of these
supplies already too!
How to make affordable farmhouse heirloom (Cinderella) pumpkins
Supplies
- paper mache pumpkins (I bought these for $5.99 each)
- paint - a darker and lighter shade of the same color (I used this and this for the green pumpkin and this and this for the orange one) *
- white chalk paint (I used this)
- brushes
- dark furniture paste
- lint-free rags
* Paint tip - you don't need to buy huge quantities of paint! Use what you
have or even buy the
small bottles of chalk paint at Walmart for less than 2$ each. You could also use
acrylic craft paints.
Watch the video
here for
step by step painting tips
Cut off stem
Use a sturdy blade to gently remove the stem from the pumpkin. I'll be showing
you how to make easy air dry clay stems that are so realistic! Watch the video
to see how I filled the hole that's left behind.
Paint pumpkin
Paint the entire pumpkin with the lighter shade. Then use a small craft brush
to apply the darker shade in the grooves of the segments. Use a damp rag to
blend the paints together. To lighten the overall look of the pumpkin, there
are a couple things you can do:
- dry brush white chalk paint over parts of the pumpkin
- use this Vintage color wash paint and a damp rag to soften the overall color
Add dimension
Finally, add some dimension to the DIY pumpkin with dark wax. This step is
optional but highly recommended if you want a realistic looking heirloom
pumpkin! I added it to the low spots (the grooves between the segments) and
used clear wax to help blend it.
You can watch me do this step in the video.
The last step is to make the air dry clay stems. You can watch exactly how I made the stems in this short video. You might go ahead and get your
clay so you're ready to make stems with me! I buy only
this clay from Amazon, and it goes a long way! You'll have enough for pumpkin
stems, as well as
Christmas ornaments!!
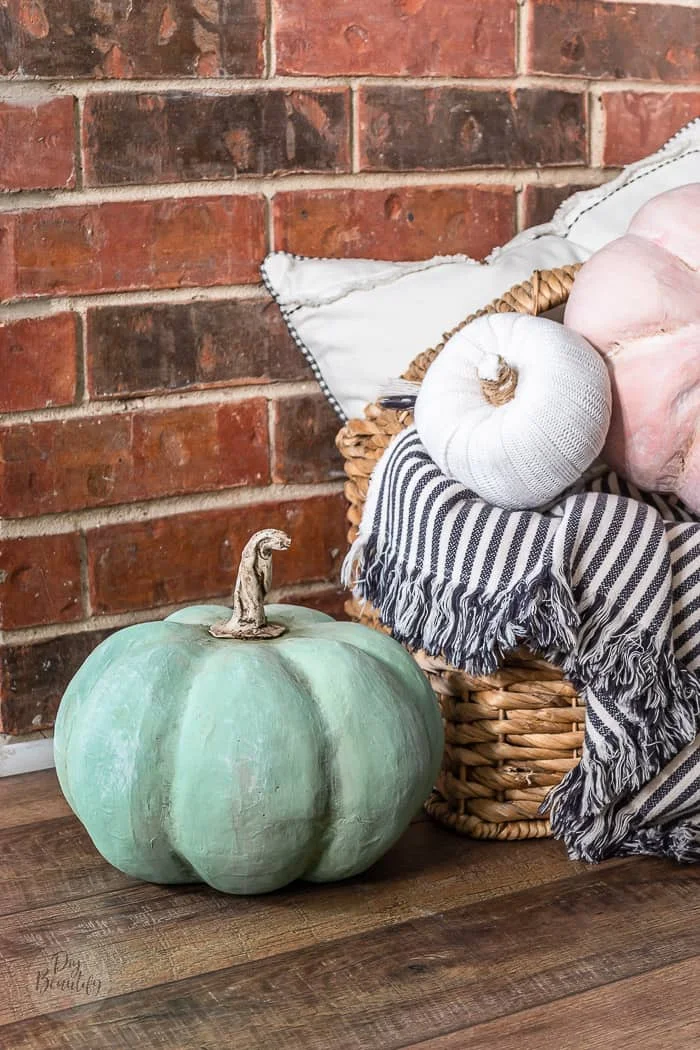
I love my inexpensive Cinderella pumpkins that look so realistic!
They have so much depth and dimension, just like real pumpkins!
Love it? Pin it
bringing beauty to the ordinary,


Have you been able to determine why none of your photos appear on your blog posts?
ReplyDelete