How to Make a Red and White Wood Slice Santa Garland
It's so easy to make vintage Santa wood slices to use on a premade wood bead garland! This is a great Christmas idea and so cute on a tree, mantel or hanging anywhere!
This post may contain Amazon or other affiliate links. As an Amazon
affiliate I earn from qualifying purchases.
My full disclosure policy can be found here.
Who else loves to collect Santa mugs?
I'm a collector at heart.
I blame it on my in-laws, lol! My m-i-l collects nativities from around the
world -
her current count is upwards of 700+, and my f-i-l collects vintage
Coke memorabilia and brown pottery jugs.
Santa collection
I started my Santa mug collection only last year. While I only have a couple
true vintage pieces, the
smiling Santa mugs
are so cute and merry and they make me so happy! I dedicated an entire
Christmas tree to Santa, and my nearby pine hutch is filled with an assortment
of collectible ironstone pieces and Santa mugs. I'll be sharing many more
details and pictures next week so make sure you're following along!
While I was planning my Santa tree, I was looking for ways to keep the cost
down, as I always try to do. I had found a few items at the Dollar Tree, but
while I was browsing the Walmart holiday aisles, I spotted
this 12 foot white, red and natural beaded garland for only $5.98! For some reason the price is more online, so be sure to check your
store!
You can't buy the wood beads for this price!
The wheels started spinning, and I remembered the wood slices Mr DIY had cut
for me after we lost several tree branches in a recent hurricane.
The result was a darling garland filled with cheery, merry retro Santa faces
that are a perfect pairing to a Santa mug collection! Let me show you how easy
it is to make this DIY garland!
Make a Santa wood slice bead garland
Supplies:
- red and white wood bead garland*
- wood slices (you can find them pre-cut and pre-drilled for a great price here)
- printed Santa faces (from The Graphics Fairy)**
- decoupage medium or white Elmer's glue
- white chalk paint
- foam brushes
- scissors
- sanding block
- drill
- bakers twine
*
A note on wood beads - if you have lots of wood beads and plan to make your
own garland, watch
this short video
for my best tips to quickly paint wood beads
**
keep reading for a FREE printable PDF!
This was such a fun and easy project, let me show you how I did make this
super cute and merry Santa face garland for my Christmas tree.
Step 1: Print Santa Faces onto Copy Paper
I found several fun and merry retro looking Santa faces over at The Graphics
Fairy. I measured the size of my wood slice surface, and resized the Santa
faces to fit and copied them onto regular printer paper. I cut them out
leaving just a little white space around the edge. I've saved this as a PDF if
you'd like to copy it.
Click here for the printable Santa faces PDF
(note: you may need to resize to fit your wood slices)
Step 2: Lightly Sand Wood Slices
You just want to remove any splinters and rough surfaces.Step 3: Paint Wood Slices
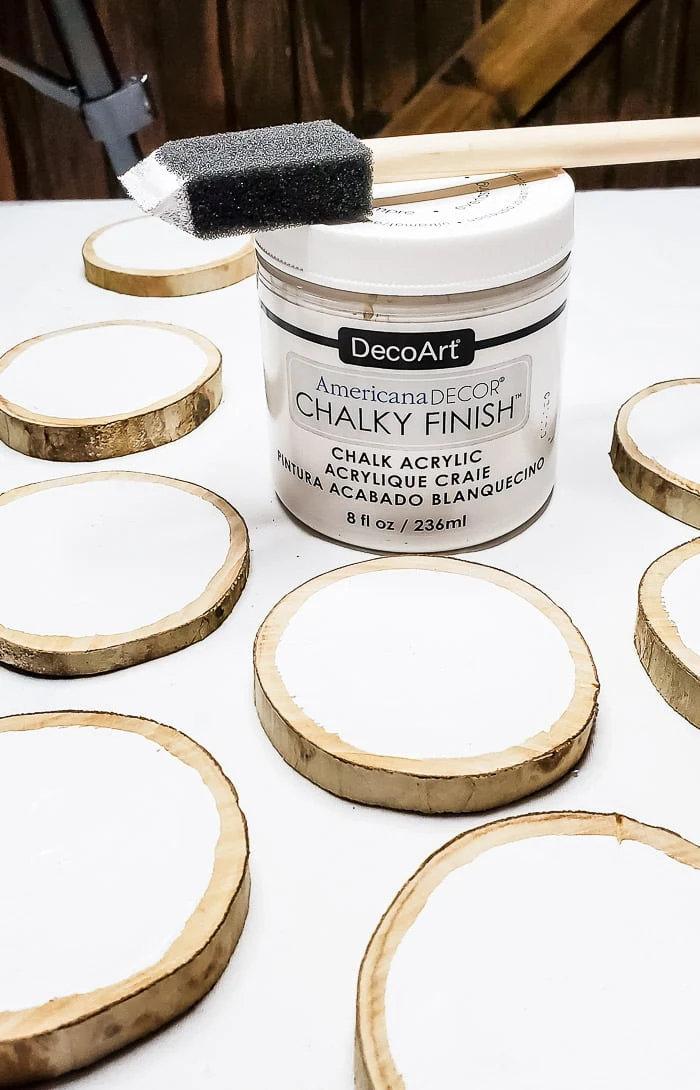
Leave a little space around the edge, and give your wood slices a coat or two
of white chalk paint. This will help the printed Santa faces to really pop!
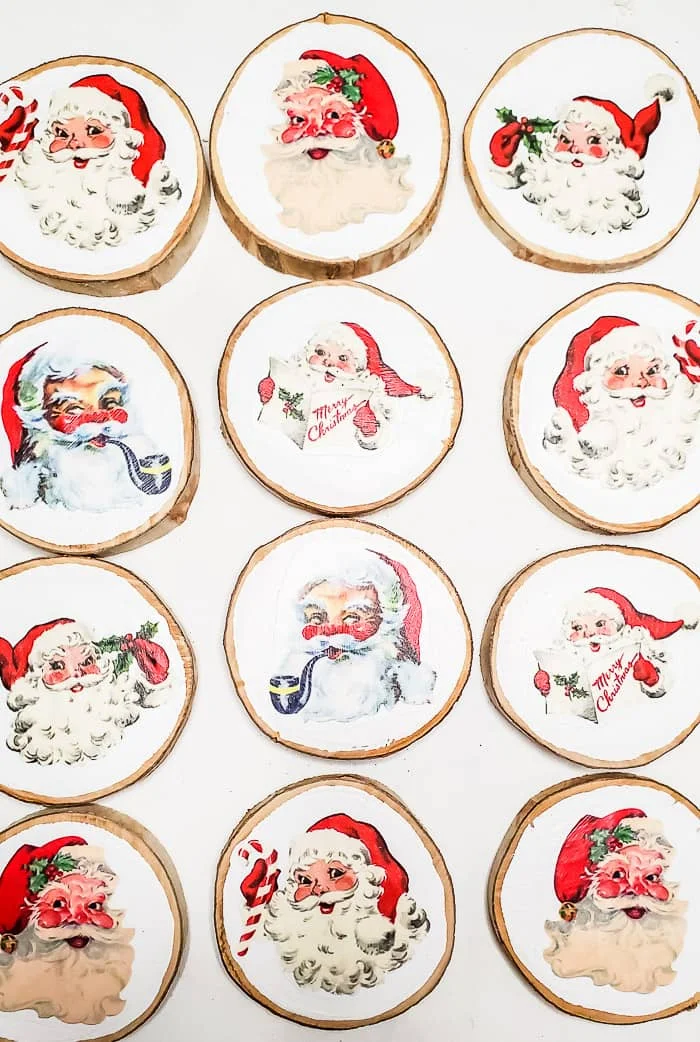
Step 4: Glue Santa Faces to Wood Slices
Brush a little bit of the decoupage medium onto the back of each Santa cut out
and press firmly to the wood slice. I also brushed a light coat of the medium
over the top of the paper and wood slice to give it a protective finish. Set
aside to dry.
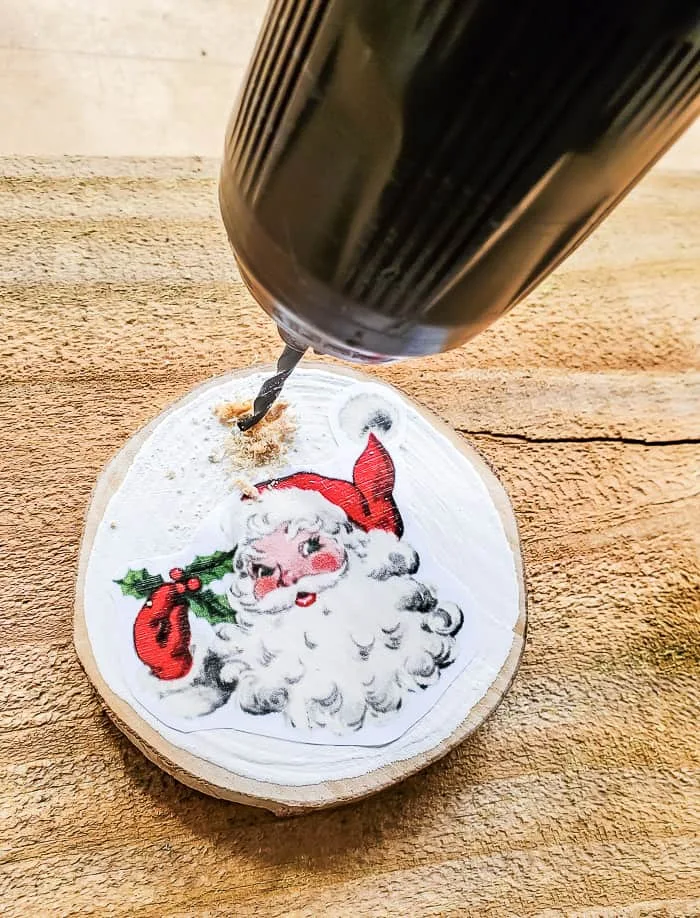
Step 5: Drill Holes in Wood Slices
If you're not using wood slices with pre-drilled holes, drill a small hole in
the top of each wood slice.
Step 6: Thread Wood Slices onto Beaded Garland
I like to wrap the end of the bakers twine with a little tape to make it
really easy to thread through the holes of the wood slices. Then just tie the
slice onto the beaded garland. I found it helpful to count beads and tie a
Santa face wood slice every few inches so it was even.
Step 7: Hang Garland
I hung my wood slice Santa face garland on my Christmas tree, right after
adding the lights and ribbon.
I love how easy this garland was to make, and it is just so cute on this
collectible Santa Christmas tree!
I hope you're inspired to make this collectible Santa garland this Christmas!
Or PIN for next year!
SHOP SANTA STUFF











Thank you for this! And the pdf of Santa faces:) I have some wood stars and will have my granddaughter do this on them♥
ReplyDeleteThanks Bebe, I'm so glad you like it!
DeleteI am loving the garland but would prefer not to use the Santa pictures. Do you have any suggestions of anything else that would fit on the wood pieces. Thank you.
ReplyDeleteYou could use any images you find for free! The Graphics Fairy has loads of images, both vintage and more! You could do the nativity story with a different figure on each word slice or snowflakes, or ornaments! The sky is the limit!
DeleteCindy,
ReplyDeleteThese are so cute! I'd like to share a link on my Dirt Road adventures tomorrow.
Thanks so much Rachel, of course!
DeleteOh, I love that idea to do the nativity. Maybe next year. Thanks bunches.
ReplyDeleteYou're so welcome! Have a wonderful Christmas!
DeleteThese are so darn cute, Cindy and have me thinking of creative things. The ornaments are like a warm 1950s hug!
ReplyDeleteI would love it if you could share these at my Friday With Friends link party.
RR
Thank you for that sweet compliment!
DeleteAnother adorable project!!! I loved that bead garland..I went back and forth on it for my kitchen tree and then it was sold out!! The Santa’s are so cute!!
ReplyDeleteThanks Jennifer, the price was so great, I'm wishing I bought more!
DeleteCindy, thanks for adding this darling project to the FWF link party. Look for it to be one of the features this Friday!
ReplyDeleteRR
I adore these Cindy! I have a collection of vintage Santa ornaments on my tree gifted to me over the years. These would be a perfect addition. Thanks for the inspiration and Happy Holidays!
ReplyDeleteThanks so much Marie! I appreciate that! Merry Christmas!
Delete