Easy Air Dry Clay Mushrooms with Polka Dots
Air dry clay is the perfect medium to craft these simple mushrooms. You'll find tips for painting and displaying mushrooms upright as well as the best way to add polka dots and achieve a glossy finish.
This post may contain Amazon or other affiliate links.
As an Amazon affiliate I earn from qualifying purchases.
My full disclosure policy can be found here.
Is there anything cuter than a mushroom with polka dots?
I'm excited to share this video tutorial with you and show you, step by step,
how to make these mushrooms.
CLICK HERE to watch the video and please consider
subscribing to my YouTube channel here!
I'm so pleased with the way these DIY mushrooms turned out, and they were very
easy to make!
Follow the directions in
THIS VIDEO to see
exactly how I made these air dry clay mushrooms and added polka dots and a
super glossy finish.
Supplies
- DAS air dry clay
- toothpicks
- craft paintbrush with a flat head
- craft paint of choice
- white acrylic paint
- DecoArt Triple Thick brush on Gloss Glaze or Rustoleum Triple Thick Glaze (spray)
- heat gun or blow dryer
- styrofoam rounds and balls
- preserved moss
I also wanted to share some tips that made crafting these little mushrooms
even easier.
Tips for making air dry clay mushrooms
Tip #1 - toothpicks
I found toothpicks to be indispensible when making my mushrooms! It allows you
to stand the mushrooms up while drying, with no danger to toppling. Using a
toothpick makes it so easy to display the mushrooms and tuck them down into a
bed of moss. You can easily adjust them to stand any which way you desire.
You must insert a toothpick into the clay while its still wet. Once the
mushrooms are dry, the toothpick can be pulled out. This gives you options for
displaying the mushrooms. You can always reinsert the toothpick when you
need to because the mushrooms have dried with that toothpick shaped hole in
their stems.
Tip #2 - styrofoam
Using a styrofoam round to hold the mushrooms while you are working with them,
makes it so much easier! This is especially true once you start painting them
and they must be left alone to dry.
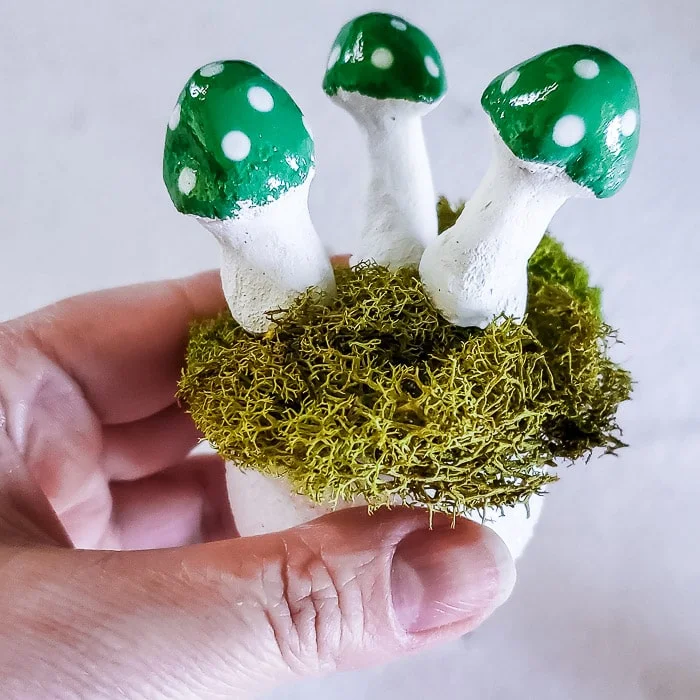
I also found small styrofoam balls to be the ideal base to tuck into a small
vessel for displaying the clay mushrooms. A little moss on top and you don't
even notice it, but it gives the toothpick something to grip and helps the
mushrooms to stay where you put them.
Tip #3 - small rocks
Another option that will help to display the mushrooms is
small river rocks. Fill the vessel you are using with the rocks, top with moss, and you'll
find the mushrooms with their toothpicks will stand upright.
Tips for painting mushrooms
If you're planning to use a glaze to add a glossy finish to the mushroom caps
(which I highly recommend!), it doesn't matter what type of paint you use.
Just grab a brush and paint!
Make sure the paint is completely dry before adding the polka dots. As I did
in the video, dip the end of a small craft brush into white paint and dab it
on to create polka dots.
Again, this paint must be completely dry before moving on! You can speed up
the drying time by using a heat gun or blow dryer, as I did in the video.
Brush on the gloss glaze, or spray the tops with the triple thick glaze (I
would do this outdoors) for a super glossy finish. This step is optional but
in my opinion is what really sets these mushrooms apart and makes them look SO
cute! I opted to leave the stems of my mushrooms unpainted and unglazed, but
you could do whatever you'd like to!
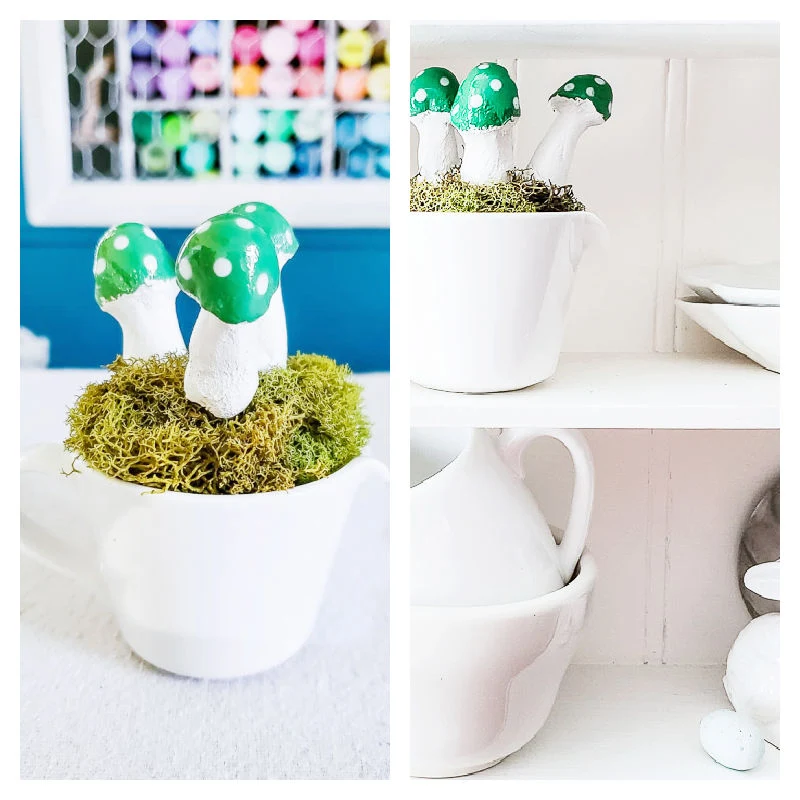
I tucked some of my DIY clay mushrooms into an ironstone bowl on my coffee
bar, and decorated it for St Patrick's day with several other easy and
inexpensive DIYs.
You can see the entire St Patrick's day post here.
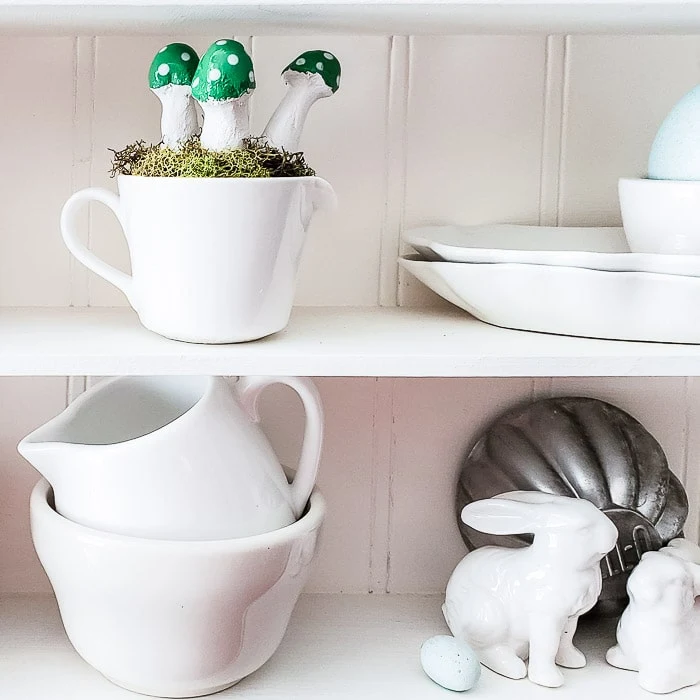
I also tucked some of the mushrooms into my
repurposed wall cubby
where I love to display my small ironstone creamers, and other seasonal decor
that gets switched out often.
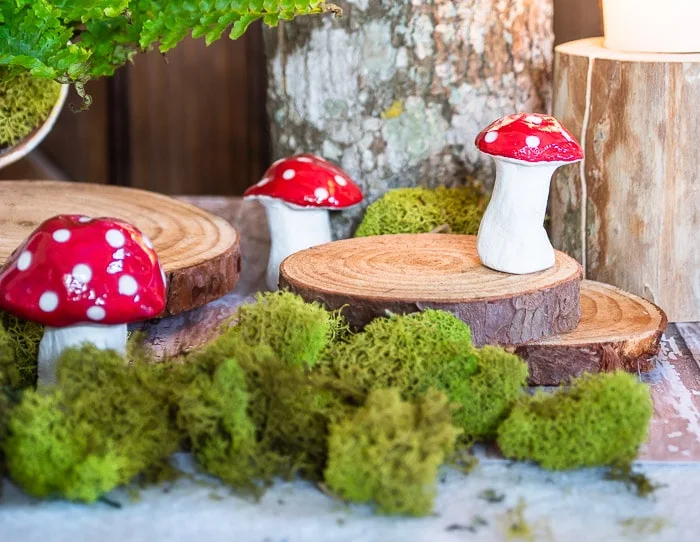
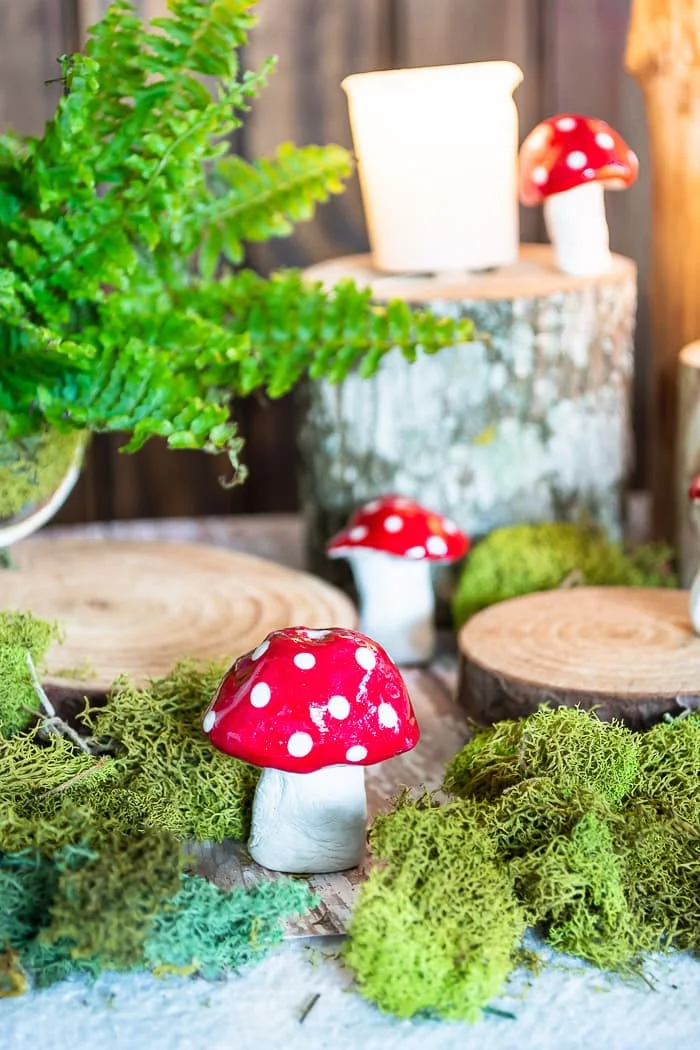
But I think my favorite display is a little woodland vignette I created with
wood slices, moss, the mushrooms and some votives.
The more rounded mushrooms in the woodland scene were the ones I made to
look like the Mario mushrooms. You'll see how I did it in the video.
How would you display clay mushrooms with polka dots? I'd love to hear!








These are the cutest! Can't wait to make some for myself! I am also so excited to share your post with my followers today in my weekend wrap up From My Neck of the Woods.
ReplyDeleteThanks so much Kristin! Share your mushrooms with me once you've made them!
Delete