Add Texture to a Pumpkin with Lace and Rope
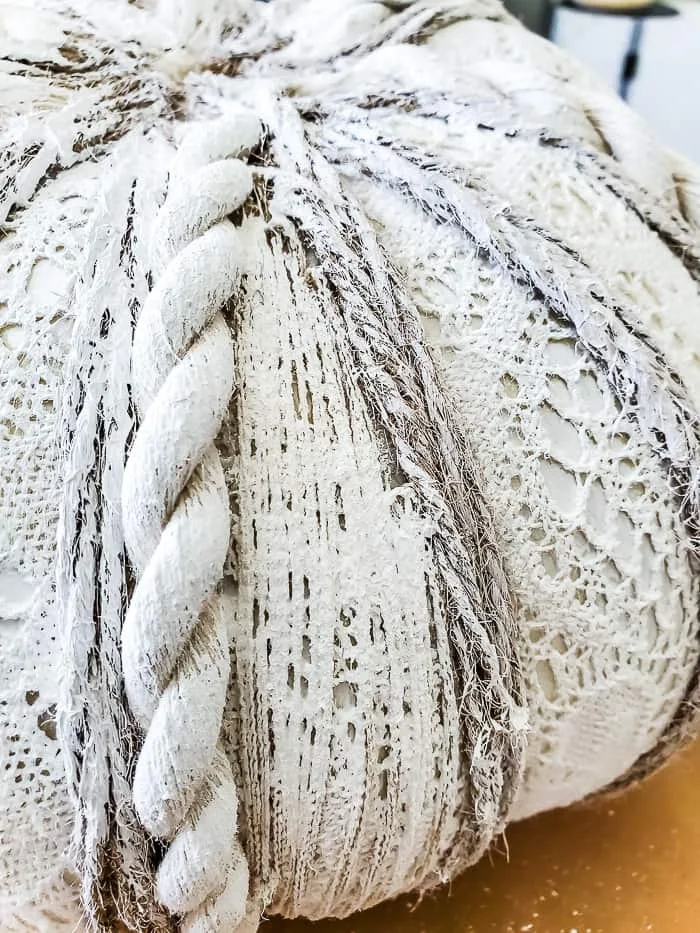
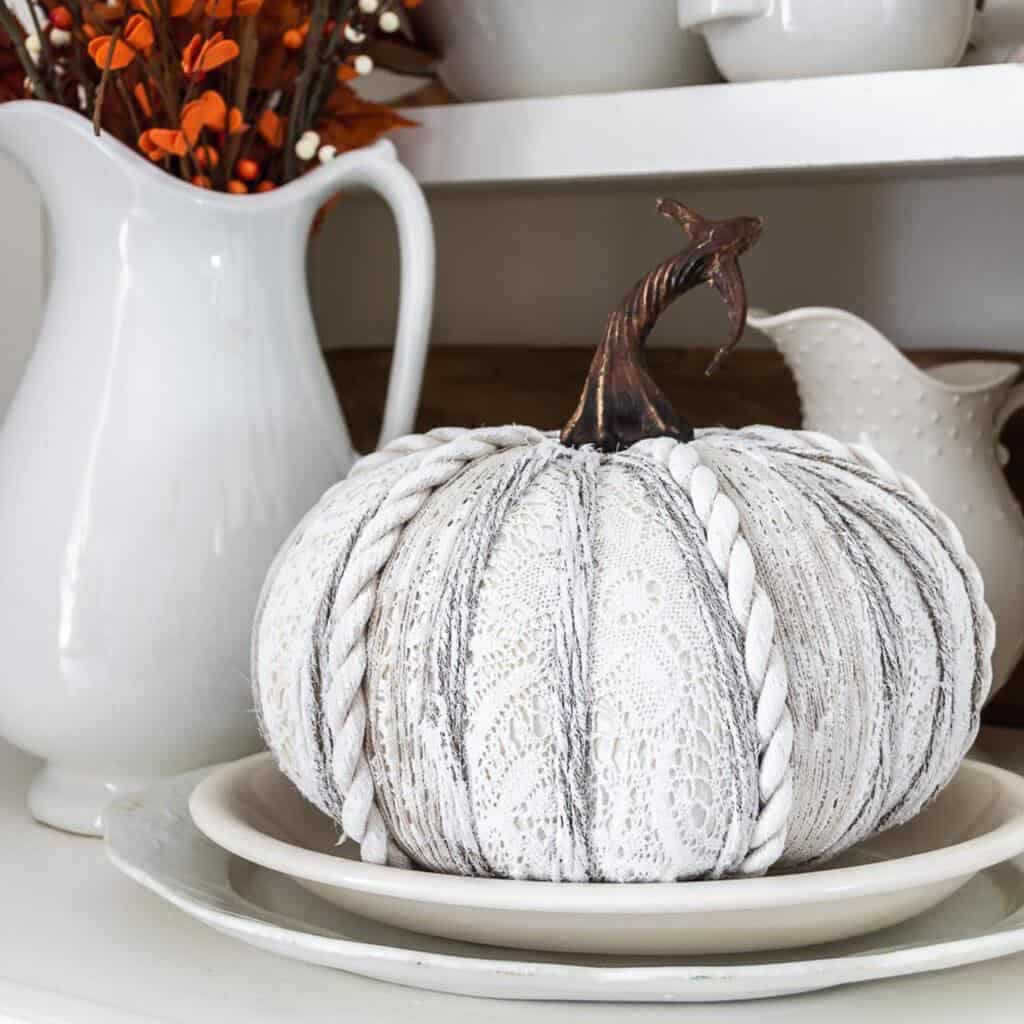
Let me show you how easy it is to create a heavily textured shabby white pumpkin using lace, rope, jute and white paint to bring all the textures together!
This post may contain Amazon or other affiliate links. As an Amazon
affiliate I earn from qualifying purchases.
My full disclosure policy can be found here.
Hi fellow crafter and Fall-lover! Welcome to a fun and inspiring DIY Pumpkin
Blog Hop, hosted by my friend
Wendy of WM Design House. We are going to blow your minds with our creativity today and if you like
pumpkin or Jack O Lantern DIYs and need some ideas, this is the place to be!
If you hopped over here from
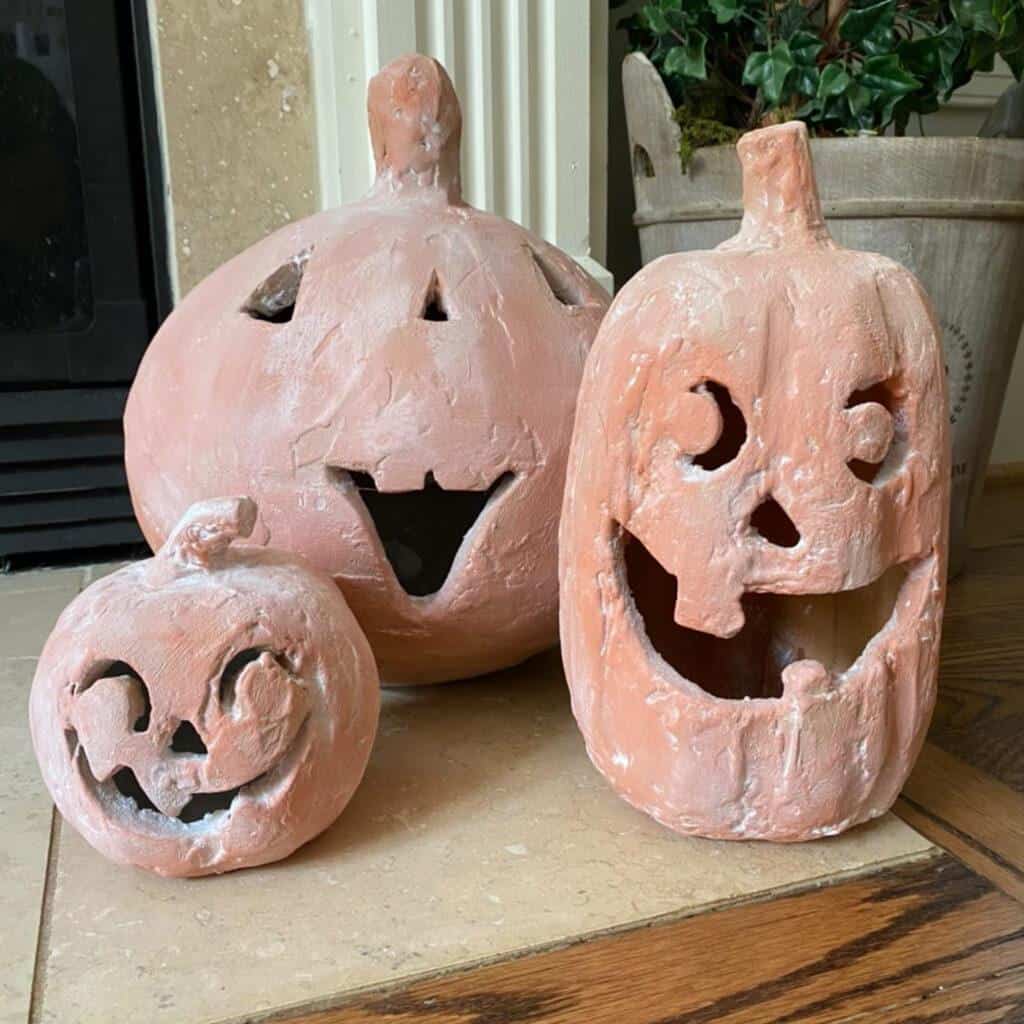
Arts and Classy, welcome! Wasn't Meredith's Pottery Barn terracotta pumpkin dupe fun?
There are 13 more amazing pumpkins to see and I'll link to them all below my
project!
If you're new here, I'm Cindy and I've been crafting and DIYing all my life!
DIY Beautify is my little space on the web where I love to inspire you and
show you how to create a beautiful home on a budget! So if you're not already
following along, I would be so happy to have you join my tribe ❤
The textured pumpkin I'm sharing today was inspired by some white pumpkins I
saw at
Janelle Trinket. She bought them from boutiques and home decor stores, so I can imagine they
were pricey! I wanted to recreate this look on a budget and I'm really excited
that I pulled it off! I'm sharing all the steps to create this shabby chic
white textured pumpkin below.
How to add texture to a pumpkin with lace and rope
I had this pumpkin in my stash that I wasn't overly fond of. It used to be a
creamy yellow and a couple years ago I
whitewashed a bunch of pumpkins to soften the color. It was the perfect blank canvas to add this
heavy shabby texture to!
Supplies
- large neutral pumpkin*
- about 1/2 yard of lace or eyelet (I found a dress at Goodwill, you could also use an old tablecloth, curtain, etc)
- nautical style rope (I used this rope)
- jute twine
- strings from drop cloth (I'll explain)
- decoupage medium
- craft brushes
- hot glue
- white paint (I used this paint)
* if your pumpkin is orange, you will want to paint it with white paint
first
This DIY pumpkin is created in layers, which gives it so much texture and
interest!
Step 1: Add lace to top of pumpkin
Remove the stem from the pumpkin and set aside for later. Lay your lace fabric
over your pumpkin so you can be sure it will cover it completely. The dress I
used was small, and had seams along the sides, but those ended up being
completely covered up!
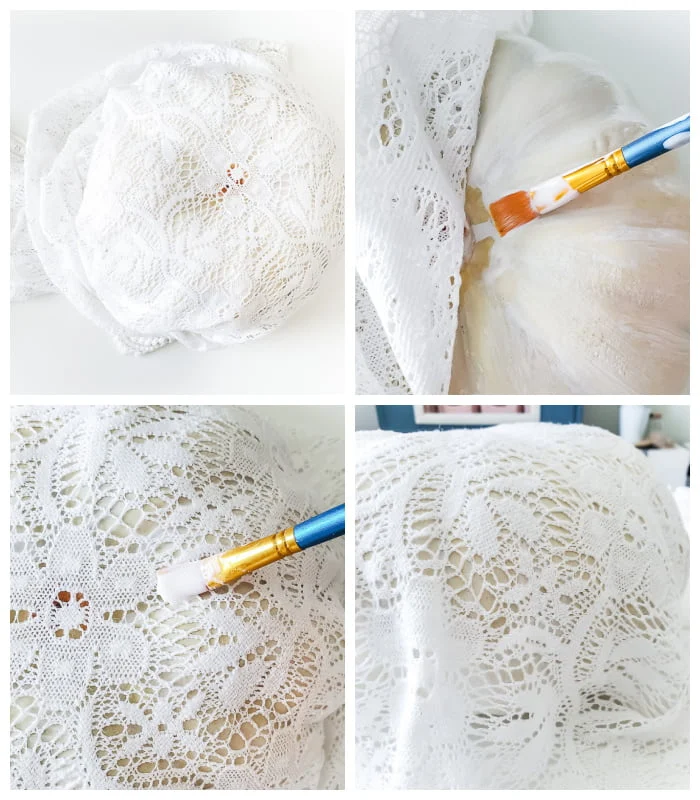
You want to decoupage the lace to cover the top of the pumpkin. Pull the
fabric snug and brush a coat of decoupage medium to the top of the lace. Set
aside to dry.
Step 2: Finish adding lace to pumpkin
I found it easiest to hot glue to remainder of the lace to the bottom of the
pumpkin because it sets so much faster than the Mod Podge!
It's a little tricky because you will wind up with folds of fabric as you're
pulling and gluing the lace around the pumpkin. Don't worry about that, it's
easy to deal with! The tip here is to not twist the fabric, keep it flat and
put hot glue in strategic places (obviously where the fabric is thicker),
until the pumpkin is covered. Make sure to glue as close to any excess fabric
as possible.
Go ahead and trim any folds or flaps of fabric, adding a little more hot glue
as needed to keep the lace in place.
Step 3: Glue rope and twine to pumpkin
If you're using the dollar store rope that I'm using, it comes with 3 twisted
sections. Separate it by pulling out one of those sections. This is just to
reduce the bulk a little bit but to retain that nautical rope look! Save the
piece you unravel for another project!
Add texture with rope
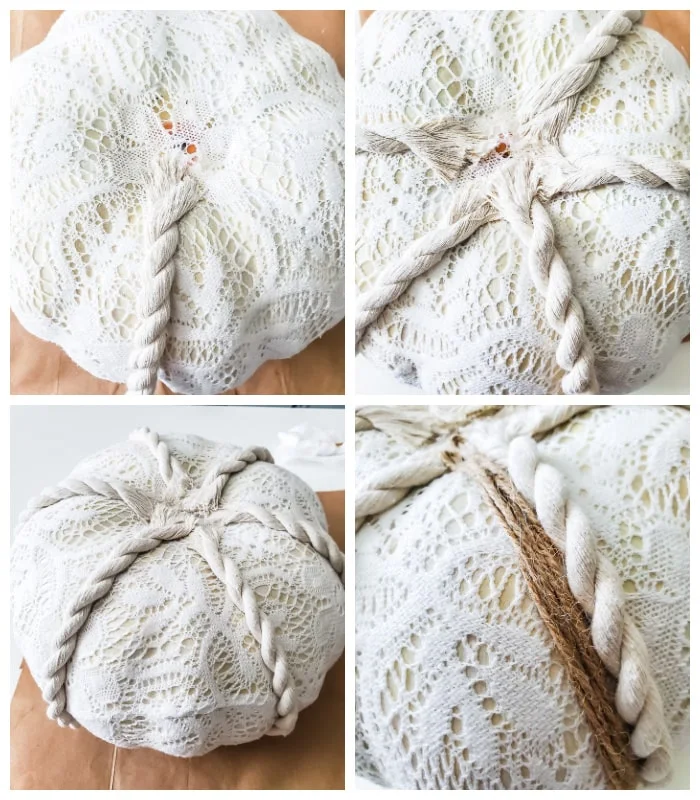
The inspiration image used rope to divide the sections of the pumpkin. Hot
glue one end of the rope to the bottom of the pumpkin (you can see how I
unraveled the ends a little to make it less bulky). Tightly wrap the rope
around the pumpkin, come back to the bottom and hot glue it in place. Continue
this way until you have 6 divided sections.
Add texture with jute twine
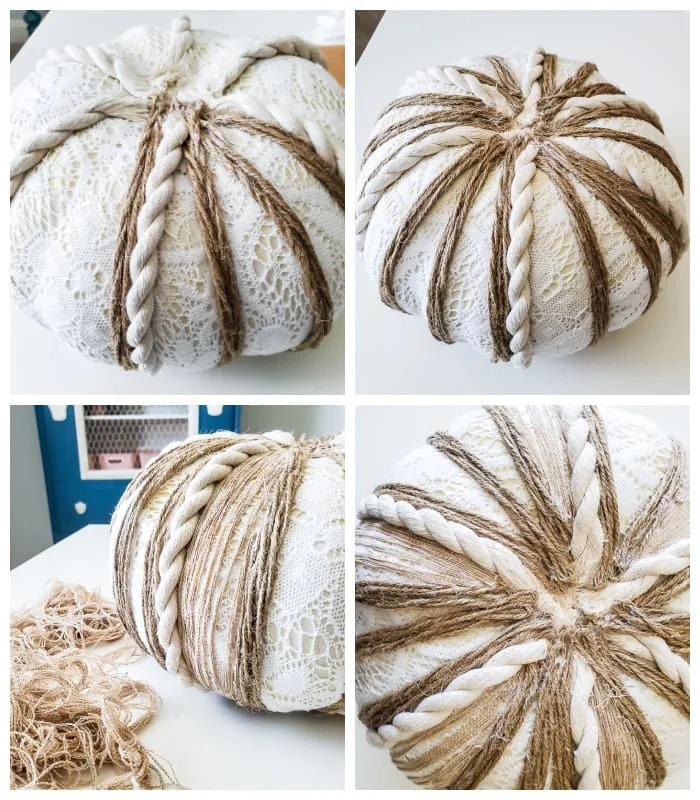
If you noticed on the inspiration image, every other segment of the pumpkin
was filled with texture. However I didn't want to cover up the lace completely
so I glue the twine as you see here, allowing lots of the lace to show
through.
This is also where the drop cloth strings come into play! I recently made some
primitive DIY sunflowers
using coffee stained drop cloth. As I was pulling off all the strings for that
project, I set them aside because I realized that I could probably use them on
this pumpkin to add more subtle texture! You can see below how I glued the
drop cloth strings to some of the sections.
Step 4: Paint pumpkin
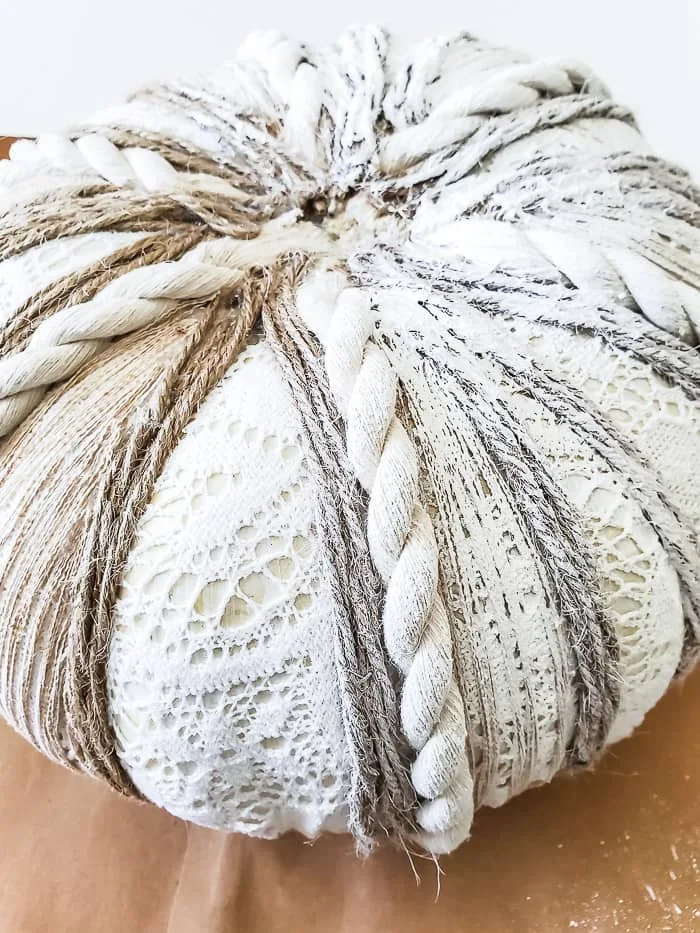
It's now time to unify all this texture with a coat of white craft paint! I
made sure to leave some of the natural color of the rope and jute twine
peeking through.
Step 5: Add stem
The final step is to reattach the pumpkin stem with hot glue (I also used a
little E6000 to make sure it stays put) and you are finished!
I love how unique this pumpkin looks, it's a little shabby chic, a whole lotta
texture and just a really pretty pumpkin!
Click HERE to see all my Fall DIY's
Please PIN this image to save it!
Cottage on Bunker Hill
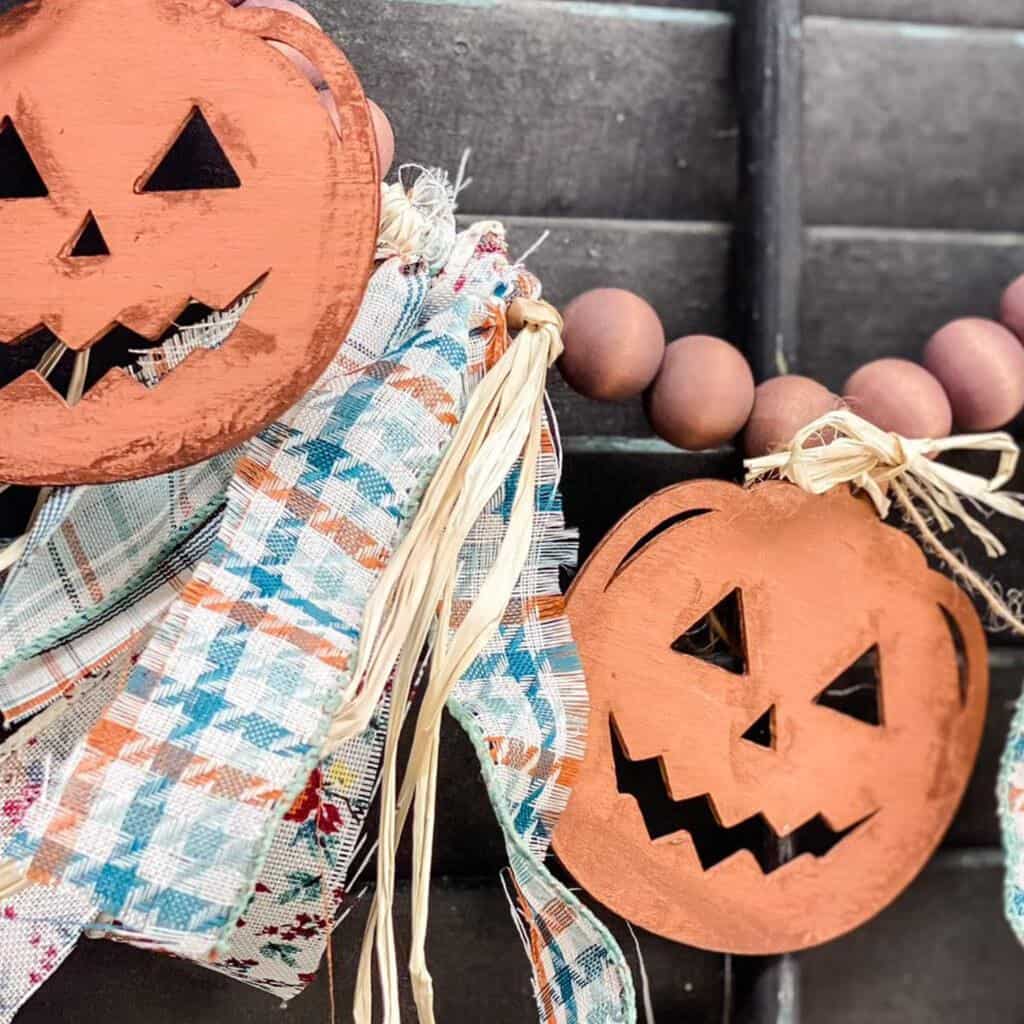
is next and Jen has the cutest DIY pumpkin garland to share! Keep reading to
see all 14 creative pumpkin ideas! Click the blue links for all the details to
DIYing each pumpkin!








What a cute DIY! I love using decoupage.Your pumpkin looks so pretty styled. Nice hopping with you today, Cindy! Happy fall!
ReplyDeleteI absolutely love this project! You have inspired me to try with some pumpkins in my home! Thank you for sharing this adorable creation. - Meredith
ReplyDeleteI love your shabby chic pumpkin, what a beautiful idea! I would like to include it in a pumpkin DIY that I'll be sharing with my readers. My email is kristin@fifthsparrownomore.com.
ReplyDeleteLove the texture combo on this pretty pumpkin!
ReplyDeleteCindy, I just adore your beautiful pumpkins with all that yummy texture. Thank you for joining in on the bloghop this month. Wendy
ReplyDeleteOh my gosh, so stinkin' cute!! Hope you are doing good...I feel like I haven't connected with you online in forever!!
ReplyDeleteI couldn't love this textured pumpkin more! The rope and lace really add such a special, unique touch!
ReplyDelete