Easy Terracotta Clay Herb Markers
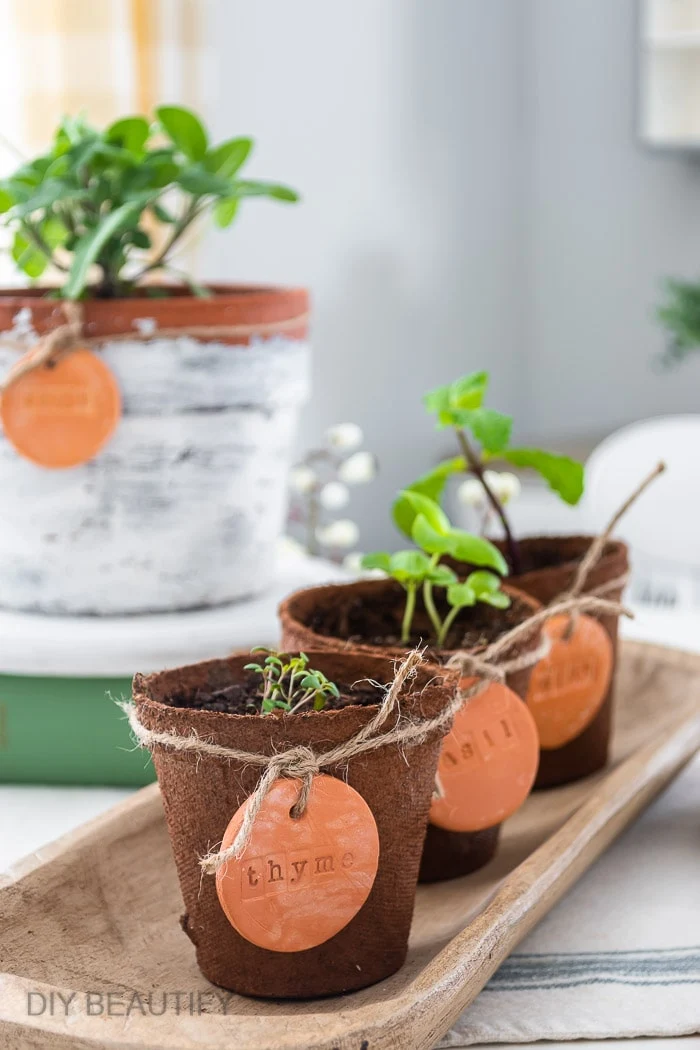
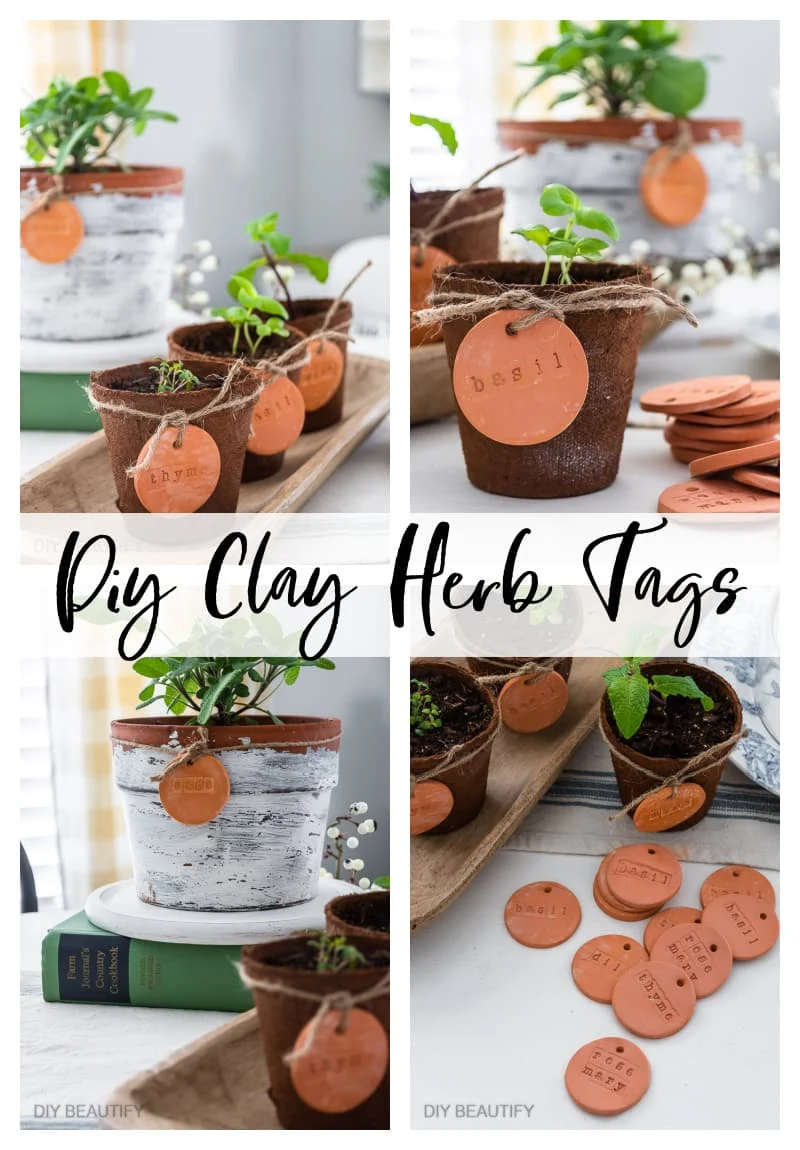
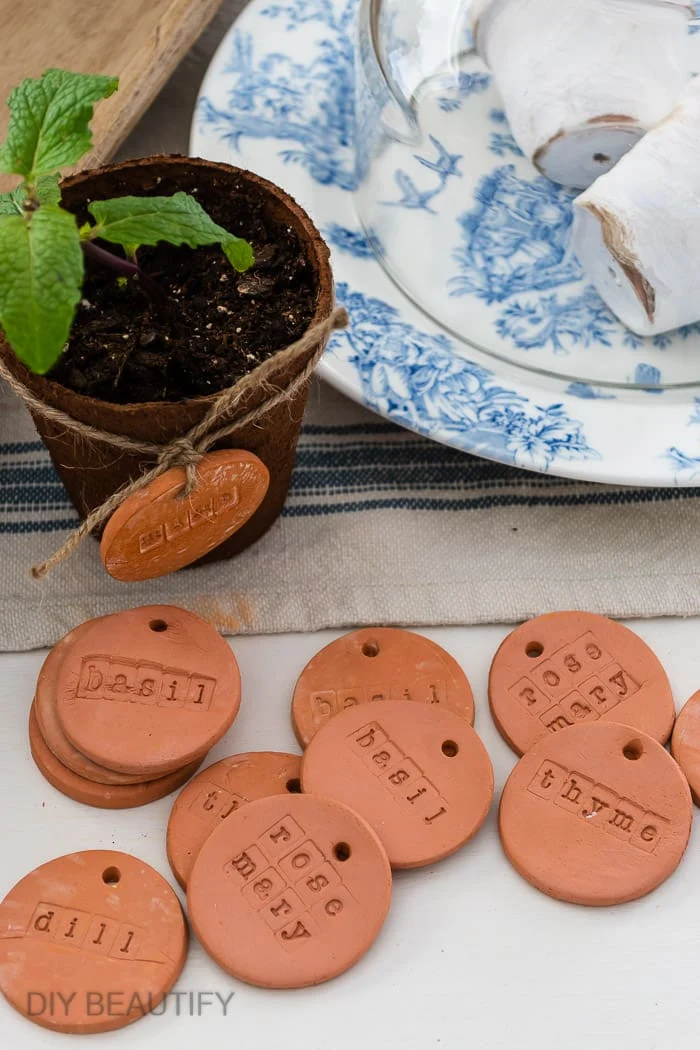
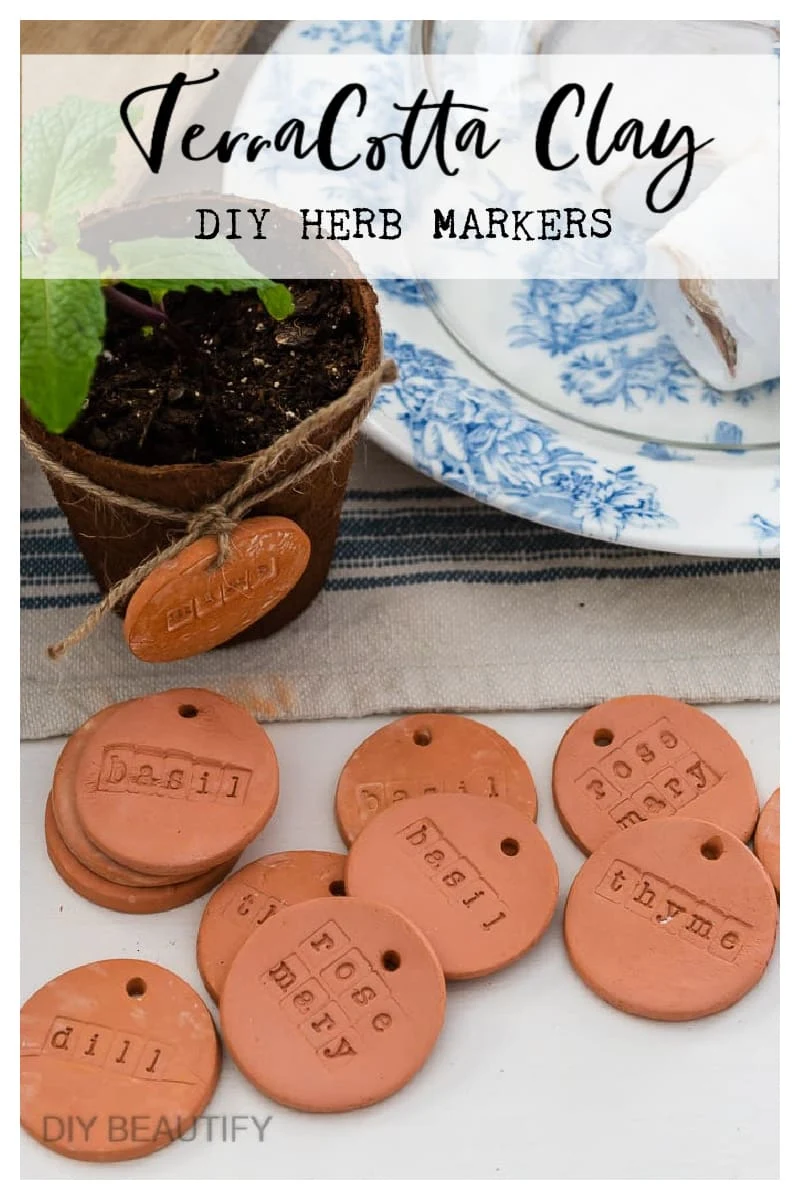
Create labeled herb markers using terracotta air dry clay and stamps. An easy project that is perfect for the garden, but makes a great gift too!
This post may contain Amazon or other affiliate links. As an Amazon
affiliate I earn from qualifying purchases.
My full disclosure policy can be found here.
It's that time of year when many of us have gardening on the mind. Mr DIY and I
gifted our son and daughter-in-law a garden for their wedding gift! The back
corner of their yard was prepped, raised beds were built, and we started
lots of herbs and plants from seed.
While we've been baby-ing the seedlings, I thought it would be fun to create
some herb markers to identify some of the plants.
This project is really easy, and the terracotta plant markers are made even
easier by using terracotta air dry clay! I love using clay, be sure to check
out more of my projects below!
Just a word of caution: this stuff will turn everything it touches orange! Your hands, your table, everything! I'll share some tips below for keeping your work surface and hands clean while you're making the herb tags.
How to make terracotta clay herb markers
Supplies Used
- Crayola air dry clay
- wood skewer
- rolling pin
- round cookie cutter (or glass)
- parchment paper
- disposable gloves
- connectable stamps
- matte spray sealer
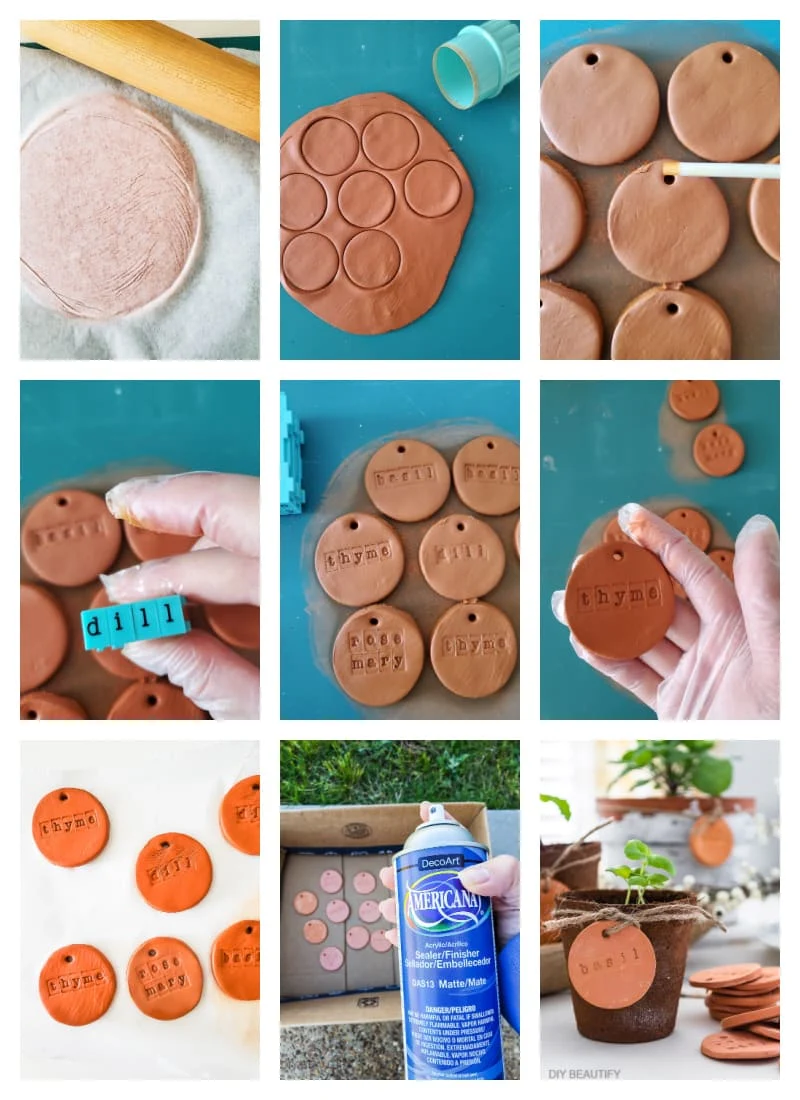
I'll share a graphic below, but here are the basic steps to making these easy
herb markers from the terracotta clay.
Tip: to keep my work surface, rolling pin and hands clean, I used parchment
paper to roll out the clay, and I wore disposable gloves! This helped a
lot!
Step 1 - roll out clay
Make sure you're using a hard surface. I placed a
washable cutting mat
on my table, flattened a piece of clay and laid a sheet of parchment on top of
it. Then I rolled the clay out to between 1/4-1/8" thick. You don't want the
clay too thin or the edges will curl up as it dries.
Step 2 - cut out circles
Use a cutter or glass to cut out circles from clay and then poke a hole into
each piece with a skewer.
Step 3 - stamp words
I love these connectable stamps. You just click your word together and it acts
as a single stamp, making it quick and easy to stamps words. Be sure to press
hard enough that as the clay dries, the indentation will remain.
Larger words, like rosemary, can be broken up into two rows as shown below.
Step 4 - let clay dry
It takes about 24 hours for the clay to dry. I usually flip the pieces over to
dry the backs after 12 hours.
Step 5 - seal clay tags
Spray the herb markers with a matte sealer. Do the fronts, let them dry, then
flip over and spray the backs.
Don't neglect this step! Not only does it protect the clay tags from moisture, meaning they can be used outside! But it also seals the color so it doesn't rub off.
Wouldn't a trio of herbs, along with clay markers, make a great gift for
mother's day, a friend's birthday or even a housewarming gift? Keep reading
for a great tip for using these terracotta clay herb markers in your garden!
I made a bunch of herb markers so I've got all my favorite herbs covered! We
love using fresh herbs in cooking, easy fresh bruschetta and pasta, salads and
my simple homemade
pico de gallo! I'm using mint and sage, along with fresh ginger, to make an iced tea that
is popular in Memphis!
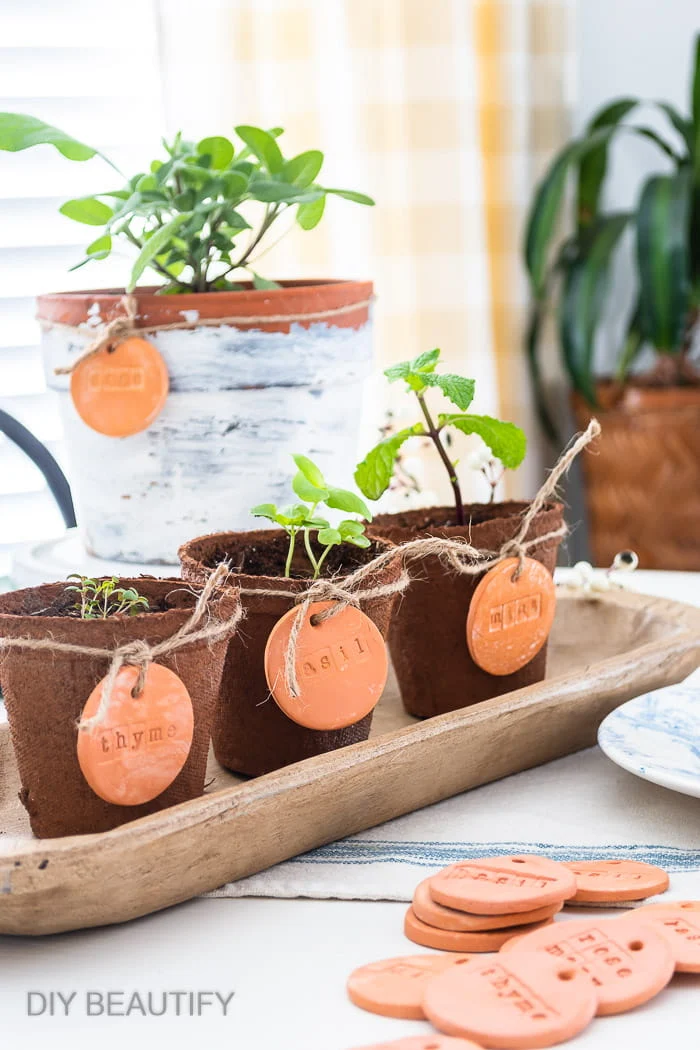
Once these seedlings have grown a little bigger, it will be time to plant them
in the garden. The peat pots will break down in the soil, so they make the
ideal pot! I would recommend using these plant stakes with the terracotta clay herb labels! You can just slide the clay tag
right onto the stake and insert it into the garden soil!
More air dry clay projects:
-
Faux Antique Ironstone Broody Eggs
-
DIY Anthro Minka Pot Dupe
- Tarnished Silver Tray Upcycle with Clay Rabbit







Cindy, your terracotta markers are so good looking! I love this project and I'm pinning for later!
ReplyDeleteThanks for letting me know Michelle, I'm so glad you like them 😉
DeleteI have been a big fan of terracotta anything, but now I need to make these garden labels! How adorable!!! They would make the cutest number labels too!
ReplyDeleteThanks so much Donna, yes number labels are a great idea! I made some for July 4th!
Delete