Sweet Stamped Bunny Napkins
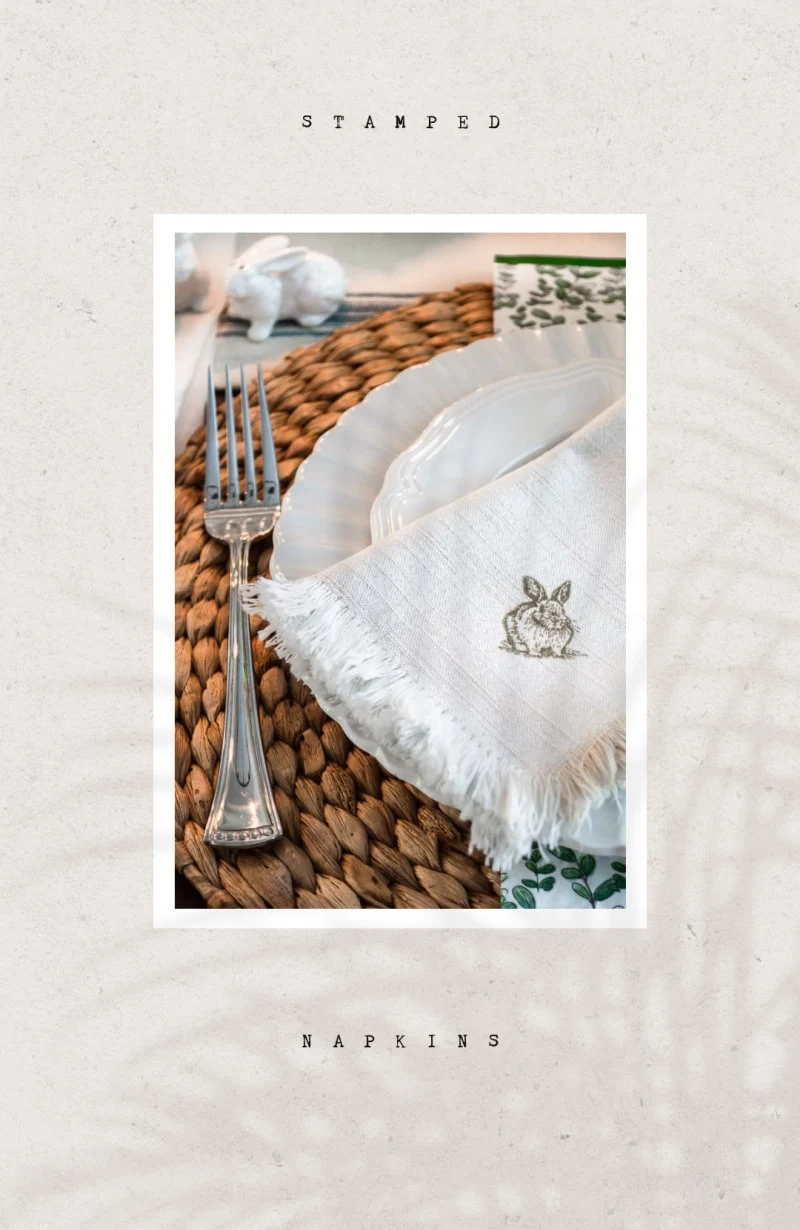
Set your Easter table with a handmade set of stamped bunny napkins. An easy DIY that delivers the sweetest results!
This post may contain Amazon or other affiliate links. As an Amazon
affiliate I earn from qualifying purchases.
My full disclosure policy can be found here.
Hey there friend. Can you believe Easter is nearly here? I'm fitting in a
couple of last minute ideas for you! These stamped bunny napkins are as easy
as they are cute. Read on for the step by step tutorial.
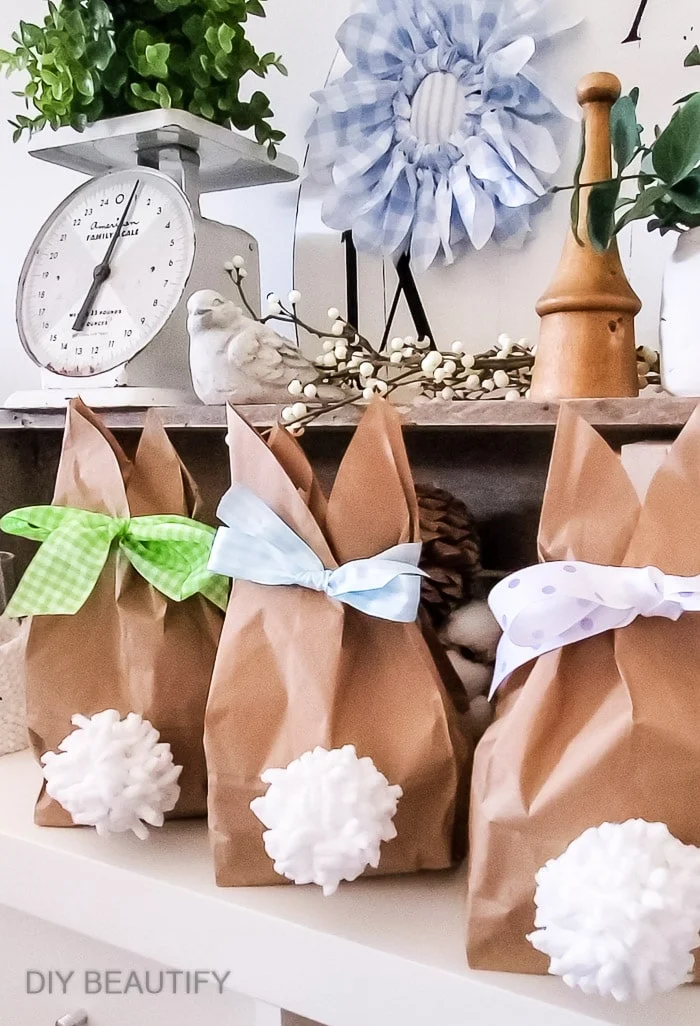
If you follow me on Instagram, you might have seen the bunny treat bags I made
for my adult kiddos using paper lunch sacks! The pom pom tails are just too
cute! If you missed it, you can watch the video tutorial here. These would be fun to make for kids of all ages, the little ones especially
will love opening up the cute bunny to get to their treats!
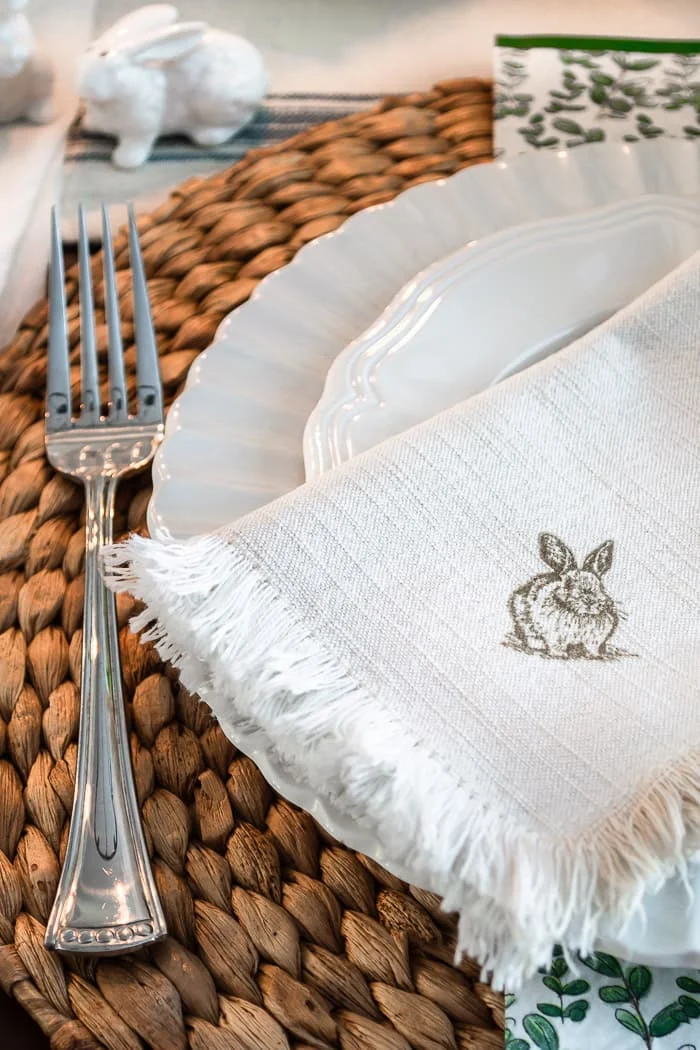
As I was setting our dining table for Easter with bunnies and flowers, and a hand stamped He is Risen ribbon, I
thought of one last project.
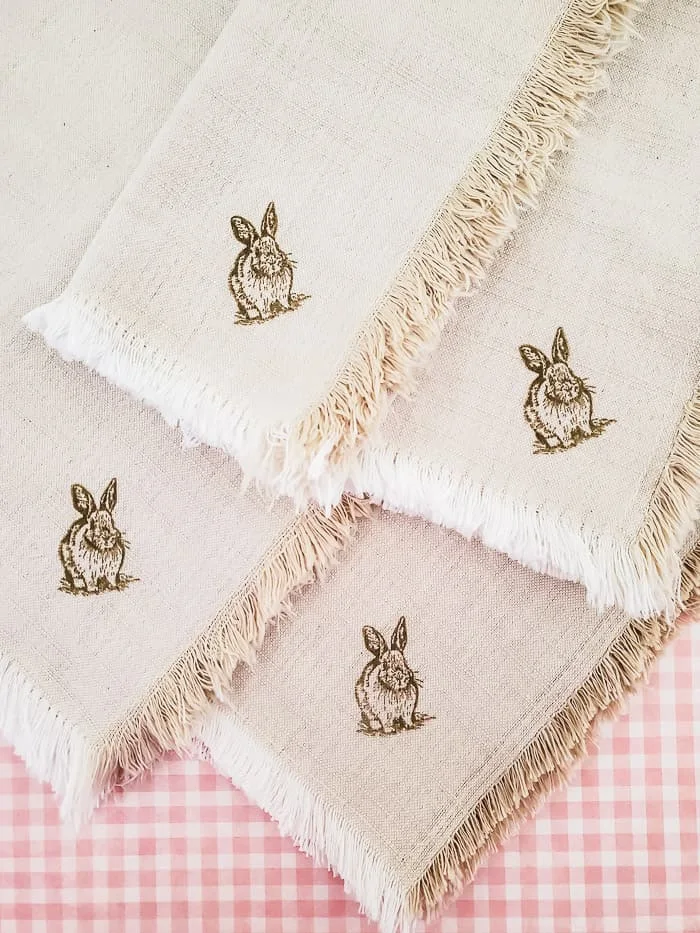
Stamped bunny napkins.
So cute, simple and easy to do, they literally took minutes from start to
finish!
How to make stamped bunny napkins
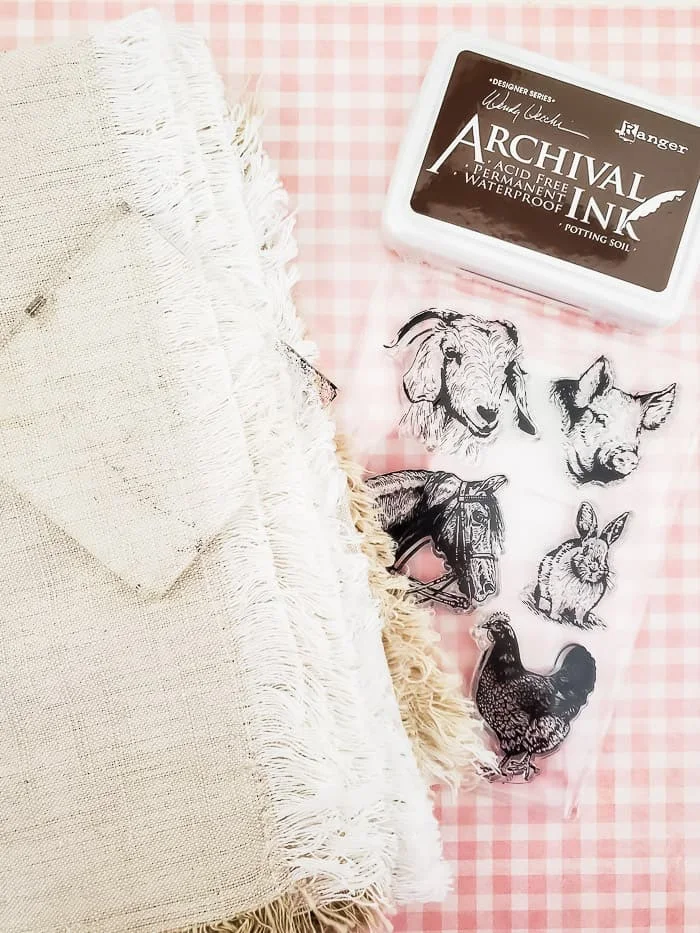
Here are links to the exact products I purchased from Amazon. The lace-edged
linen napkins below are much nicer than the ones I used, and I'll likely
purchase them for another project.
Supplies
- neutral napkins from HomeGoods ( these are a great alternative)
- this set of stamps (the bunny has the cutest face!)
- clear stamping block like this
- this brown permanent, waterproof ink
Make sure you are using an ink that is waterproof and permanent if you want to
be able to wash your fabric napkins!
Directions
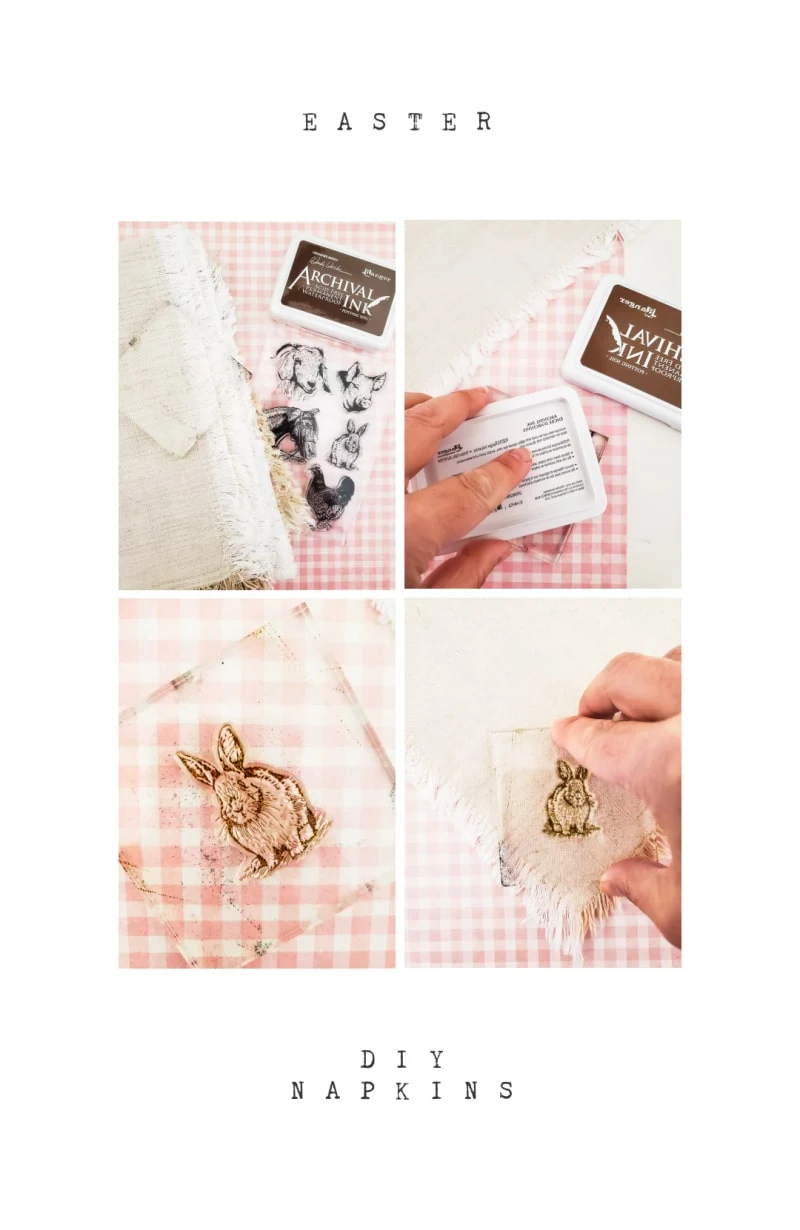
No. 1 - Iron napkins
Iron out any wrinkles from napkins and make sure they're all facing the same
direction before stamping. Once you get started, you don't want to have to
mess with the placement and goof!
Peel bunny stamp off the film and place in the middle of the clear stamping
block. I love how easy this makes getting the placement just right because you
can literally see exactly where you're stamping!
No. 3 - Ink stamp
I learned a tip years ago. Rather than pressing the stamp into the ink, tap
the ink pad onto the stamp. You get more even coverage this way, and it
prevents ink from getting on the stamp block.
Press the inked stamp flat onto the fabric napkin. Don't wiggle it around,
just press firmly and lift straight up. Repeat for the remaining napkins.
Having the napkins ironed and ready to go makes this step go very quickly!
No. 5 - Heat set image
Once all the napkins are stamped and the ink is dry, iron the stamped image
with a hot, dry (no steam) iron to set the ink.
No. 6 - Clean stamp
I use baby wipes to clean the ink from the stamps. Because this particular ink
is permanent, it will stain the stamp, but it's important to remove any excess
ink before putting the stamps away.
These little bunny stamped napkins are the perfect finishing touch for my
Easter table!
What else can I stamp?
Once you have the stamps, the sky's the limit! Here are some additional ideas
to get the most out of your stamps.
- kitchen towels
- table runner
- note cards
- your child's Easter outfit (match the ink to the outfit)
- flower pots
- handmade bookmarks, paper or fabric
You get the idea, you can stamp anything and elevate it with a stamp! Just
be sure you're using the correct ink for the project.
The bunny is the perfect size for the napkins, and isn't it the cutest stamp?
I hope you loved this last minute Easter DIY! Watch for more pictures of my
Easter table coming this week.
Need more Spring DIY inspiration? Click
HERE to see my
entire portfolio of ideas!
entire portfolio of ideas!
If you are inspired to try this project, I'd love to hear! Leave me a comment
below!
Pin to Save 🐰
bringing beauty to the ordinary,





What a great idea! Such an easy project too. Thanks for sharing this.
ReplyDeleteThank you Melanie!
DeleteI stamped dishtowels with the same brand of ink and when I washed them, they faded. Did you have any issues and if not, did you wash them in hot or cold? Thank you. Jill jill.baatz@gmail.com
ReplyDelete