DIY Oil Painting Dupe From a Printable
Turn a printable into a faux oil painting in just a couple of easy steps! A thrifty way to create inexpensive wall art or style your shelves for the seasons!
This post may contain Amazon or other affiliate links. As an Amazon affiliate I earn from qualifying purchases. My full disclosure policy can be found here.
Decorating your home can get expensive, and I'm all about sharing easy and affordable ways to keep your home in style without maxing out your wallet!
Whether you're looking for seasonal decorations or just want a new look for your walls, this oil painting dupe is so easy, I hope you'll try it!
There's something so inviting about oil paintings. They have depth, texture and add character, warmth and authenticity to a space! I'm going to show you how to turn any printable into a unique piece of art! The process is so easy and I think you're going to love this DIY and come back to it whenever you're looking to add a little pop of character to a space!
Table of Contents
Jump to the desired section:
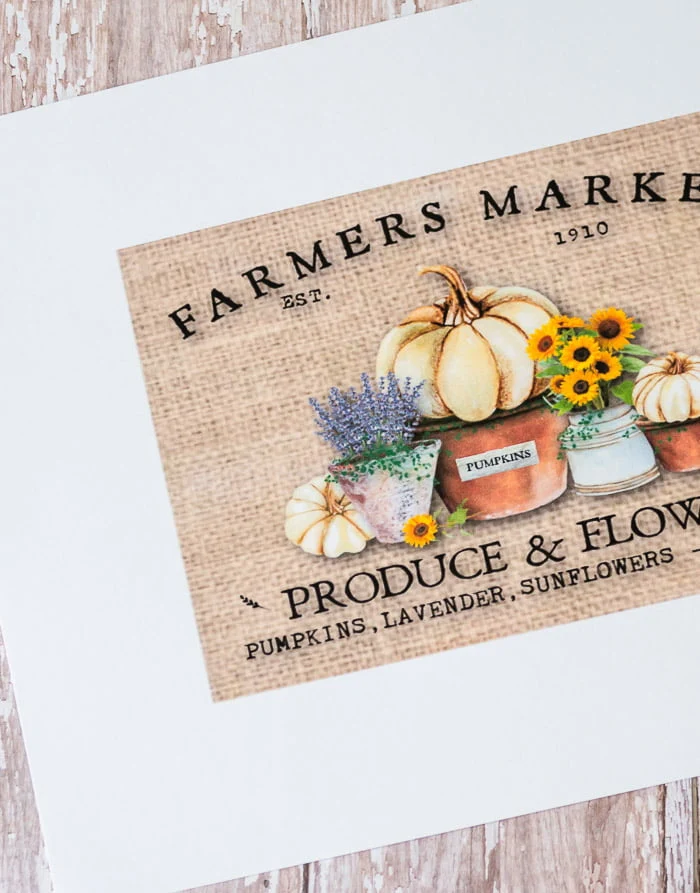
Farmers Market Fall Printable
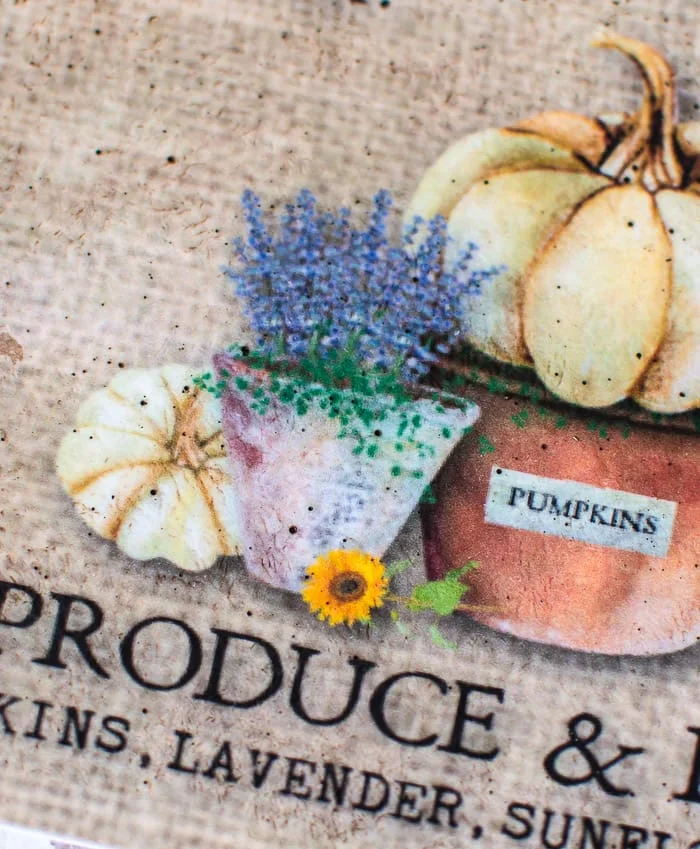
It all started with this Fall printable that I created. It's filled with pumpkins, sunflowers, vintage looking pots and lavender, everything that you expect from a Fall farmer's market!
If you're a subscriber, you have free, unlimited access to my Resource Library, which contains all my printables and other resources (and you'll find the link in every post I send you!) If you're not yet a subscriber, you can sign up here.
Create an oil painting from a printable
It takes just minutes to give any printable the look of an oil painting in just a couple quick steps. Let me show you how to do it!
Supplies:
- printable (I recommend printing onto cardstock)
- matte Mod Podge
- small paint brush ( I like a flat brush for this application)
- dark furniture paste or you could use an antiquing glaze
- rag
Benefits of painting a printable with Mod Podge
- It enhances (deepens) the color of the print and really makes the colors pop
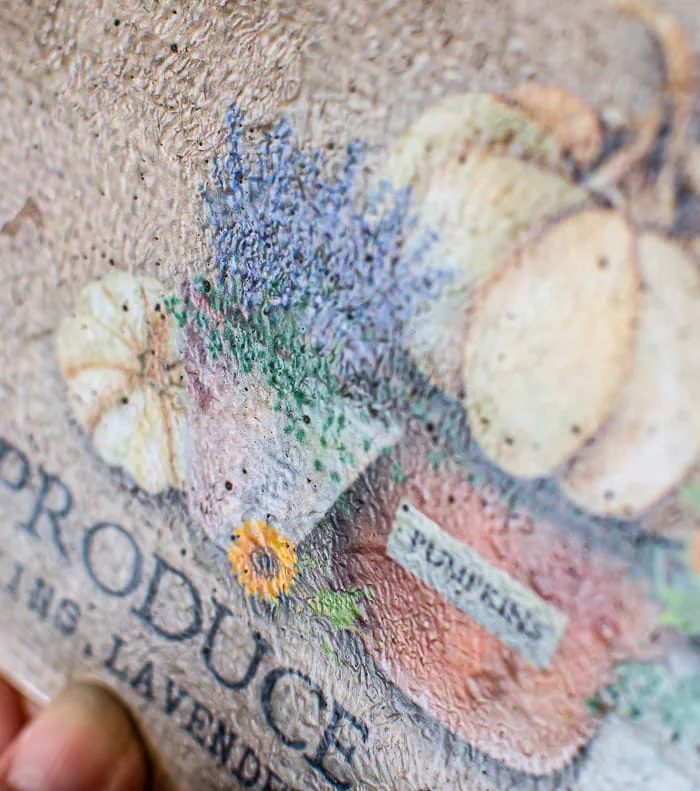
- It adds texture to a flat surface, which gives the printable more dimension, making it resemble an oil painting
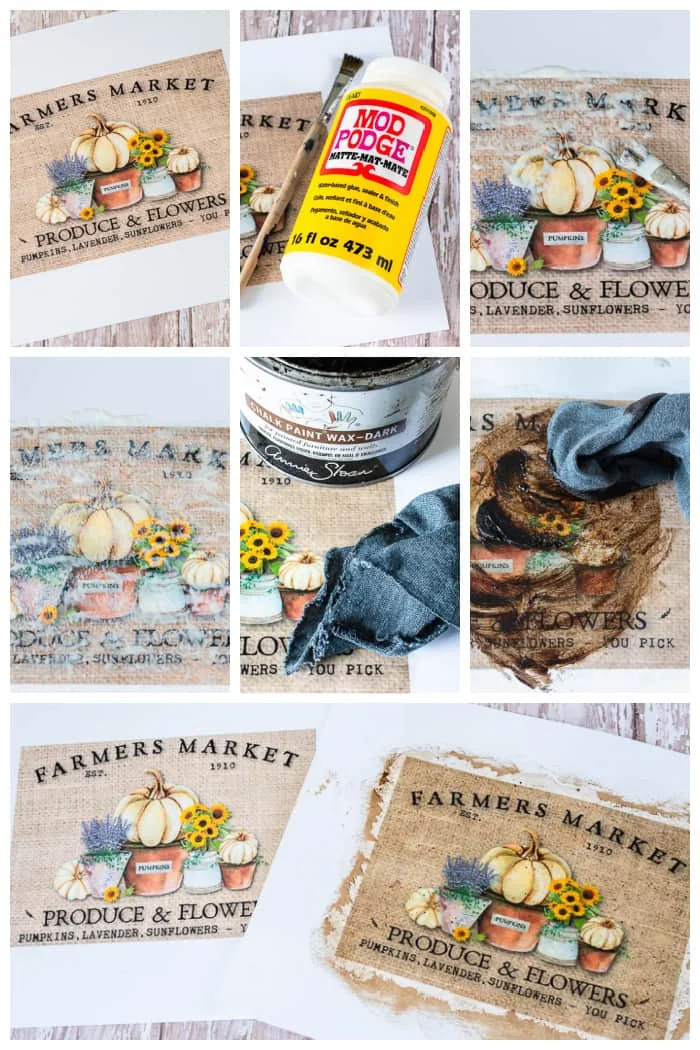
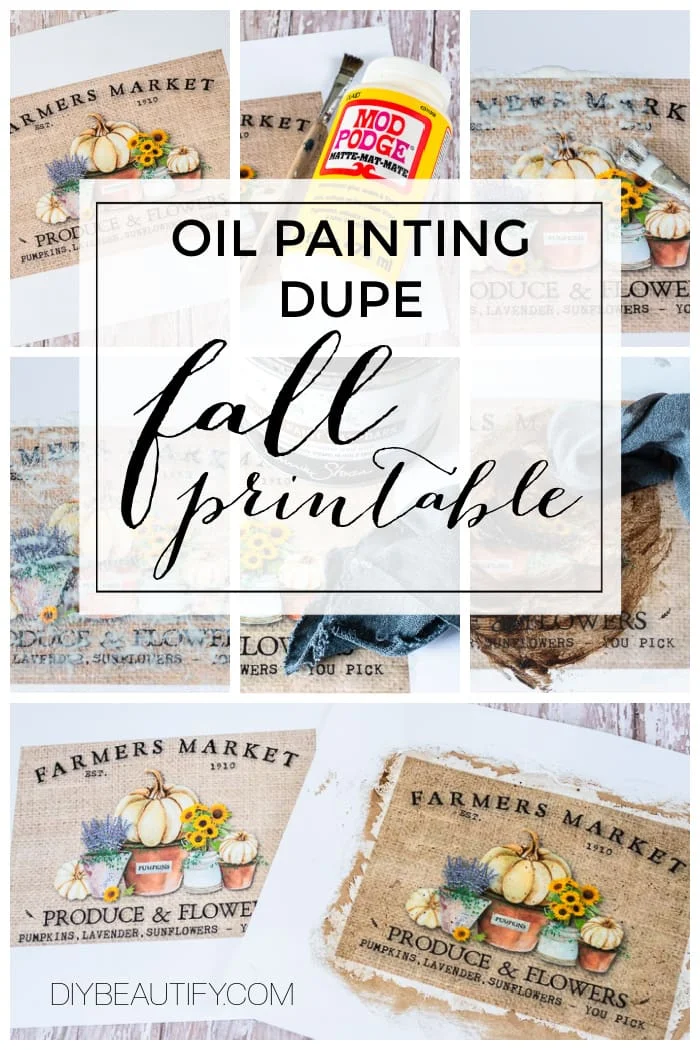
How to create a faux oil painting in 2 easy steps
(all steps are illustrated below)
Don't forget!Be sure to print your design onto cardstock, rather than regular copy paper. The paper needs to be able to hold up to the wetness of the glue and glaze.
Step 1 - Brush on decoupage medium
Use a pouncing motion to create a stippled, textured effect with the Mod Podge. I applied it fairly heavily because I wanted to create as much texture as possible. Leave it to dry completely.
Step 2 - Rub on dark wax or glaze
Use a rag to generously rub a dark wax or glaze onto the printable, yes right over top of the Mod Podge. It won't darken the print nearly as much as you'd think, but the wax will add depth to the printable. Use the rag to really work the wax/glaze into the paper, removing the excess. Leave to fully dry.
Alternately, you can use clear wax and then dark wax over the printable BEFORE you apply the Mod Podge. This will give you a deeper, antique glazed look. By applying the clear wax first, you will be able to manipulate the dark wax and remove any areas that are too dark.
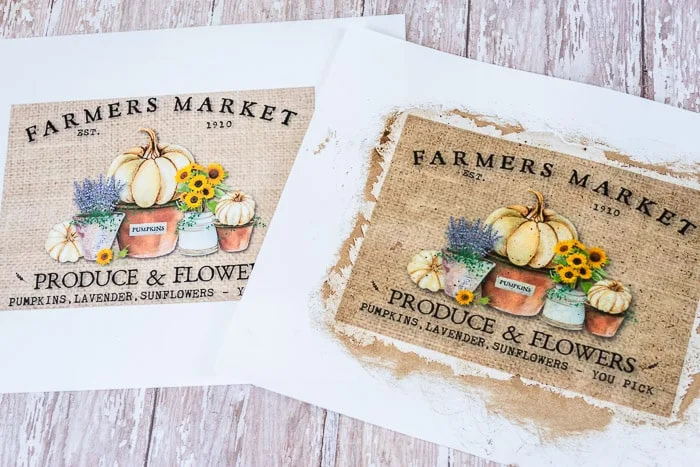
The dark wax really enhances the warm colors of this print, and deepens them. Some of the dark wax will get caught in the texture that you created with the Mod Podge, which adds even more age, interest and texture to the faux oil painting.
You might not think that your printable changed much, but just take a look at the before and after below. See how much richer the printable looks with the layers we added?
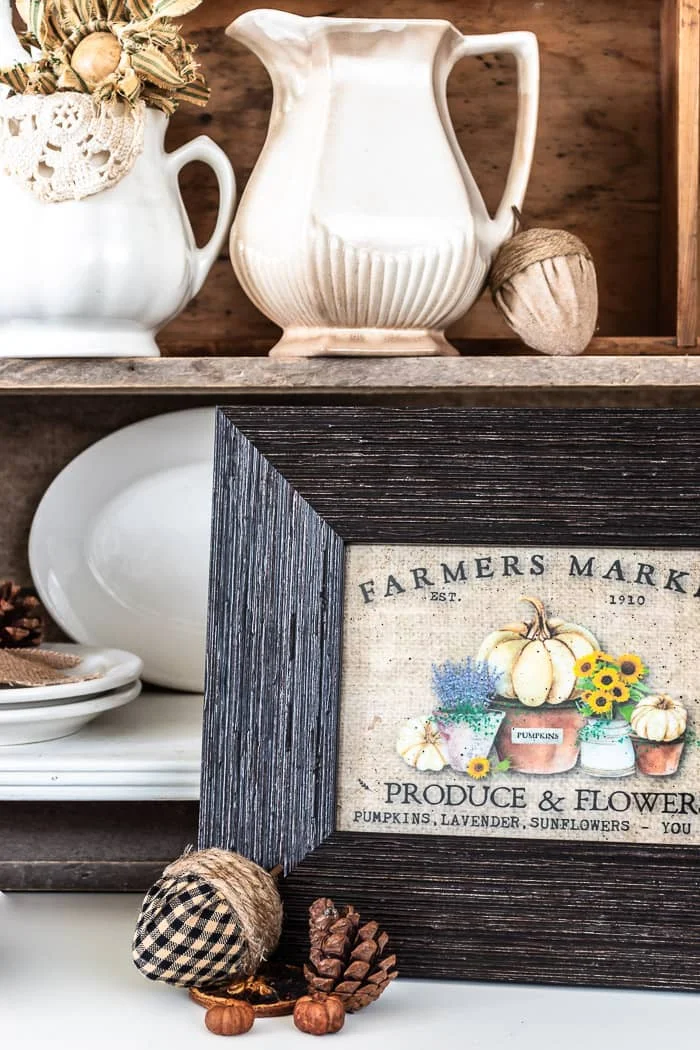
Finally, trim off the excess cardstock and pop the printable into a frame. I found this pretty frame at Goodwill for only $1.99 and the color and texture is just perfect for my faux oil painting!
I truly hope that you enjoyed this oil painting dupe tutorial and plan to try it yourself! If you do, I'd love to hear about it! If you have any questions about this process, please leave me a comment below ❤





I'm a subscriber, but can't find access to the printables. Can you help? Thanks
ReplyDeletePlease leave me your email and I'll send you the link!
Deletejmacdesigns@yahoo.com
DeleteI've been wanting to try this forever but have yet to find the perfect print. Love this one! So cute. Happy fall!
ReplyDeleteThanks Cindy! Happy Fall 🍂
DeleteHi... I'm also a subscriber and I too can not find the link to access the printables. Thanks for all your great inspiration!!
ReplyDeleteDotte, just let me know your email and I'll email the link to you!
DeleteLove all your ideas! So creative, thank you!
ReplyDeleteThis didn’t work out very well for me. When I applied the wax, it looked awful, it didn’t look anything like yours! Just kept smudging the surface; not blending. Wondering what I did wrong????
ReplyDeleteSorry you struggled Melissa! Did you apply clear wax first? That would allow the dark to blend. Also, you need to work in small sections at a time, before the wax dries.
DeleteI love the idea of using dark wax over the Mod Podge! Never thought of that...thank you!
ReplyDeleteI am a subscriber and I cannot find the link to the free printables.
ReplyDeleteIf you send me your email address, I'm happy to send you the link. Otherwise, look for it at the bottom of every email you receive from us!
Delete