Bunny Peekaboo DIY Treat Jars
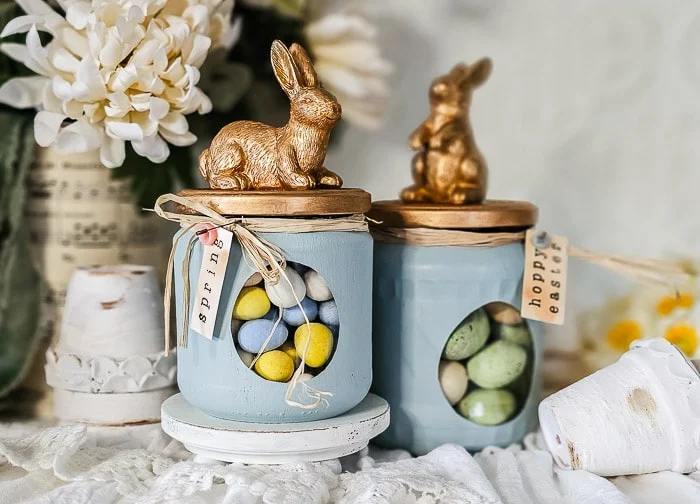
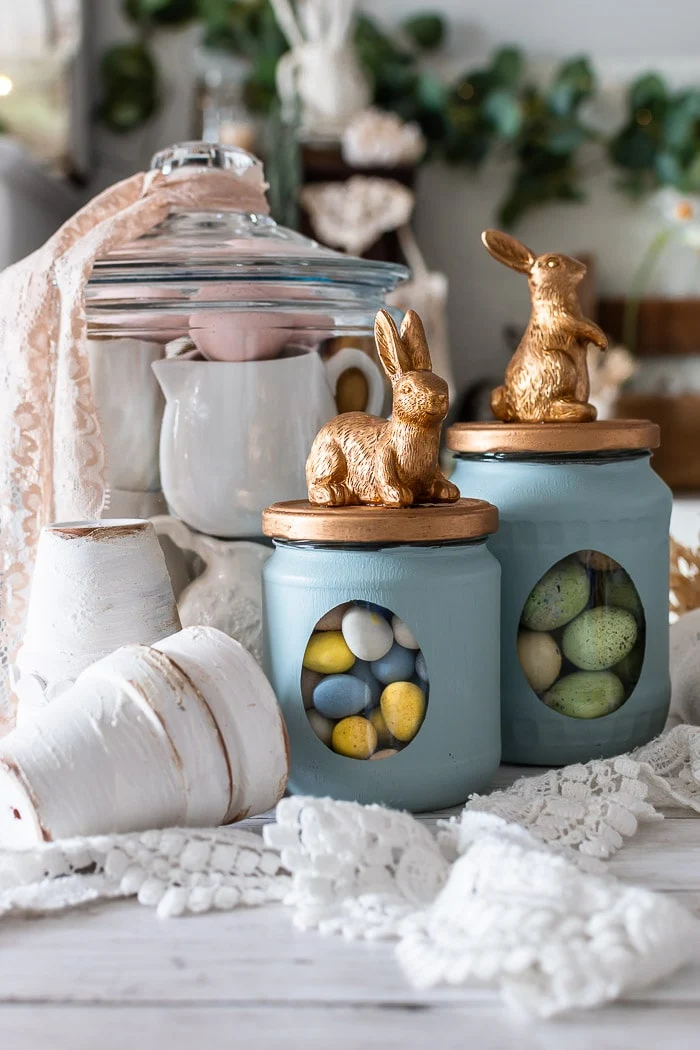
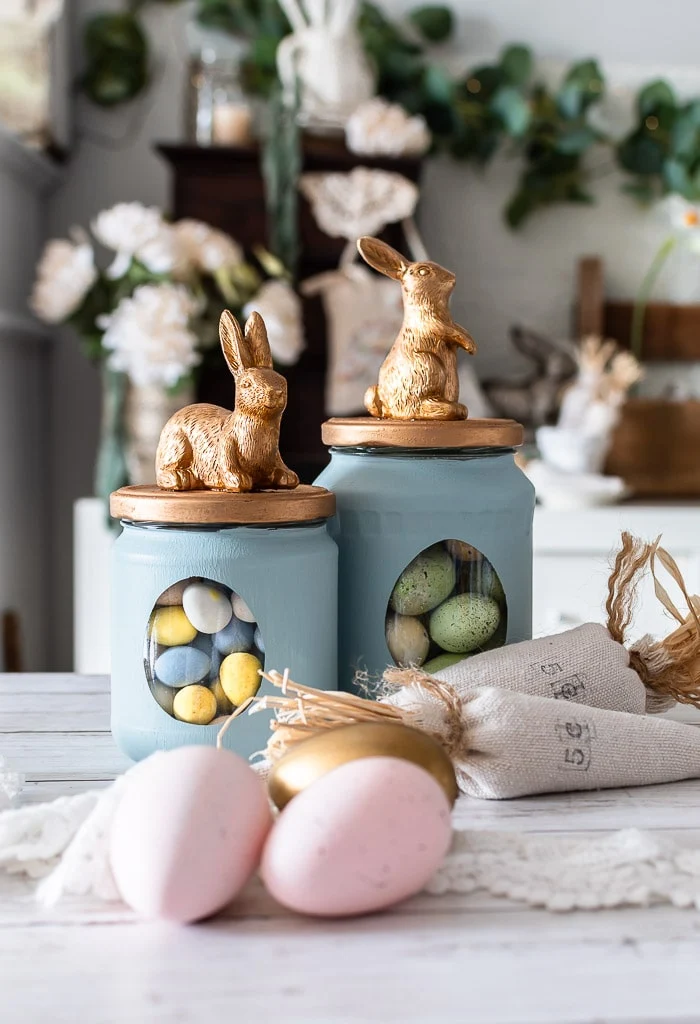
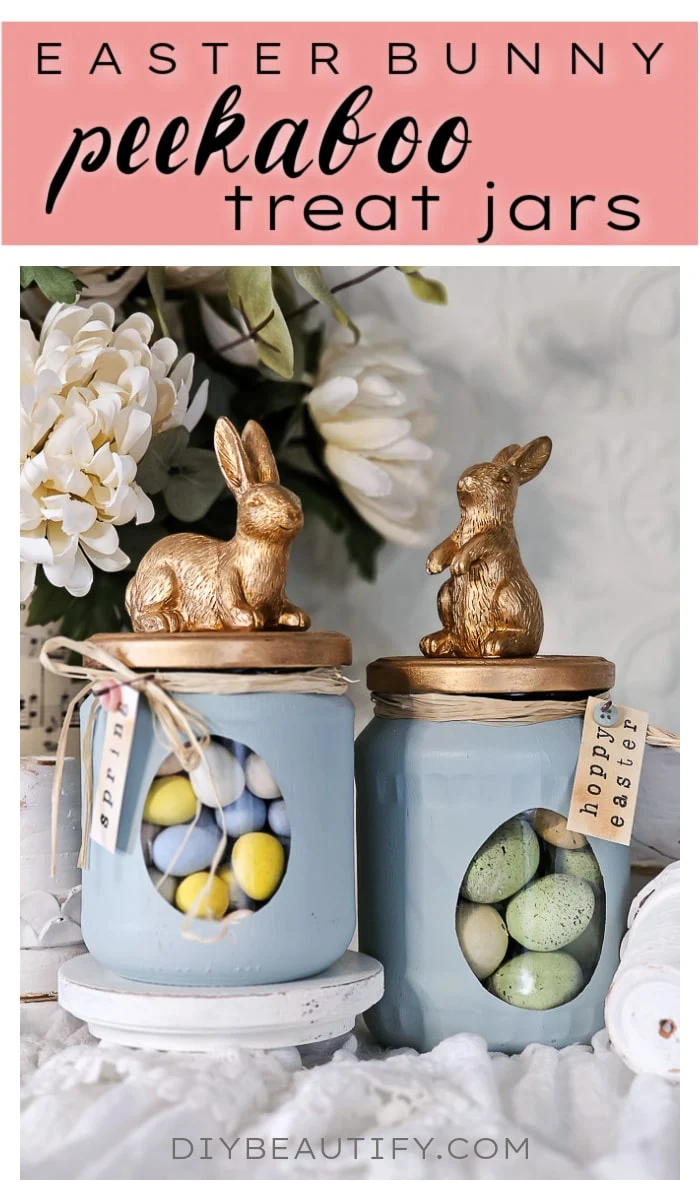
Upcycle glass jars into sweet bunny topped treat jars. An egg-shaped window lets you get a peek-a-boo look at what's inside! Full step by step video tutorial included.
This post may contain Amazon or other affiliate links. As an Amazon affiliate I earn from qualifying purchases. My full disclosure policy can be found here.
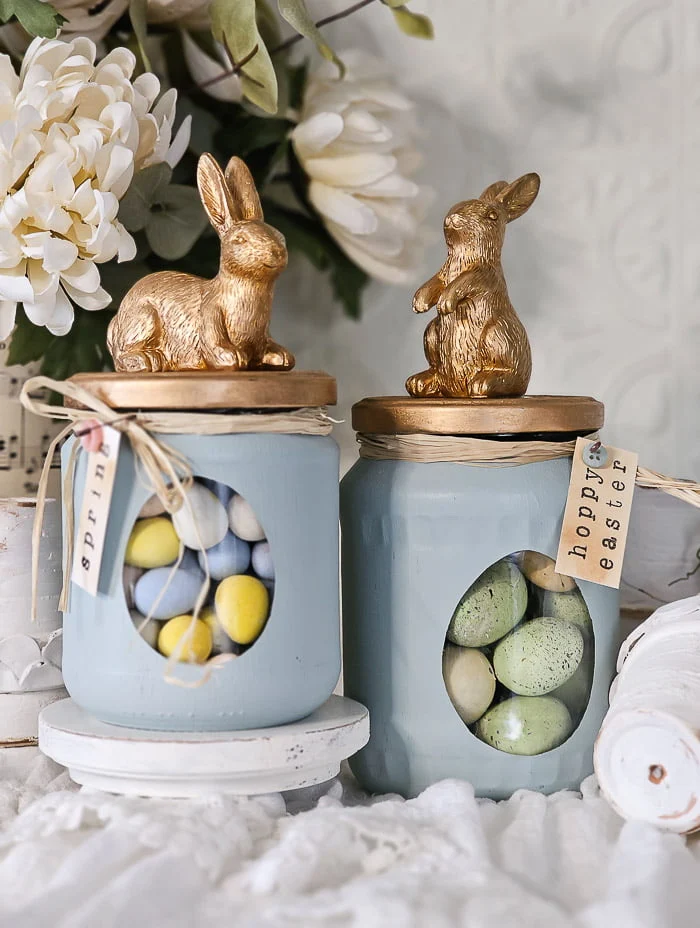
If you love budget decorating for the seasons, look no further than these Easter peekaboo treat containers! Crafted from food storage jars and small bunnies, they are an inexpensive solution to your Easter decor and make the cutest gifts too.
DIY Bunny Peekaboo Treat Jars
I was washing some glass jars after finishing the edible contents and set them aside because I thought they would make some cute decor.
I wasn't sure just what they would become until I spotted small gold rabbits in the dollar spot at Target. At only $1 each, I grabbed several of the little bunnies and set out to transform my jars into peekaboo treat jars for Easter!
Any small plastic bunnies will work. You could use this set of bunnies and give them a quick color change with gold spray paint.
Here's how to make these peek-a-boo treat jars. You'll find both written directions as well as a video tutorial below.
As always, check your local craft stores for the best prices. I'm sharing Amazon links below for your convenience.
Supplies Used:
- glass jars and lids with wide openings (I used salsa and sauerkraut jars from Aldi)
- large egg shaped sticker cutout*
- chalk paint (I used this color) or spray paint
- rub n buff (I used this shade)
- clear paste wax
- Target dollar spot gold bunnies (similar here)
- 9001 glue for metal (or this glue)
- foam craft brush
- paper towels
- disposable gloves
- lint-free rags
*I cut out an egg shape from vinyl using my Silhouette, sizing the egg to perfectly fit my jars. Another idea is to print out an egg shape (or trace a cookie cutter), onto packing tape and use that for your cut-out shape.
Instructions and tips
If you're wanting to make these bunny jars, watch the full length video first, then come back and refer to these tips below!- jars and lids should be thoroughly washed and dried so no food odor remains; run through dishwasher a time or two if needed
- be sure to press egg sticker snugly to jar, especially around edges, so no paint is able to seep underneath
- paint glass jars with two coats of chalk paint for the best coverage
- apply rub n buff to bunnies as well so the gold color matches the lids (or spray paint lids and bunnies gold)
- before applying rub n buff to metal lids, it is recommended to wipe with mineral spirits (or even rubbing alcohol) and lightly sand glossy surfaces
- glue bunnies to dry lids
- use a tweezer to remove egg shape after paint/wax is thoroughly dry to reveal an open window
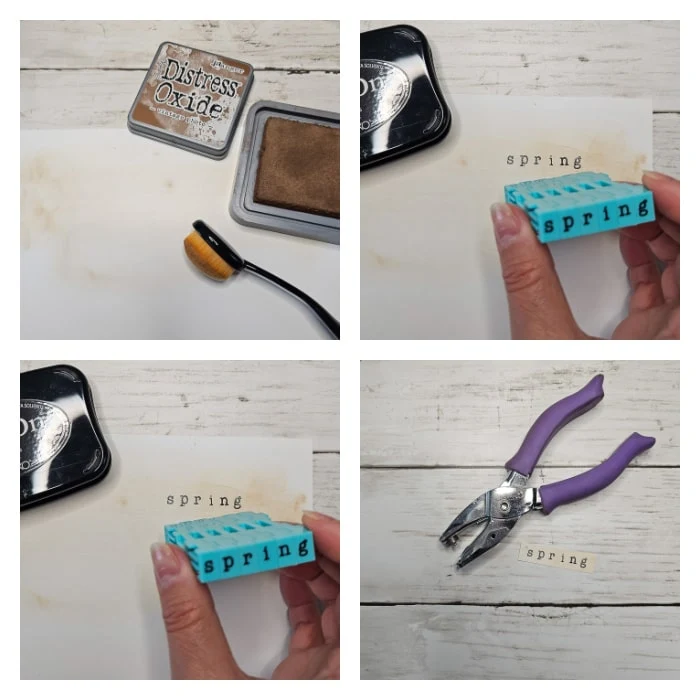
- make a simple stamped tag (see below for the how to)
What to put in the treat jars
Fill DIY jars with small Easter candies, decorative miniature eggs or my delicious and addicting bunny munch mix! These decorated jars would make a wonderful hostess gift at Easter! Follow the tips below to make a simple tag for gifting.
Custom stamped tags for gifting
Don't show up for Easter dinner empty handed! Bring one of these Easter treat jars as a hostess gift and watch faces light up with joy!
A stamped tag is that final detail that can really set a project apart, especially if you're giving it as a gift.
Supplies:
- cardstock
- alphabet stamps
- black permanent ink pad
- distress oxide in vintage photo
- blending sponge (I use a makeup sponge)
- raffia
- mini safety pins
- small pastel buttons
- tiny hole punch
If you're using white card stock, you can add depth with a little vintage ink. Just a light rubbing will give a deeper look. Give the ink a minute or so to dry until you proceed with the next steps.
- stamp your saying onto the inked paper
- cut paper into a strip
- punch a small hole in one end
- thread a button onto the safety pin
- pin tag to raffia tied around the jar lids
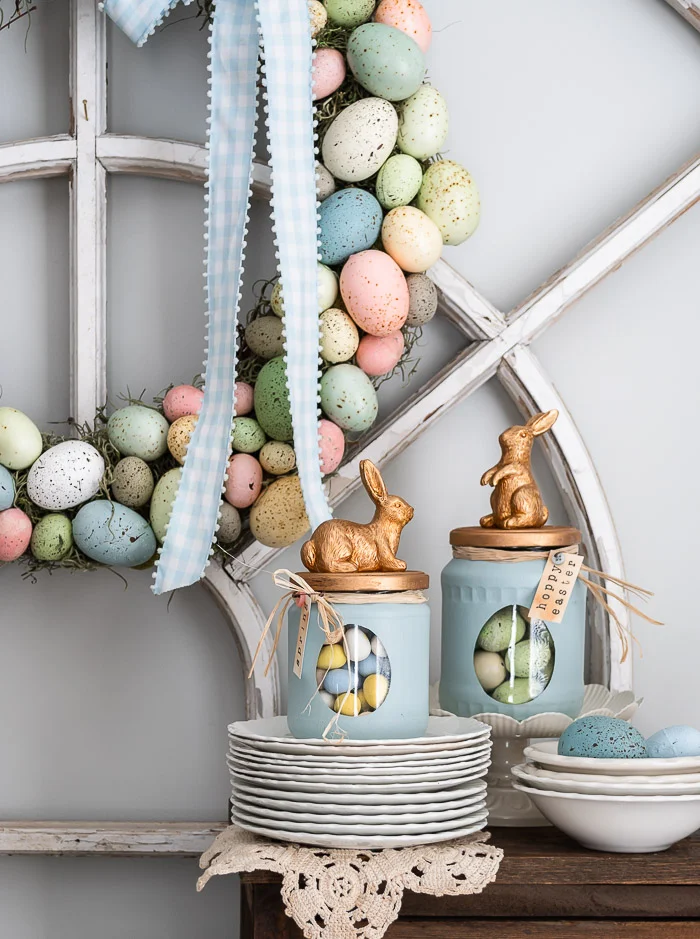
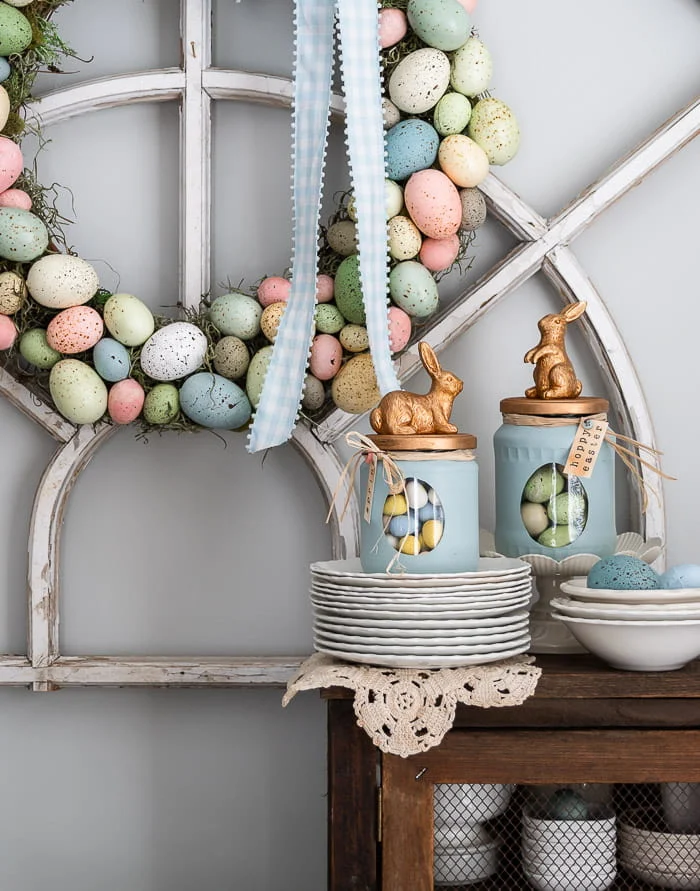
The treat jars go perfectly with my pastel Easter Egg DIY Wreath.
You might also like these projects:
-
How to make an Easter egg wreath
-
Decoupage Easter egg topiary tree
-
Vintage style bottles with faux rusted lids
🌸 Visit my complete Easter and Spring catalog of ideas here🌸
bringing beauty to the ordinary,





These peek a boo Easter egg jars are DARLING! What a yummy AND gorgeous way to chime in all things Easter!
ReplyDeleteI love to upcycle all the food jars, too, Cindy! This is such an elegant DIY for kids and adults!
ReplyDeleteThanks Beth, my glass jar stash is getting out of control lol!
DeleteThese are really adorable. Very classy looking. Thank you for sharing! Happy Easter!
ReplyDelete