Updating a Vintage Sewing Table and Chair
Giving a Vintage Sewing Table and Chair a Quick Makeover
Affiliate links may be included for your convenience; my full disclosure policy can be found here. If you click through and make a purchase I'll receive a small commission at no extra cost to you!

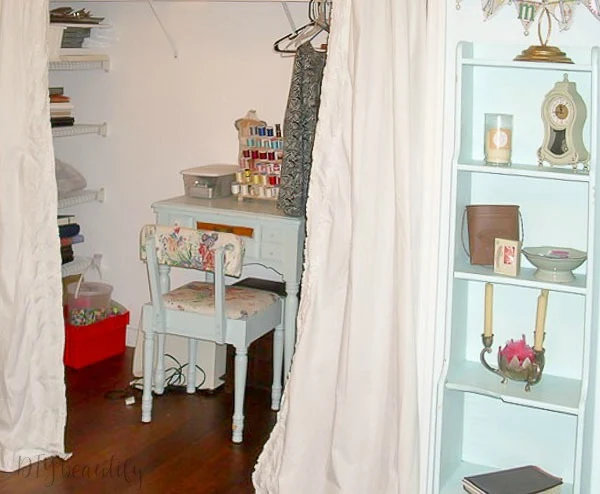
I haven't changed a thing about it in 10 years, even though it had a few issues and I knew that at some point I needed to give it a makeover.
Fast forward to a few weeks ago when I set up my new farmhouse office. With all the pretty stuff happening in the room, I knew it was time to give this set a little update. I loved the pale blue color that someone had painted this set, and wanted to keep that intact. I also loved that it looked old; the paint was slightly chippy. But I needed to do a little tweaking to make it look more finished.
Let me show you what I did to update this set while still keeping the vintage feel intact.
I'll start with the chair. It's kind of a funny little chair with the squared off seat. But look at those legs! And it tucks away nicely under the sewing table. Someone had clearly recovered the seat and back cushion at some point. After removing the cabbage rose fabric, I found a surprise...the original fabric! Ew!!! Brown and orange toile...not sure that's ever coming back!
It was easy to unscrew the back cushion from the body of the chair and staple the new fabric on. I did the same with the seat cushion. I had a yard of blue ticking stripe fabric sitting in my stash. It was a good match for the existing paint on the chair and suits the farmhouse style in my new office.
The sewing table needed a little more help. For some reason, one panel on the front had never been painted. One of the drawers had fallen out in our move and needed to be replaced. Luckily I had it!
I was pretty sure I'd been unable to match the existing paint..both the color and the sheen. After giving it some thought, rather than trying to match the paint on that unfinished panel, I decided to paint all the panels that hold the pulls.
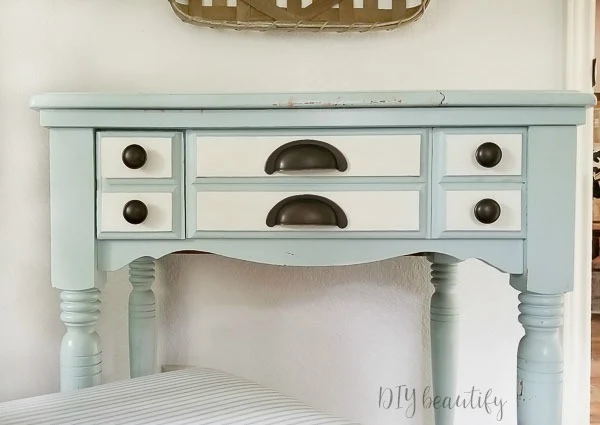
I used DecoArt Satin Enamels in Pure White. I love this product for furniture and cabinets because it has both a primer and a sealer built right into it. It's also water-based for easy clean up! I used a cheap foam brush to paint the raised parts of the drawer fronts. Two coats did it...and the sewing table is already looking a lot better!
Adding hardware to any piece of furniture can make a dramatic change! I chose antique cup pulls and knobs from Hickory Hardware. These are the same pieces that I used on my cottage white dresser makeover. I love the antique finish and knew it would be the perfect finishing touch to really update this sewing table.
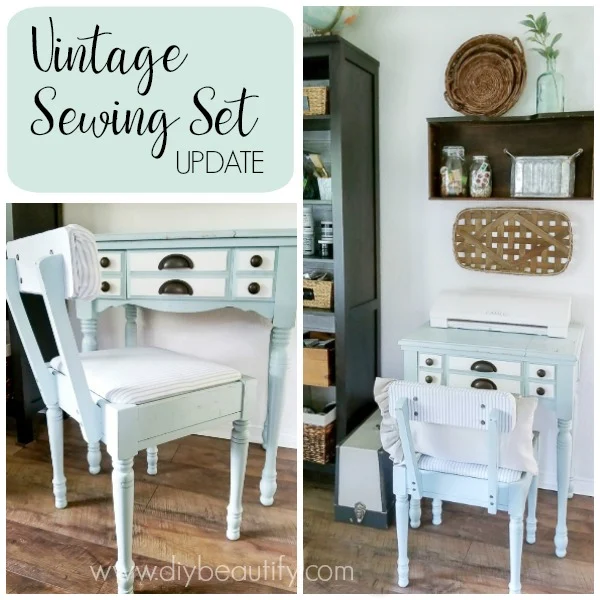
Do you have a vintage sewing set that could use an update? PIN and SAVE this image for future reference!
bringing beauty to the ordinary,
Look how gorgeous these antique looking knobs look against the bright white paint!
This little sewing nook is perfect for quick projects.
I wish I had given this sewing table and chair a makeover sooner! It looks so cute.
For now, I'll store my Silhouette Cameo on the table. I'm thinking my mom's old sewing machine box needs a makeover too! What do you think? A coat of white...or something a little brighter?!
I'm also debating painting the drawer that hangs above the sewing table. Maybe just the inside. And that trio of willow baskets will get hung somewhere in my office...just not sure where yet. Decisions...decisions! They're fun ones to make though, and if you know me at all...things will get moved around from time to time!
Become a DIY insider!
You'll never miss a post, and you'll get all my FREE tutorials
and more...delivered straight to your inbox!
and more...delivered straight to your inbox!
Let's be Social! Follow along on Pinterest, FB, G+, Twitter, Instagram
Popular Posts You Might Have Missed
This blog's content is for entertainment purposes only and is not professional advice. By reading this blog and attempting to recreate any content shared on it, you assume all responsibility for any injuries or damages incurred. Read my full disclaimer here.


WOW! I love this update. What a difference. So fresh and pretty!
ReplyDeleteAww, thanks much Michele!
Delete