Pizza Pan Wreath Wall Decor (with Wood Beads)
Easy instructions to turn a dollar store calendar page and pizza pan into a charming farmhouse wreath or wall hanging. Split wood beads, rope and a removable bow add to the appeal of this budget friendly craft!

This fun pizza pan wreath or wall hanging is made from items I found at the
Dollar Tree! You gotta love a good dollar store run, and when I found two of
their adorable 2021 calendars, I knew just what I wanted to make! In this step
by step tutorial, I'll show you exactly how to make your own wall hanging from a
pizza pan!
I wish this was my original idea, but it's been floating around
Pinterest for awhile! I've had a bag of split wood beads that I've been dying to make
something with! When I saw Amber from
The Maker's Map DIY here, I thought this wreath idea was the perfect project, and you
might want to run to Dollar Tree and get your own supplies to make this cute
pizza pan wreath!
I love when a DIY project exceeds expectations, and this project turned out so
cute that I think I'll make these as Christmas gifts this year!
Every home needs a great wreath..or two..or three!
Click here to see my most popular wreath of all time.
Click here to see my Christmas wreath
with red ticking stripe fabric ribbon. And
here is a gorgeous fall wreath
made with dollar store items.
Let me show you how easy it is to make a beautiful pizza pan wreath. You'll
find the supplies list at the end of my tutorial.
How to Make a Pizza Pan Wreath Wall Hanging
Find a picture in your calendar that you want to use and gently tear the
page out. Lay the page on the pizza pan and score the corners with your
fingernail, then cut out. Don't worry about the areas that are too short,
we'll be covering those up with cord!

Can we just talk about these Dollar Tree calendars for a sec? They're
unbelievably cute! They are often sold out so I was fortunate to grab a
couple of different ones, both with pretty pages that will make great
crafts! Here's a quick look. Can you imagine the possibilities for signs,
wreaths, etc?

What would you make?

Okay, back to the DIY wreath. The next step is to remove the calendar design
and paint the pizza pan with 2-3 coats of white chalk paint.

Once the chalk paint is dry, brush a thin, even coat of decoupage medium
onto the pizza pan.

Center your calendar design on the wet decoupage and gently press to fit.
Work out any air bubbles with a flat edge (like a credit card).
Let dry and then hot glue rope or cording around the rim of the pizza pan. I
did two layers, which covered up the edges of the design.

Hot glue split wood beads evenly around the rim of the pizza pan.

Finally, to disguise the hole from the calendar page, you can make a quick
bow and hot glue it to a magnetic button.

The bow can be replaced as I did here to show you how I can jazz this wall
hanging up a bit for Christmas! This works because the design is neutral.
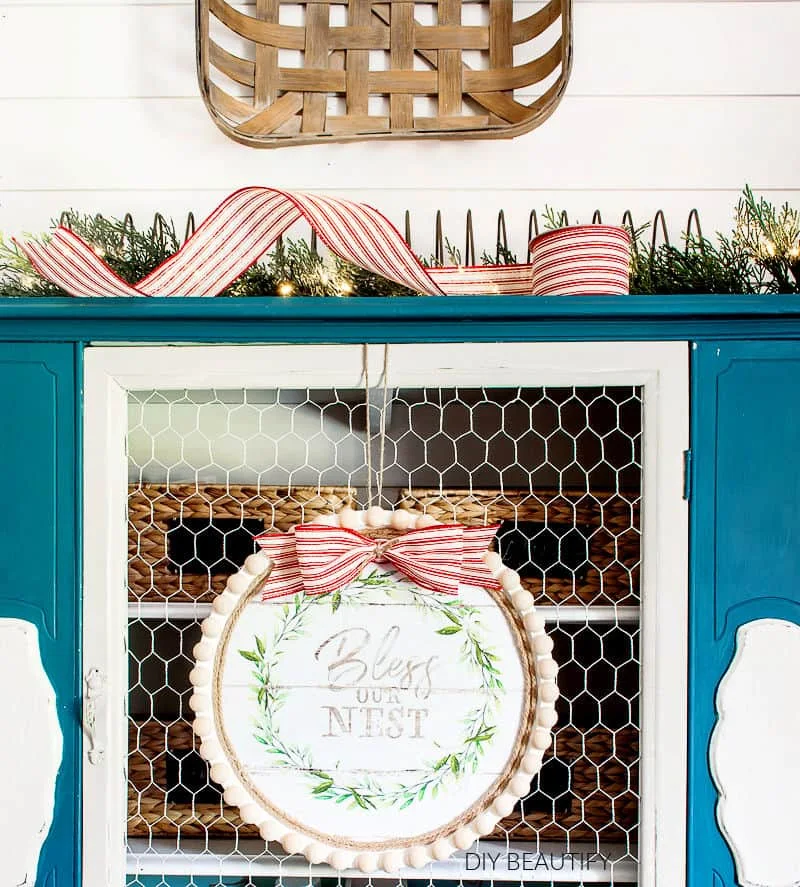
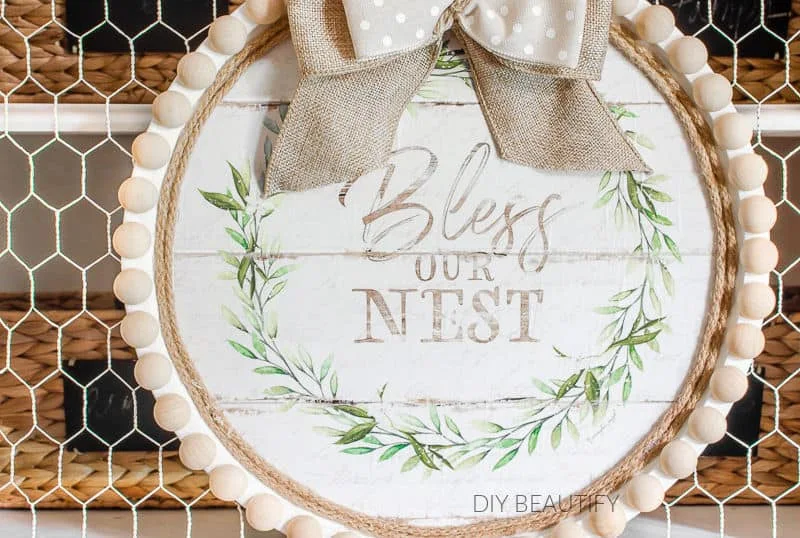

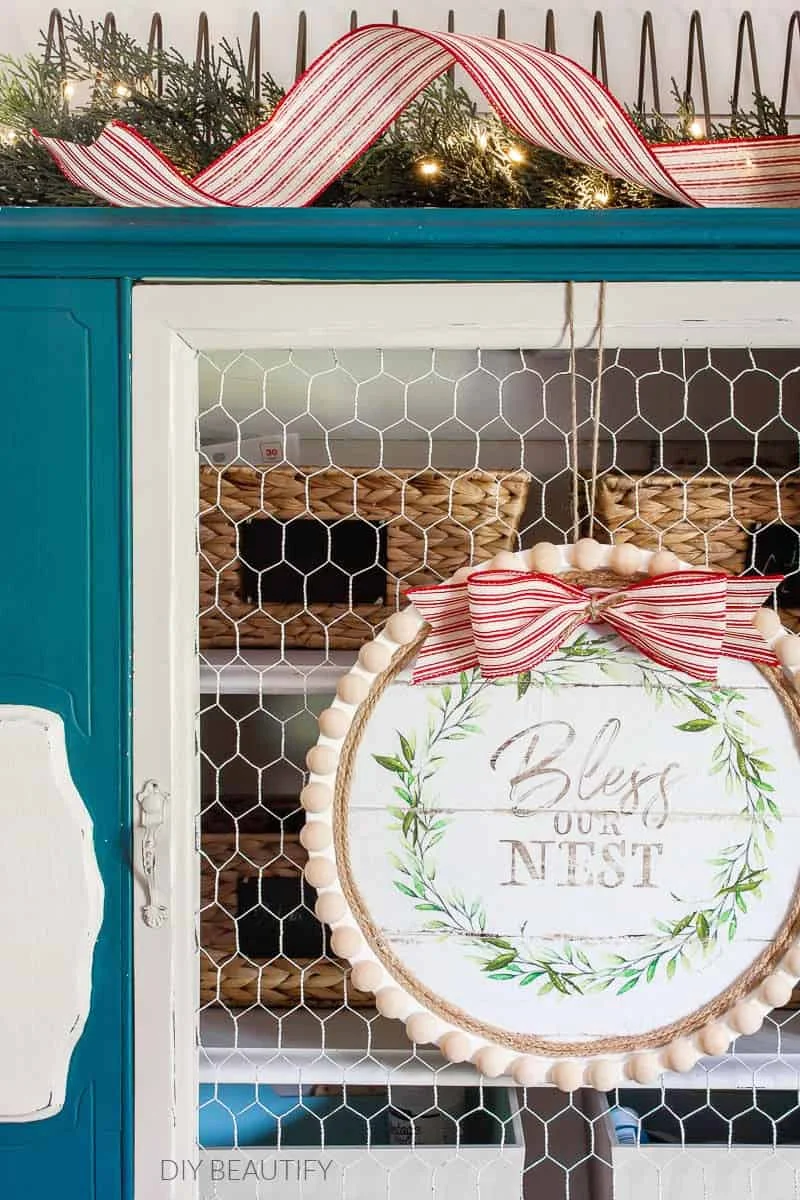
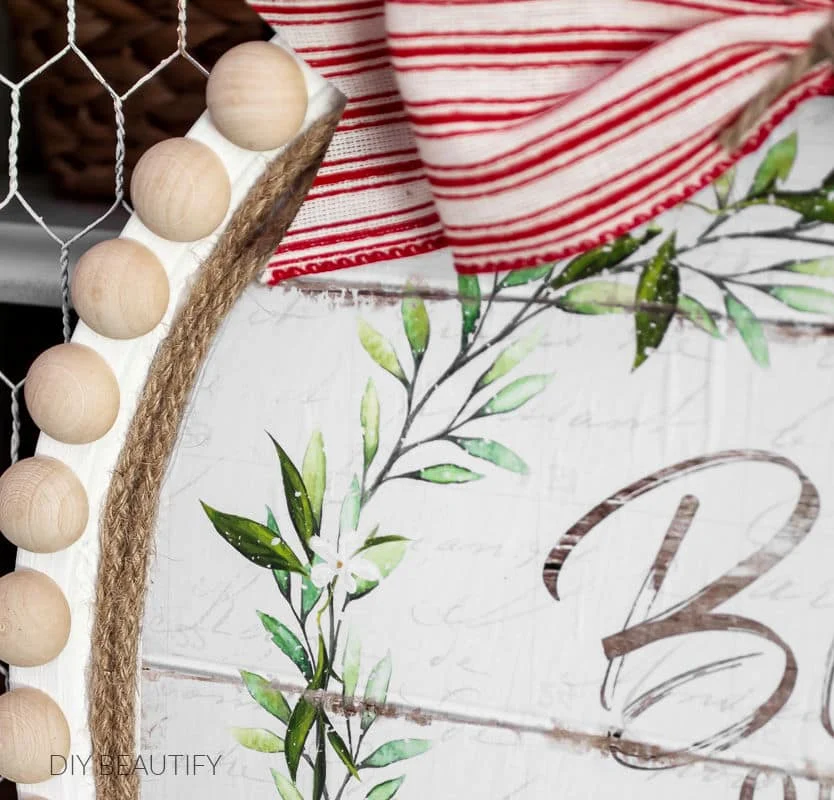


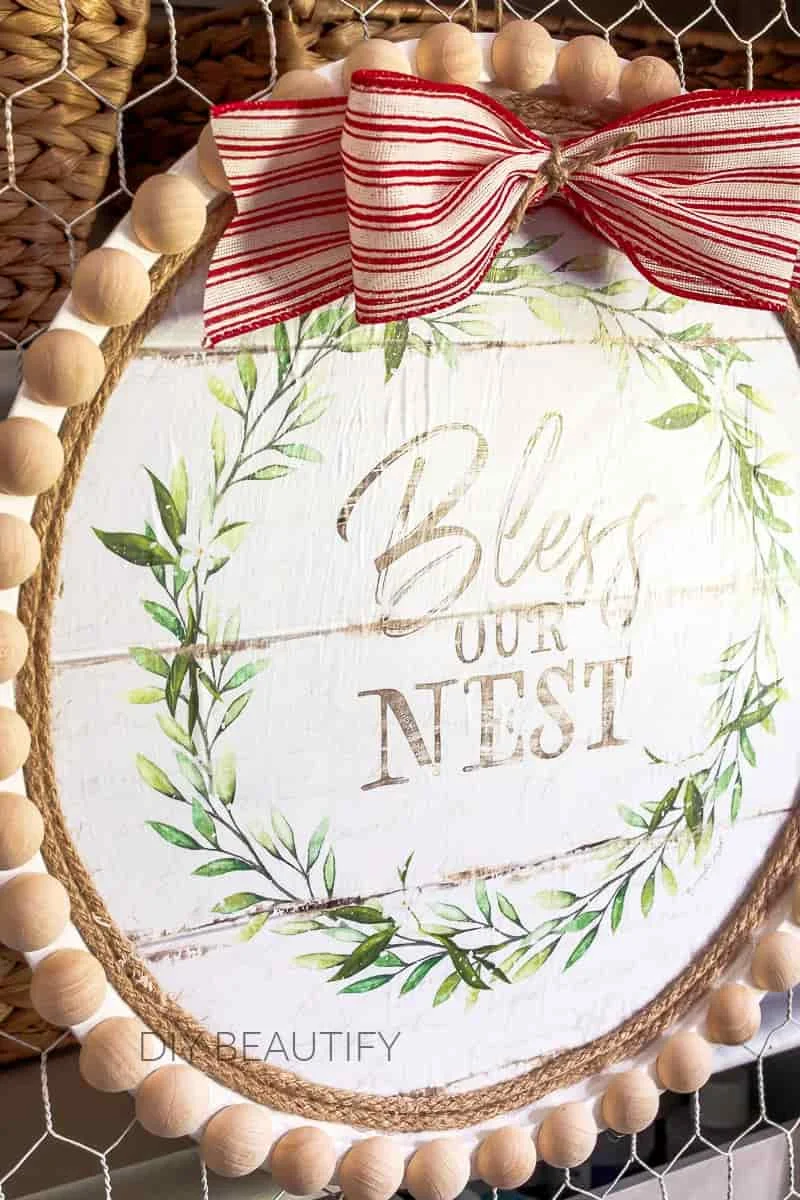
Didn't that turn out sweet! It's hard to believe there's a pizza pan hiding
under all the cute farmhouse layers and texture! You can check out Amber's pizza pan wreath here! She has a ton of fun ideas.
I'll be sharing the bow tutorial for this DIY wreath in my weekly DIY
Insider newsletter for subscribers. If you're not already subscribed to my
blog,
you can sign up here.
Update: watch the DIY bow tutorial video here https://youtu.be/xAI3KXHs1lc
Supplies
- pizza pan (from Dollar Tree)
- calendar page (from Dollar Tree but here's a gorgeous Lang one with beautiful images)
- white chalk paint (I used Everlasting from DecoArt)
- paintbrush
- decoupage medium
- foam brush
- rope or cording (I used this wired jute - the wire isn't necessary)
- glue gun
- split wood beads (mine measured 20mm and I used 43)
- wired burlap ribbon for bow
- heavy duty button magnets

Pin this image!

Remember to check out the easy bow tutorial in tomorrow's newsletter and
if you're not a subscriber,
join my DIY tribe for free by clicking HERE.


Has cuteness all over it..
ReplyDeleteI take it that you glued the jute on the back to hang?
Thanks Colleen! I actually used a small Command hook at the back and hung the jute from that but you could easily glue it!
DeleteThis craft came out so cute and I love DT!
ReplyDeleteThanks Julie, it's fun to think outside the box :)
DeleteWow, Cindy! This is amazing.You always have the most beautiful DIYs.
ReplyDeleteAww thank you Kim, that is so sweet of you to say!
ReplyDeleteHi. Indy! This is so cute and I definetly want to make one. I don't really understand what the magnetic buttons are for. Am I missing something? Thank you for sharing.
ReplyDeleteCheryl, the magnetic buttons are for if you make more than one bow for the wreath. It just allows them to be interchangeable rather than permanent!
DeleteWhy do you paint the entire pan with chalk paint if you're going to place the page in the middle of the pan?
ReplyDeleteHey Diane, great question! Just to make sure the silver pan doesn't show through the paper. The dollar store calendar paper is fairly thin.
Delete