How to Make a Glitter Ornament Nativity
An easy and inexpensive glitter ornament nativity! This wood framed ornament nativity is made using an inexpensive canvas and assembled in the shape of a tree. The gold vinyl adds a touch of glam.
Who's excited about Christmas? Wave your hands in the air like you
really care! 𝅘𝅥𝅮𝅘𝅥🤣
I'm over here with BOTH hands raised!
I think the whole world will be celebrating earlier and longer this year! 2020
has been a rough one, and we need something to celebrate!
Welcome
to November's edition of
Thrifty Style Team, hosted by Julie of Redhead Can Decorate. We're a group of home decor and DIY bloggers who share our projects, ideas
and inspiration with you each month! Next month we have a big exciting
giveaway so make sure you're following along! I'll link to the other projects
at the end of my tutorial.
Did you know that the humble canvas can become amazing Christmas decor?
Over the upcoming weeks, I'll be sharing several more DIY Christmas canvas
ideas.
Each one is completely different and unique. like the
painted buffalo check canvas sign with heat transfer vinyl
I shared recently! So if you're not already a subscriber, make sure to
SIGN UP HERE
so you don't miss any Christmas crafts!
How to Make a Deconstructed Canvas Nativity with Glitter Ornaments
Whew! I know that's a mouthful, but that's exactly what I'm going to show you how to make!Step One: deconstruct a canvas
Here's something amazing that you might not know and I'm happy to be the one to tell you about this little secret! There's a nice little wood frame underneath a canvas! We're going to reveal that frame, jazz it up a little bit, and put it back together with the canvas in a new and fun way!Step Two: stain wood frame and cut canvas
Let's give that wood frame some farmhouse style! Do you remember when I showed you how to use dark wax to 'stain' wood? I shared this quick tip when I made my cozy Christmas trees.Step Three: staple canvas to back of frame
Step Four: cut out nativity shapes
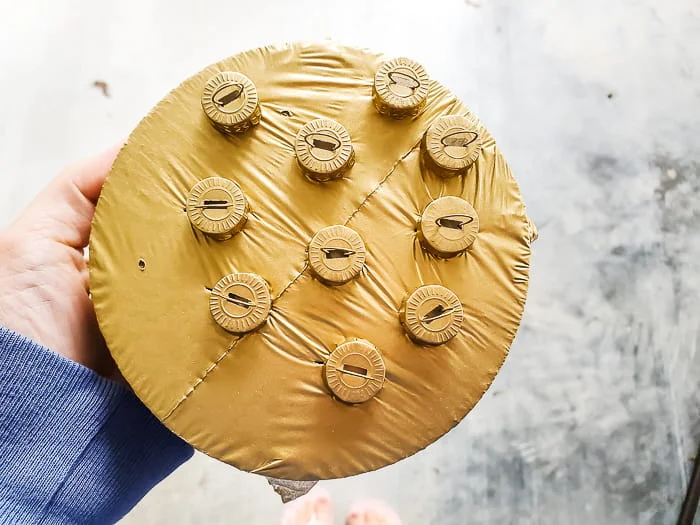
Step Five: paint ornament hangers
Step Six: secure ornaments to canvas
Supplies for this project
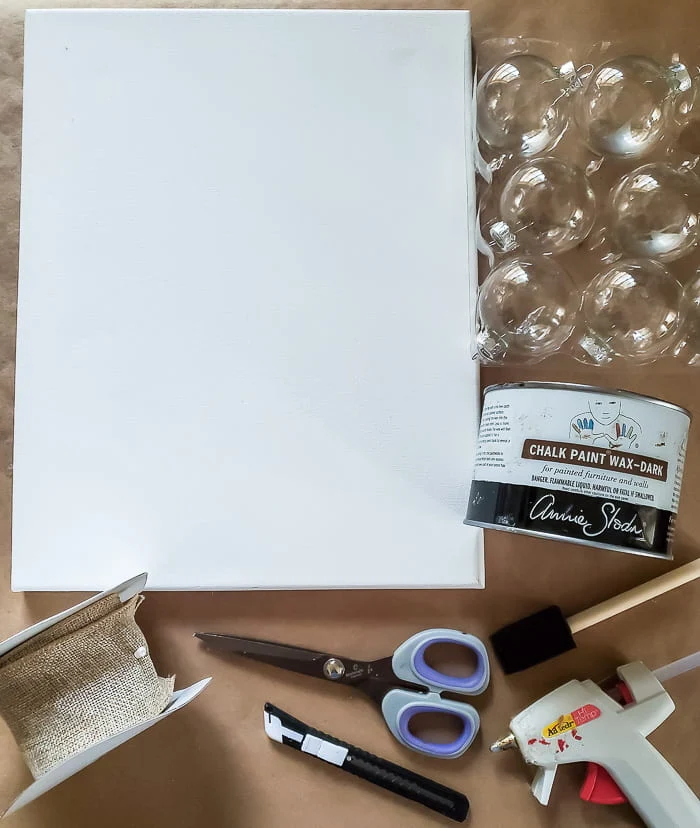
- canvas frame (I used a value pack of 7 11x14 canvases)
- craft knife
- hot glue
- 10 small (2") glass ornaments
- Silhouette machine
- nativity design
- gold glittered vinyl
- dark wax
- foam brush
- gold spray paint
- ribbon

Pin it to remember!
You're definitely going to want to check out these Christmas projects from
the rest of the Thrifty Style Team. We have a couple new members which
means more ideas for you!
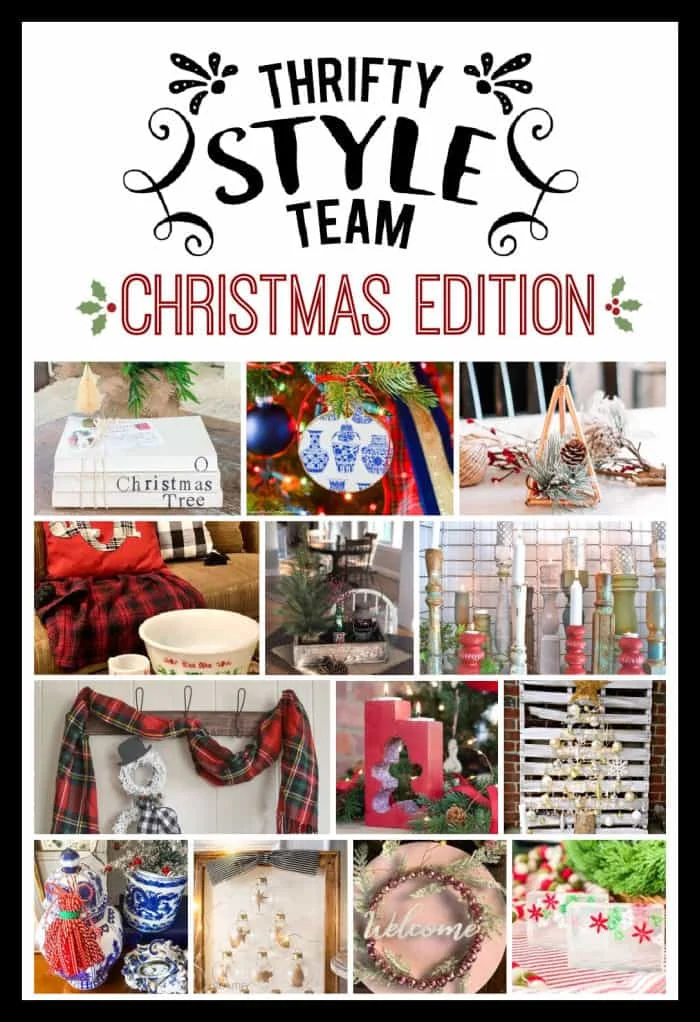
Thrifty Style Team Christmas Project Ideas
Redhead Can Decorate
25 Affordable Thrifty DIY Christmas Decorating Ideas
The Painted Hinge
Vintage 7UP Crate Christmas Centerpiece
DIY Beautify
How to Make a Glitter Ornament Nativity
2 Bees In A Pod
Stamped Book Stacks For Christmas
Postcards From The Ridge
Easy DIY Snowman Wreath
The How To Home
Copper Geometric Christmas Ornament
The Tattered Pew
Easy Homemade Christmas Soaps For Kids
Sweet Pea
How to Make Christmas Cut Out Wooden Candleholders
What Meegan Makes
Glittery Christmas Wreath From An Embroidery Hoop
Cottage At The Crossroads
Wooden Chinoiserie Christmas Ornament
I Should Be Mopping The Floor
How To Make Christmas Tassels
Lora B Create & Ponder
DIY Repurposed Candlesticks with Sheet Metal Shades
White Arrows Home
DIY No Sew Christmas Pillow
Happy crafting!


I love this project, Cindy!!! You’re amazing!!
ReplyDeleteThank you Jennifer, you are so sweet!!
DeleteI love this project, Cindy! It's wonderful to decorate with the real meaning for the season.
ReplyDeleteThank you Paula, I couldn't agree more!
DeleteThis is an amazing project! Makes me want a Cricut machine! Thanks for that tip about using dark wax to quickly "stain" the wood frame!
ReplyDeleteThanks Jane, it's an investment but I make so many items with my due cut machine! Glad you like it and found that wax tip helpful!
DeleteFun project, Cindy! I never would have though to deconstruct a canvas frame; brilliant!
ReplyDeleteThanks Lora, I've been busy making a variety of canvas DIY signs for Christmas!!
DeleteThis is such a pretty project, Cindy. And your tutorial is so helpful. Love the way it turned out!
ReplyDeleteThanks Angie, it's a fun take on a classic nativity!
DeleteI love this so much Cindy! Such a gorgeous modern spin to the classic nativity scene. Great job my friend!
ReplyDeleteThanks Michelle! I appreciate that!!
DeleteYou are so clever ad creative, Cindy. I love how you deconstructed the frame to design your advent calendar. Thanks for the inspiration, my friend.
ReplyDeleteThank you Meegan!
DeleteCindy this is absolutely beautiful! I had never heard of a deconstructed canvas...you are so clever! Your gold nativity is a beautiful way to remember the birth of our King! Merry Early Christmas!
ReplyDeleteThank you Kelly, the nativity has even more meaning this year as we look to our King and Savior for hope and meaning this year!
DeleteThis is such a pretty idea!! I love how the ornaments look like they are floating and the gold and white! Painting the gold tops was such a good idea! I just love this project!!!
ReplyDeleteThanks Kristin, I'm so happy you like it!
DeleteCindy, I just LOVE everything about this. It's definitely the most clever nativity idea ever. And I'm loving all of the gold and sparkles everywhere.
ReplyDeleteThank you Kristi, that's such a huge compliment! I'm really enjoying adding more metallics this year!
DeleteI love the nativity. Very creative.
ReplyDeleteThank you Bev!
Delete