How to Make a Farmhouse Canvas Merry Christmas Sign
A deconstructed canvas becomes an affordable farmhouse Christmas sign created with ribbon, heat transfer vinyl and craft paint
This post may contain Amazon or other affiliate links. As an Amazon affiliate I earn from qualifying purchases. My full disclosure policy can be found here.
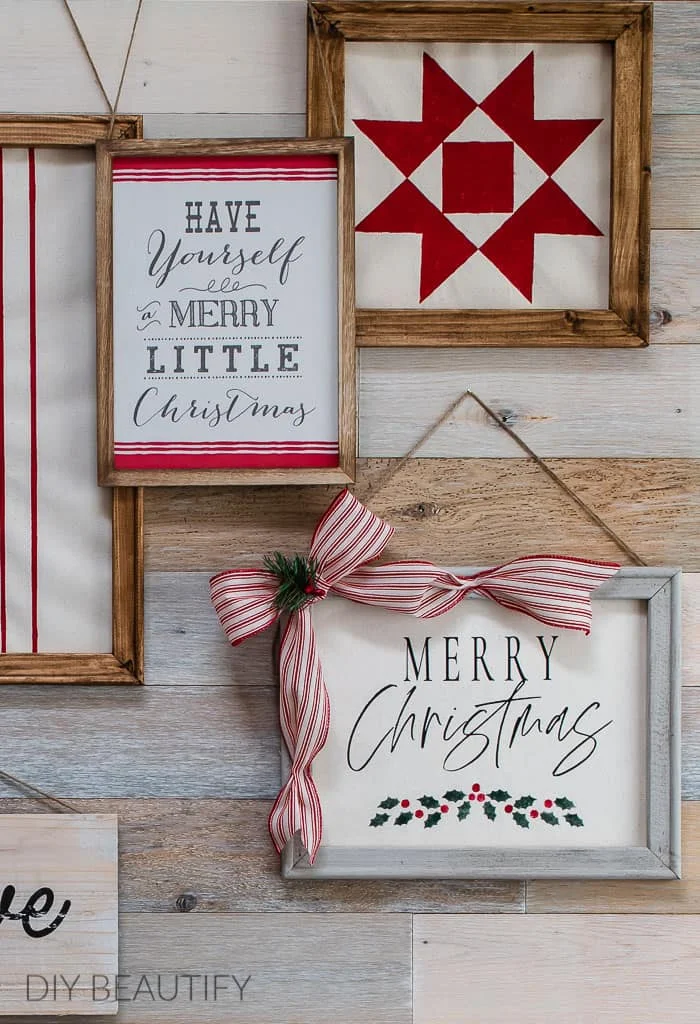
Did you see the festive Christmas gallery wall I shared last week?
It's so cute with pops of red, and has great vintage farmhouse inspired vibes that I love! The best part? I made the artwork using inexpensive canvas.
Yep, the humble canvas can be repurposed into amazing farmhouse signs that are so easy on the wallet! They make great gift ideas and are fantastic DIYs to decorate your home for Christmas!
I already made and shared the tutorials for a glitter ornament nativity canvas and a buffalo check painted Christmas sign. These cuties are making my home feel oh so merry!
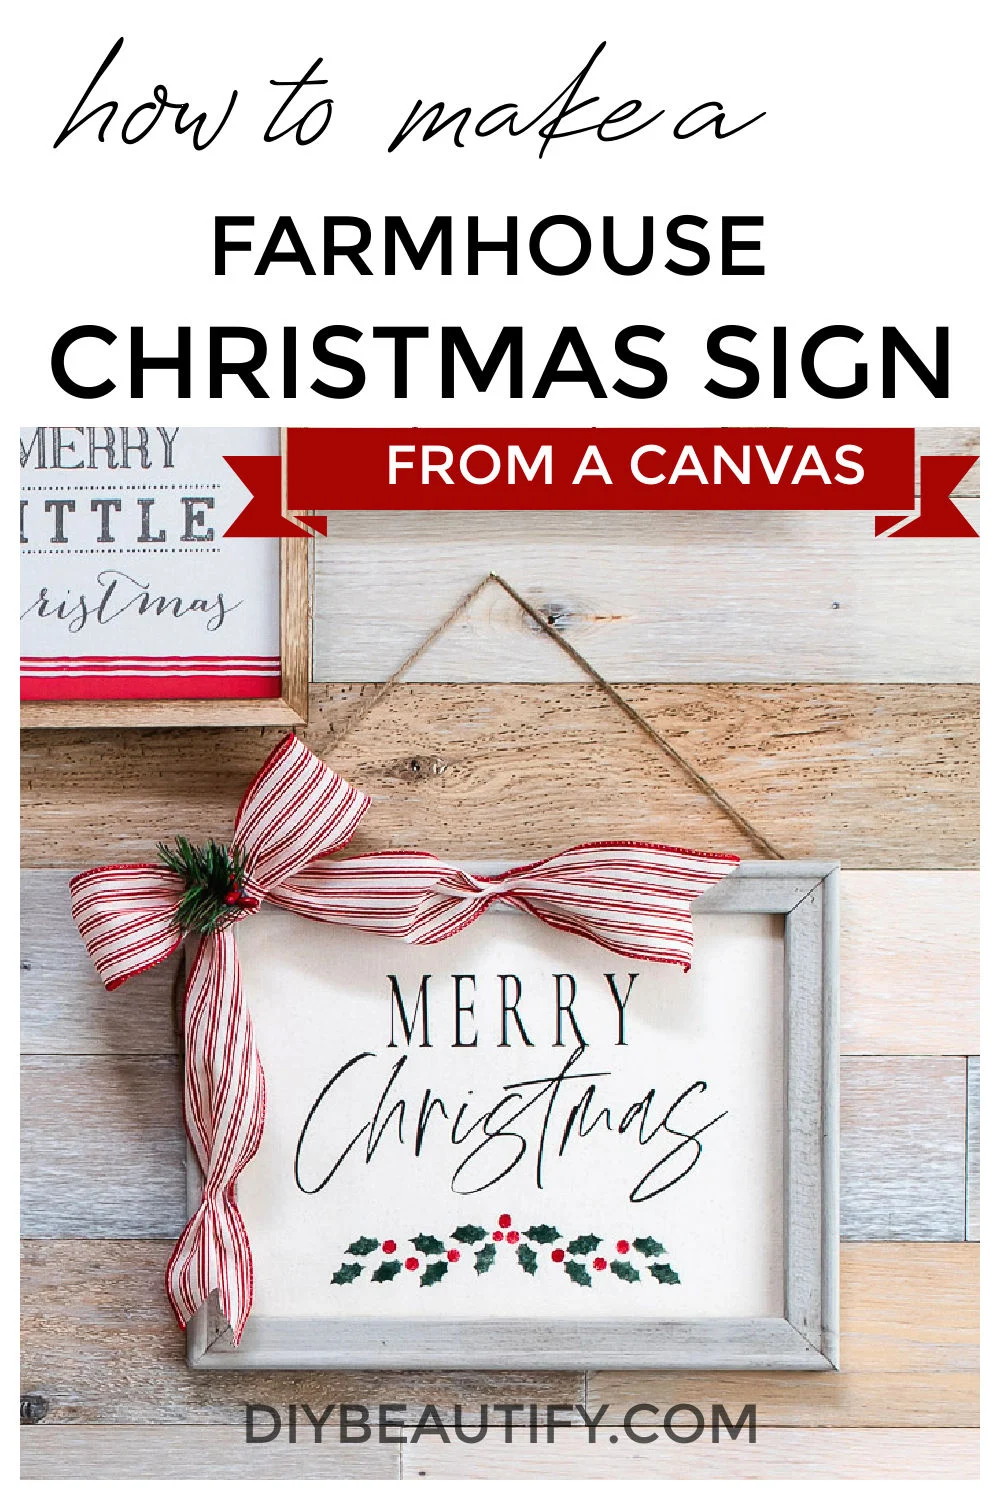
Today I want to share the easy tutorial for making the Merry Christmas canvas sign that is displayed on my gallery wall.
Are you ready?
How to Make a Canvas Merry Christmas Sign
My Christmas canvas projects have been super budget friendly because I purchased a canvas value pack and have just been working my way through the canvases, coming up with different ways to make them suitable for Christmas decorating.Tip: You want to be sure to buy the stretched canvas rather than the canvas panels.
Stretched canvas is stretched around a frame. When you cut the canvas off, you're left with a really cute frame that you can use for your project! Check out this post where I share the steps to deconstruct a canvas.
It's super easy!
Plus, when you flip the white canvas around, the backside is a really great neutral (kinda like drop cloth) and makes beautiful farmhouse signs. I say farmhouse...but really, these would look great in any decor!
And they're a really affordable way to make a handmade gift to give this holiday season.
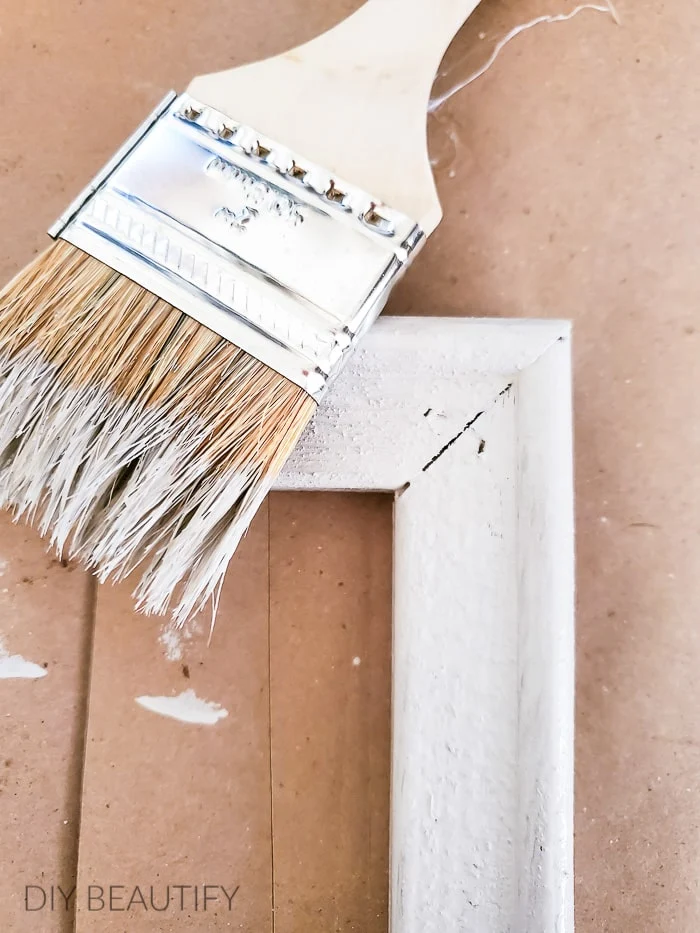
With this canvas, I decided to paint the frame, rather than stain it. I used this awesome neutral paint. It's a little bit gray, a little beige, and works with any color! I painted one coat using my favorite Purdy brush.
While the paint was drying, I got to work on my design. I was inspired by a Christmas sign I'd seen at Antique Farmhouse a couple years ago.
And you thought I dreamed all my designs up from my own little creative brain! 😏
I wish!
This is where a Silhouette machine comes in soooo handy! If you don't own one yet, I encourage you to put it on your Christmas wishlist! Mr DIY purchased my Silhouette and Cricut Easy Press for me a couple years ago and they get used almost weekly!
They are perfect tools if you're serious about saving money and making your own gifts, home decor, t-shirts and more!
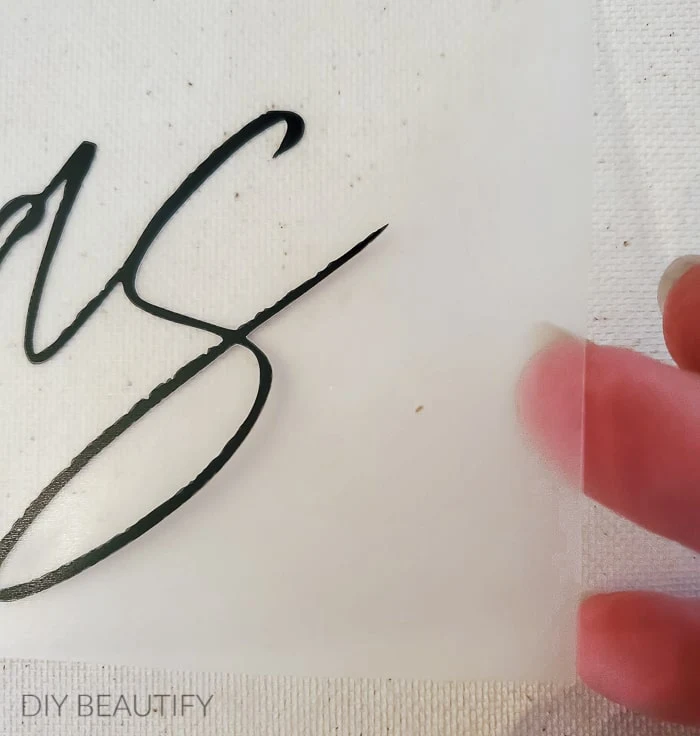
I cut the words onto black HTV (heat transfer vinyl) and ironed them onto my design using my Cricut Easy Press. When using HTV, you must mirror your words or they'll be backwards and you'll have wasted your vinyl. Ask me how I know this! 😕
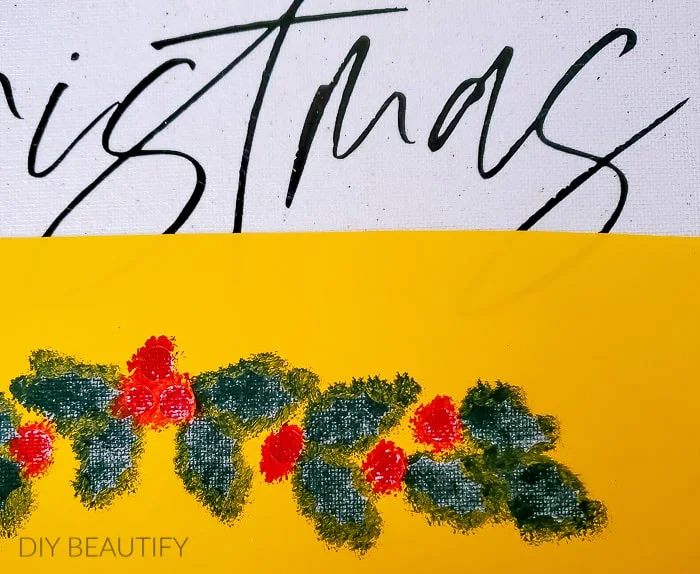
I also used my Silhouette machine to cut out a holly design from PicMonkey. I cut it using a scrap piece of vinyl and what I did was create a stencil. So rather than apply the design, I applied the reverse of the design to my canvas and painted in the holly leaves and berries using acrylic craft paint.
You can see here how I removed the elements of the design, leaving behind the reverse image.
The paint goes on easy with a stencil brush and you want to pounce it on in an up and down motion, otherwise you'll likely get paint under the stencil and your design won't look clean.
I removed the vinyl as soon as I was done painting and set the canvas aside to dry.
Then I reattached the canvas to the frame, but I stapled it onto the backside. It doesn't even look like a canvas anymore at this point!
Finally, I hot glued a red striped ribbon bow onto the frame. I cut the ribbon with long tails so it could trail across my art. This ribbon I chose has awesome farmhouse style! It's the red version of the blue ribbon I used on this popular farmhouse wreath.
My easy farmhouse canvas sign is the perfect addition to my Christmas gallery wall!
I hope you're inspired to make your own Christmas signs using a
deconstructed canvas now that you see how easy it is to bring amazing farmhouse
Christmas style to your home!
I would love to know which Christmas canvas is your favorite! I have one more
to share and then I'm thinking I may have to do a Christmas giftaway!!
Pin it to remember!
SHOP THIS POST
This will be my last post this week as we'll be focusing on enjoying Thanksgiving with our family! I wish you a blessed Thanksgiving and hopes that you are more aware than ever of your blessings and abundance!
bringing beauty to the ordinary,





Comments
Post a Comment
Your comments are like sunshine and chocolate! Thanks for taking the time to leave a nice one ;) I read all comments and love to respond. If you don't have Gmail, please leave your name!