Red, White and Gold Christmas Mantel and Living Room
I'm sharing my red, white and gold Christmas mantel as well as my festive living room, decorated for the holidays. You'll find tips and secrets for adding a full and lush garland to your mantel for under $35!
This post may contain Amazon or other affiliate links. As an Amazon
affiliate I earn from qualifying purchases.
My full disclosure policy can be found here.
Have you seen those full and lush Christmas garlands, just dripping with
greenery? They're SUPER pricey and way outta my budget!
I found a way to create the same look, for much less, and that's what I
want to share with you today! There is a trick to getting that full and lush
look. The
white chalk painted fireplace
in our living room grounds the space and is the first place I start decorating
in this room because it sets the tone for the rest of the room.
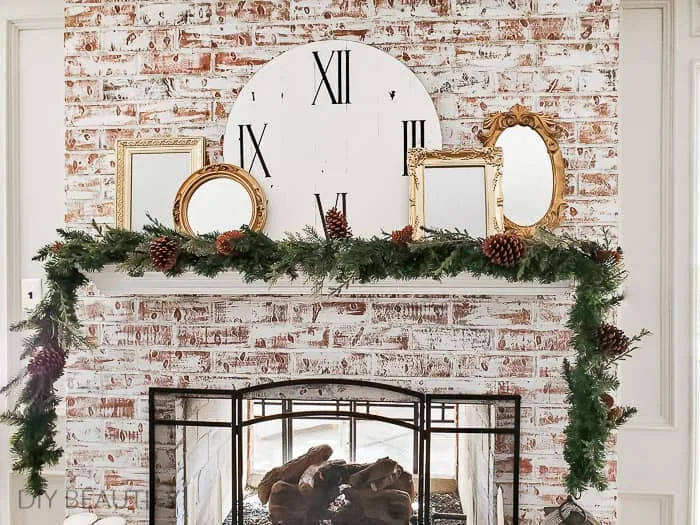
In year's past, I have laid a garland across the top of my mantel, but
because my mantel is narrow (it's about 7" wide), it doesn't leave much room
for other decor. This year I wanted to add my collection of vintage white milk
glass, as well some painted frames, and I needed the space to do that.
I
love to decorate for Christmas with red and white, check out
last year's home tour here
and
the year before here. This year I incorporated a little bit of gold for a more elegant look. The
brass candlesticks on my dining table and a few gold ornaments on my dining
room tree carry this theme. You can see my
Christmas dining room here.
How to add a full and lush Christmas garland to your mantel
This was a bit of an experiment this year, but I'll share the steps I followed
and they're not difficult! One thing to note before we get started is that
none of my garland has attached lights. That is something I like to add at the
end.
The trick to getting a full and lush garland for less is to use more than 1 garland! I'm sharing below how I layered 3 garlands to get the look I wanted.
Step 1: Start with a basic, inexpensive Christmas garland
I started with an inexpensive 9-ft garland from Hobby Lobby. It was 50% off,
so was only around $6. It appears to be sold out online, but
here is a similar garland. I attached it to my mantle top using
small command hooks, one on each end.
Once I added more garland, the hooks weren't wide enough, so I tapped in
a couple of small nails into each corner of my mantel and that worked very
well to hold the garlands in place!
Step 2: Add a mixed greenery garland
The next step was to add
this 9-ft mixed natural garland
from Walmart that was only $14.98. These are the same garlands I used on my
Christmas porch
this year.
It's a beautiful garland with pine cones, but it's not very full and on
its own it wouldn't give me that drooping, lush look that I wanted. But with
the basic garland underneath it, it is starting to look much fuller! I fluffed
the branches and brought some of the bottom garland to the front, so it looked
like it was all one piece.
Step 3: Add greenery stems
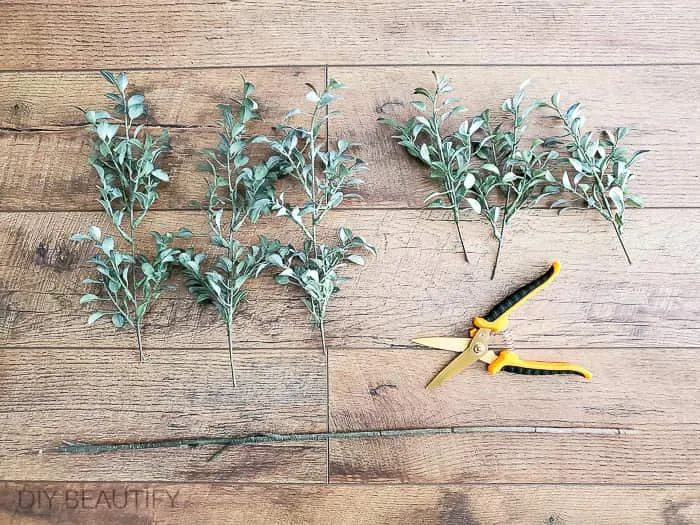
I cut down three stems of eucalyptus into smaller pieces and tucked them into the garland. The different greenery adds interest and depth. I should also point out that at this stage I realized I wanted more of a droop in my garland so it wasn't going straight across. I just adjusted it slightly by moving where the garland hung on the nail and let it droop slightly in the middle.
Step 4: Add a third garland
I really should have done this in step 2 or 3, but I forgot I had a
magnolia leaf garland
that I had found at Hobby Lobby for just $5 on sale!
I laid it on top and worked the leaves into the rest of the garland so
it didn't look like it was laying on top.
Designer tip: Instead of adding a third garland, if you have access to
fresh cedar or pine branches, I would recommend tucking several into the
basic garland. Create it as full and lush as you want! Sadly, we don't have
these greens where I live, but that would be my first choice!
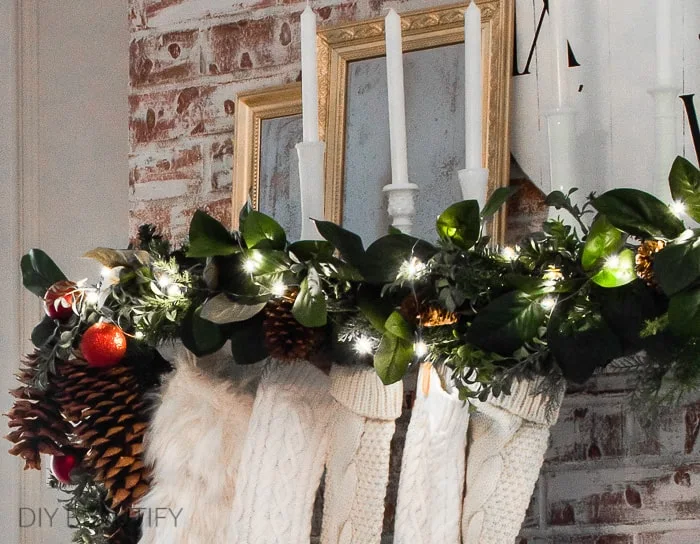
At this point, I was really happy with how the garland itself looked. To make
it feel even more festive, I added a string of
fairy lights on a timer to the greenery, as well as some
sugar pinecones
and ornaments that I hung at each corner.
If you follow me on
Instagram, you might remember the picture frame project I was working on in the fall.
I saved 3 picture frames that were headed to Goodwill, and spray painted them
gold.
Then I used
Krylon Looking Glass spray paint
on the glass from each frame. The idea was to create a vintage mirrored
effect.
Our living room has a large fan that would be reflected in a mirror if I
used one on our mantel. By using the mirrored spray paint and then inserting
the glass back into the frames backwards (in other words, the mirrored side is
facing the fireplace), I get a slightly reflective vintage effect but the
ceiling fan doesn't show up! Does that make sense?
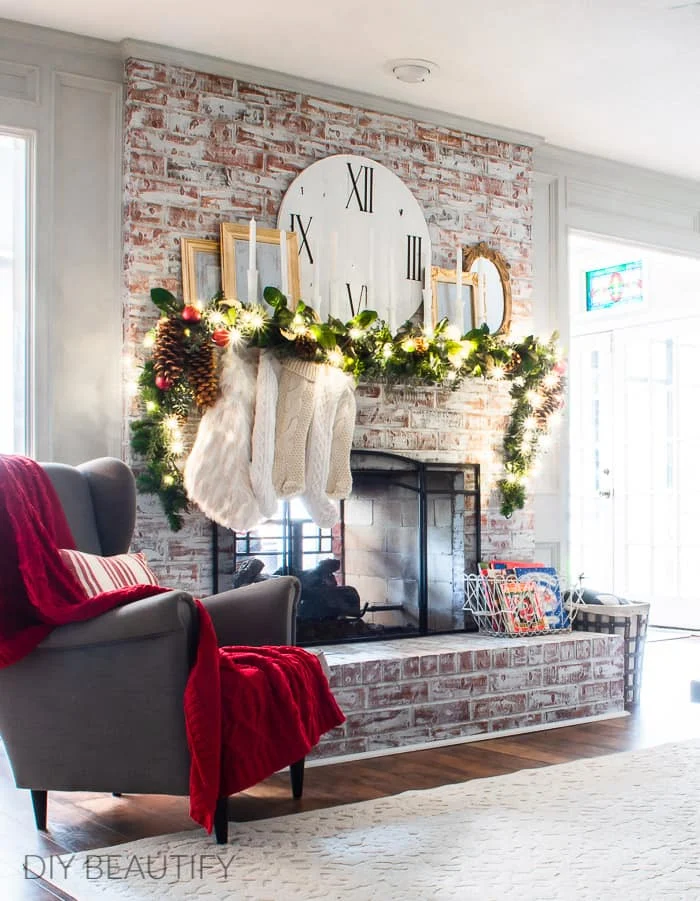
I was able to achieve that full and luscious drooping Christmas garland
that I wanted, for around $32! And by hanging the garland on the front of the
mantel rather than on top, it left room for the frames and the milk glass.
Christmas Living Room Tour
Here are some more picture of this space. You get a peek of my easy Christmas gallery wall (made from canvases) in the sunroom.Our large collection of Christmas books was displayed in an open wire basket so they're easy to see and become part of the holiday decor.
I didn't forget about our wall of built ins.
I had fun displaying our nativities on the shelves and creating a little
vignette in the center with a wreath and my
DIY glitter ornament nativity.
My
DIY weathered wood pedestal
holds a glass nativity and the
frosted luminaries
I made last year look pretty on the bookshelves. Can you believe the snowy
centers lasted all year long in the attic (it's just flour steamed onto the
glass!).
A few bottlebrush trees mix nicely with my small ironstone creamers.
A glass cloche protects and highlights a small ceramic nativity that I inherited from my mother-in-law's collection of over 400 nativities from around the world!
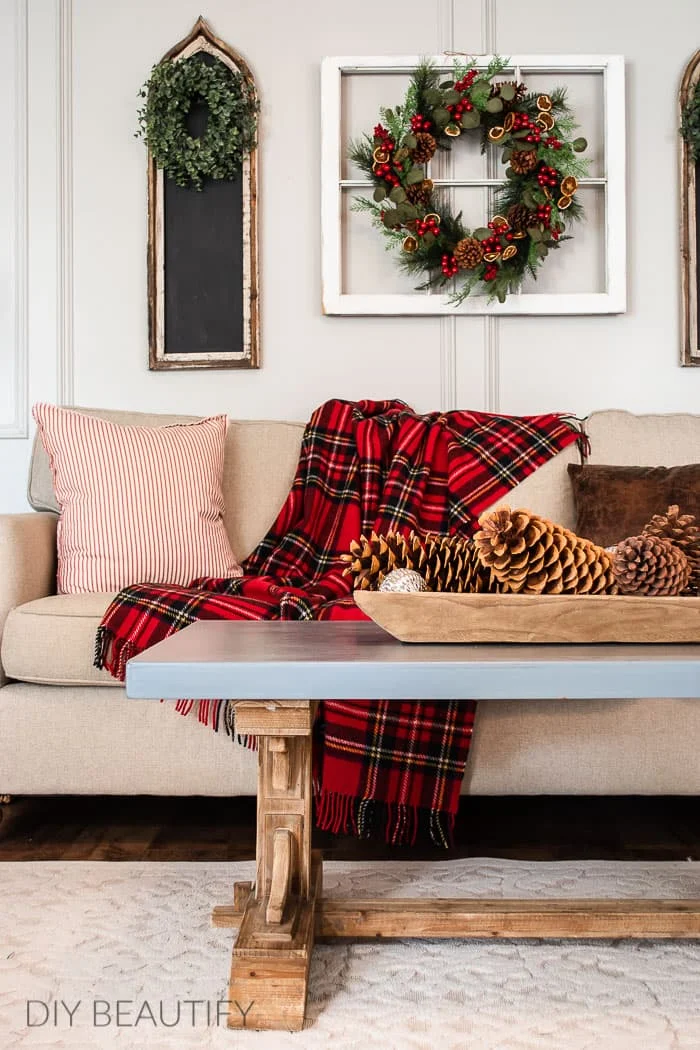
A new wreath above the sofa adds more Christmas warmth.
I piled pinecones and mercury glass ornaments into a wood bowl for a low profile vignette on the coffee table. I didn't want to block the view of our beautiful fireplace!
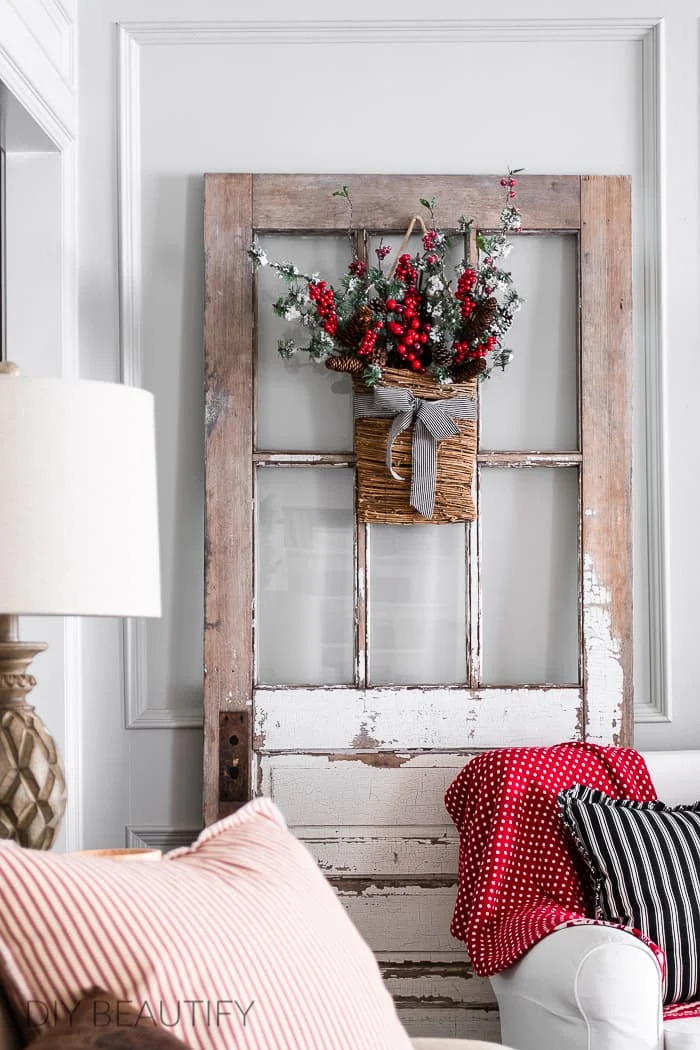
I left the vintage door in place and just added some Christmas picks to the willow basket.
We have been enjoying cool weather and have finally been able to turn the fireplace on a few times! It makes it so cozy and cheerful in our farmhouse living room, perfect for playing family games or watching a movie together.

I hope you enjoyed touring our Christmas living room, and that you found the garland decorating tips to be helpful!
Pin this image

See more of my Christmas decorated home here:
- Christmas bedroom tour
- Merry and bright Christmas porch
- Modern Vintage Christmas Dining Room
- Vintage pastel Christmas sitting room
Later this week I'm joining the Thrifty Style Team girls for a giveaway! I'll also be sharing another easy canvas sign, and I'll finally be sharing some beautiful pictures of our getaway to the Biltmore Estate in Asheville NC!










Comments
Post a Comment
Your comments are like sunshine and chocolate! Thanks for taking the time to leave a nice one ;) I read all comments and love to respond. If you don't have Gmail, please leave your name!