Cottage Green Dresser Makeover
Adding classic vintage style to a dresser with wood panels, a fresh coat of green paint and cottage style cup pulls
This post may contain Amazon or other affiliate links. As an Amazon
affiliate I earn from qualifying purchases.
My full disclosure policy can be found here.
Hello friends, are you ready for a furniture makeover?
I used to paint furniture all the time and have a 3-part series on chalk
paint. If you're new here or haven't read these articles, I think you'll find
them helpful.
Chalk Paint Series
There is something so satisfying about reimagining a piece and then making it
fit your style with a new paint color and hardware.
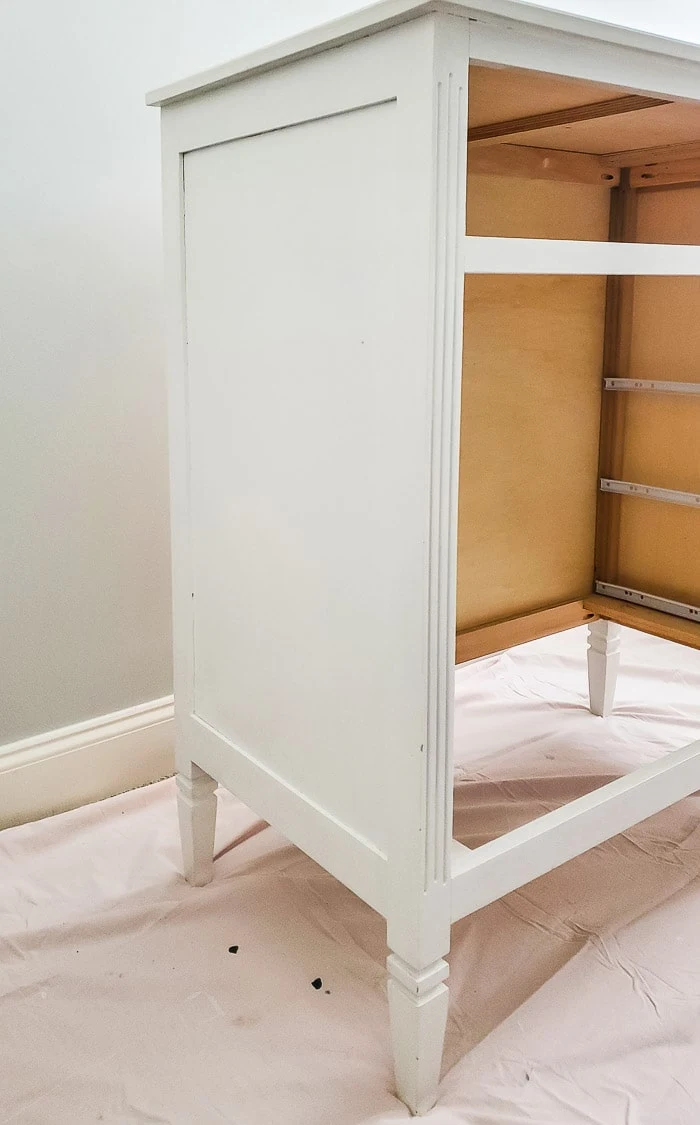
We had this dresser made when I was expecting our daughter. It is based on the
very popular Madeline 4-drawer dresser by Pottery Barn (see similar
here). It was over $1100 and that was 18 years ago, which is why we had it made
for a fraction of that price.
The dresser has gone through a few transformations over the years, notably the
hardware.
The one thing that stayed the same throughout the years was the color. I
repainted it white about 11 years ago because it needed a fresh coat.
How to add vintage charm to an upright dresser with new paint, hardware and side panels
If you're like me, sometimes you're just ready for a change! Whether that's a new rug or light fixture, or something simpler like a new paint color on the walls or a piece of furniture.
In our Mississippi rental, our daughter's room is tiny. It's not a problem
because she's at University and she gave me full decorating privileges to do
whatever I wanted in her room (thanks Abby ❤), which will also function as the
guest room when needed...which it was just this past week as Mr DIY's parents
stayed here for our son's wedding!
I'm working on refreshing the space and adding lots of charming vintage
touches, and one thing that just needed an update was the white dresser. It
was looking too bland, the knobs were uninspiring, and it was begging for a
change.
Vintage dresser side panels
As I was pondering what to do with this dresser, and scrolling images online,
I kept seeing vintage upright dressers with side panels. I loved this look and
knew we could fake it with our dresser because it already had one large panel
on the sides.
Mr DIY measured and then purchased and cut 1/4" plywood into the sizes we
wanted. We glued the pieces of wood in place and added some finishing nails to
keep them secure. We added two pieces to each side and it adds that vintage
charm that I was wanting!
Prepping the dresser for paint
Once the side panels were up, we had to add a little caulk around the edges to
fill in the gaps.
We removed all the drawers and hardware, and patched the holes to ready the
drawers for the new hardware. Once the spackling dried, we went over it
lightly with a sanding sponge.
I cleaned the dresser with
Totally Awesome, which is a great spray to degrease and remove stains and messes.
Painting the dresser
I already knew that I wanted to paint the dresser green. Normally things get
painted blue or white over here, but like I said, I was ready for a change!
I didn't want sage green or hunter green or emerald green. I was after the
perfect cottage green color similar to
this. I have so much paint in my stash and wanted to use up what I had. I
went to the Dixie Belle website and used their
custom color mixer
to achieve the exact color I wanted! This is a great tool when you already
have lots of paint and want to see what a custom mix will look like before you
paint!
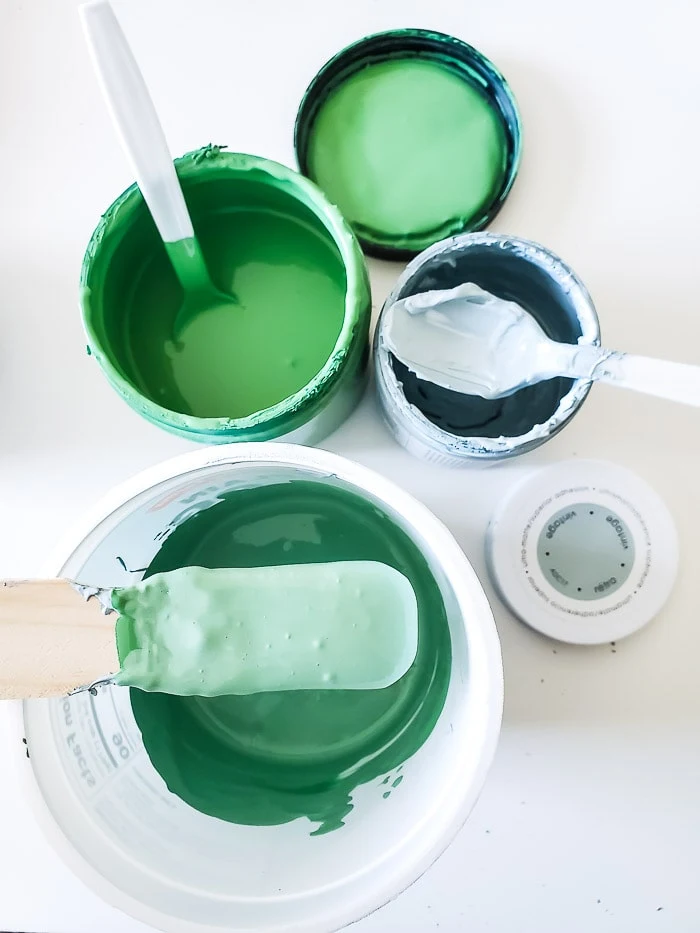
I mixed these two colors (green and
blue) to
make a custom cottage green and the results were just what I was looking for.
Isn't this the perfect cottage green?
The dresser needed two coats of paint for full coverage, but it dries so
quickly that I was ready to move on to the second coat right after finishing
the first!
Aging the dresser
Usually when I paint furniture, I'm painting over a wood finish so when I
distress it, it's very easy to reveal the dark wood beneath in select spots.
With this dresser, it was raw wood painted white. There was no dark wood to
reveal. Rather than distressing the dresser with a sander, I aged it with dark
wax. My process was to apply clear wax in small sections, just rubbing on with
a piece of old t-shirt. Then I immediately brushed on a little dark wax and
rubbed it well, mostly around the edges. I gave it a few minutes and then
buffed it was a clean cloth.
If there were any areas that got too dark, it was easy to apply a little more
clear wax to remove the excess dark.
The results are a cottage dresser that looks aged rather than brand new!
New Hardware
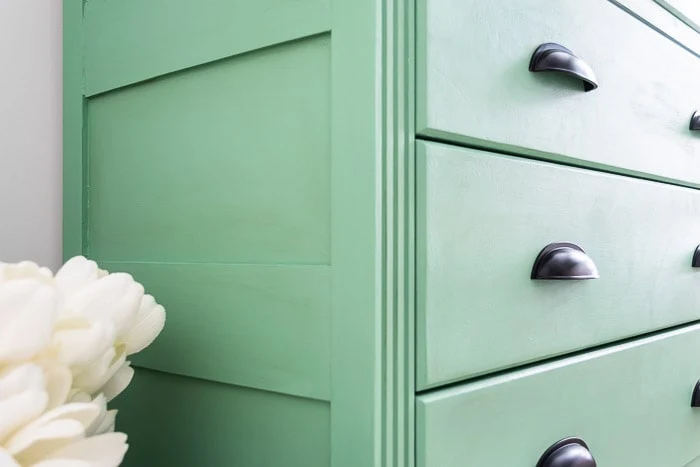
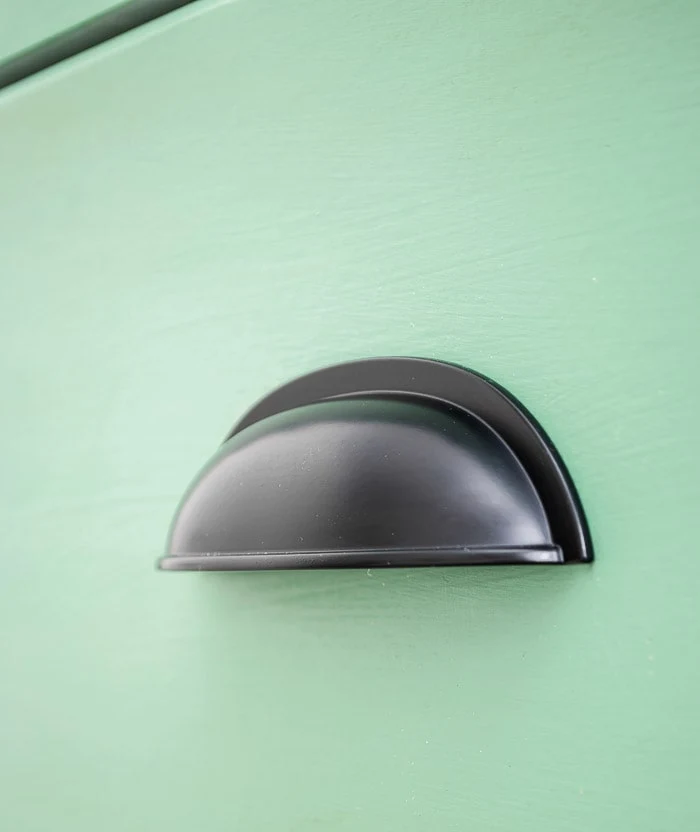
The finishing touch to any furniture makeover is new hardware! I knew right away that I wanted to use matte black pulls on this dresser. Upgrading from all knobs to cup pulls adds grown up vintage style to the dresser.
I've used
Hickory Hardware
for many of my furniture and cabinet pieces and always appreciate their value,
quality and amazing customer service! If you're looking for new hardware for
your home, I highly recommend them. You can use my discount code DIYB10 to
save 10%.
Mr DIY marked and drilled new holes to fit the new pulls. They were easy to
attach to the drawers and it was so fun to put them back and see the updated
dresser complete!
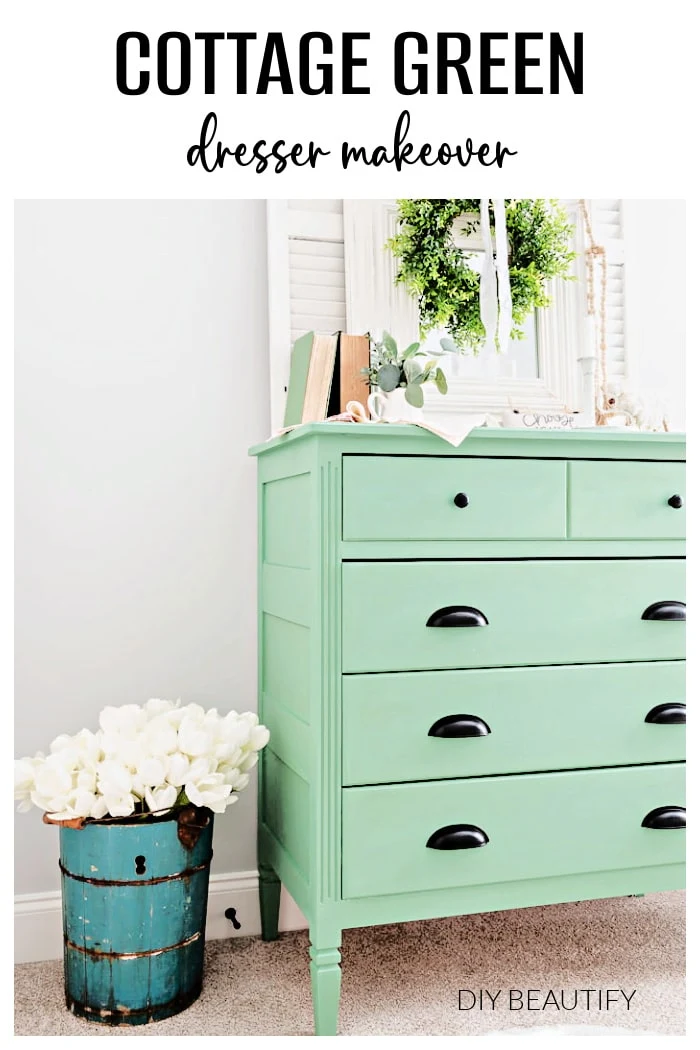
Cottage Dresser Reveal
I love when my vision for a piece of furniture, or a space, becomes reality!
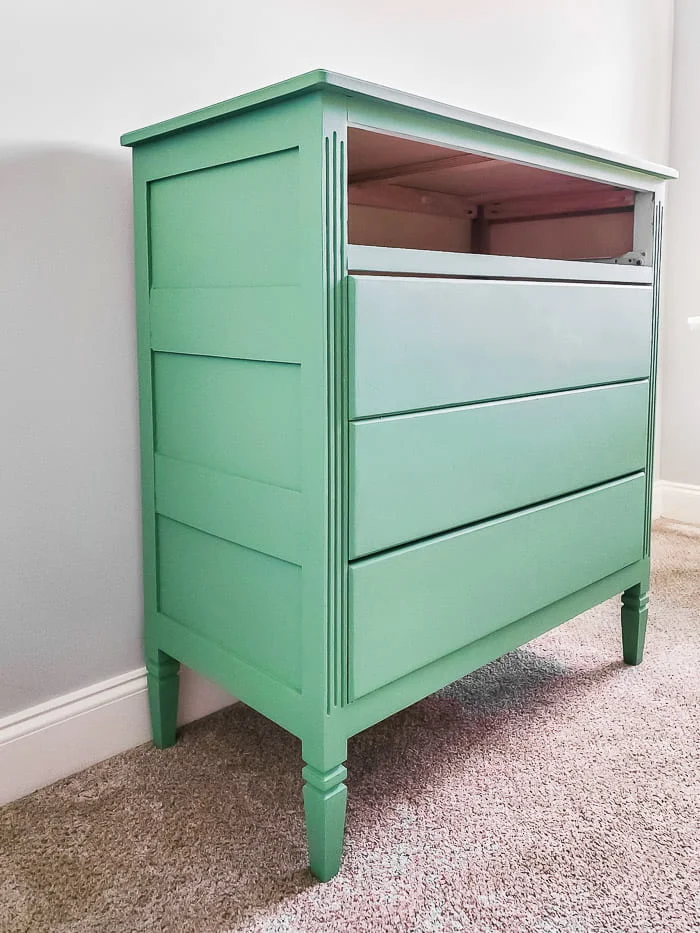
This vintage style cottage dresser turned out even better than I was hoping!
It's such a great color and is the perfect accent piece in this small bedroom.
If you look closely, you can see the aging that I did with the dark wax. It
slightly darkens the dresser and does just what it says - ages it!
The green paint really highlights all the vintage charm of this dresser that
kind of got lost when it was all white!
And you can see the black matte cottage pulls and knobs are just so perfect on
this painted piece!
Here's a little peek at the direction I'm going with the rest of the space.
I'll be sharing this room, all decorated for the holidays, soon! Did you see
the
fresh cedar and rosemary wreath
that I made for above the bed?
Pin it to Save
Looking for more furniture inspiration?
-
Weathered Wood Makeover on Oak Dresser
-
Cottage White Dresser Makeover
-
Tips for a Small Kitchen Makeover on a Budget
-
Modern Farmhouse Hardware for Built Ins
Disclosure
As a Hickory Hardware affiliate, I received product and/or payment
for this post. My opinions are always my own.
for this post. My opinions are always my own.









Beautiful. What type of brush did you use to paint the dresser that beautiful green?
ReplyDeleteThank you! I used a Purdy 2-1/2" Cub brush - my favorite!
DeleteThat is absolutely stunning!
ReplyDeleteThanks so much Becky!
DeleteHi! I want to paint a dresser too, I was wondering if I should use a primer and if you recommend a specific one?
ReplyDeleteHi, I prefer to use chalk paint because the priming step is not necessary! I have lots of posts about chalk paint if you're unfamiliar with it! Just type CHALK PAINT into the search bar.
DeleteOhh..this is a wonderful transformation! the dresser looks all grown up now! Love it!
ReplyDelete