Make Flowers From Mason Jar Lids
Old mason jar lids and rings are transformed into pretty flowers with fabric. This tutorial will show you how to make a flower you can hang from hooks, knobs or pegs.
This post may contain Amazon or other affiliate links. As an Amazon
affiliate I earn from qualifying purchases.
My full disclosure policy can be found here.
Hey friend, are you ready to see how to transform some thrifting finds into
treasures that you can use in your home?
Welcome to Thrifty Style Team, that fun time of the month when the talented
team shares our thrifty home decorating ideas with you! We're led by the
fearless
Julie of Redhead Can Decorate
and this month the focus is on Thrifting! Specifically how to turn an item
we found at the thrift store into something great for our homes! Don't miss
all the great ideas at the bottom of my project.
Trash to treasure
I find good stuff at the thrift store all the time (my home is a testament to that)! But sometimes the thrift store is a little lean and you have to think outside the box!
When I was wandering through the thrift store, the best I could find was a bag
of various mason jar lids. Some of them were rusty, and there were all
different sizes and styles.
As soon as I spied several flat lids for the mason jar rings in this bag of
goodies, I knew exactly what I would make! This is a great project for using
rusty mason jar lids and rings that you otherwise would toss.
How to make fabric flowers from mason jar lids
If you've been following me for awhile, you might remember the
primitive farmhouse DIY sunflowers
I made using canvas drop cloth for my fall decor. It's become one of my most
popular crafts so I decided to make some Spring flowers in the same way, but
with a twist.
What's the twist?
The twist is that rather than making these faux flowers on stems, they would
have a hanger so they could be displayed from a peg or a door knob. I'll be
sharing some fun inspiration photos later on showing you different ways you
can display this type of flower in your home decor!
Supplies
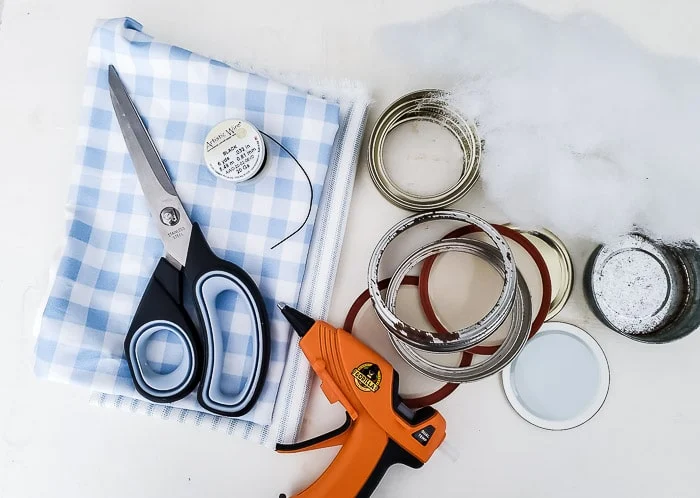
- mason jar lids and rings (need one of each in matching size to make one flower)
- fabric (I used THIS blue check fabric)*
- stiff black wire (I used THIS wire)
- scissors (I love THESE fabric scissors)
- hot glue gun and glue sticks ( THESE are my glue sticks of choice)
- polyester fiberfill (or cotton balls or stuffing from an old toy or pillow)
*you'll need a main fabric for the petals of your flower and a contrasting
fabric for the middle
These flowers are easy to make and you can use any fabric you already have on
hand, or pick something up from the fabric store that you love. You won't need
much to make a single flower, but if you plan to make several, I'd recommend
purchasing a yard of fabric.
If you read this tutorial and find it confusing, please refer to
THIS VIDEO TUTORIAL
to help. Even though this video is for my coffee stained drop cloth
sunflowers, the construction of the flower using the mason jar lid and ring is
the same.
Steps to making flowers
1. Rip fabric and cut to length
You can certainly cut your fabric, but the faster way to get even strips is to
tear it. Just make small cuts along one edge (for this flower my cuts were
every 2"). I cut each strip into a 12" piece. I needed about 20 strips for my
flower.
2. Tie fabric onto mason jar ring
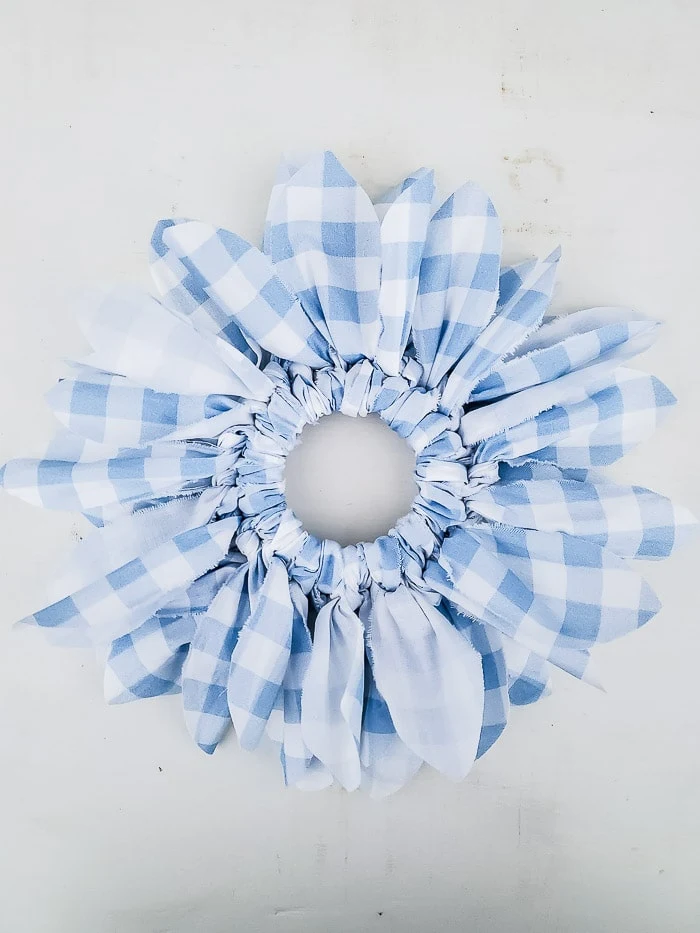
Next, you'll double knot the fabric strips around the ring of the mason jar.
Be sure to pull tight so you get nice, fat knots. Also, slide the knots close
together so none of the mason ring is showing. Repeat until the ring is
completely covered in fabric strips as shown below.
3. Cut petal shapes
This step was a last minute decision, but I chose to trim the ends of the
strips into petal shapes.
You could also do this before tying the fabric strips.
The flower is super cute as is and you could certainly leave it this way!
However there are two more steps to making mason jar flowers that look like
mine.
4. Add center
You'll layer a small piece of coordinating fabric, a small amount of fiberfill
(or stuffing) and then the mason jar lid to make a decorated center. These
layers will be pressed down into the ring of the mason jar until everything
pops into place. I found it helpful to have a stiff tool to push everything
down into the jar ring. You want to hear a pop to ensure that it's secure!
Flip the flower over and repeat for the back, hot gluing a small piece of
fabric over a little bit of fiberfill.
The centers of these mason jar flowers have a little bit of puff to them,
which just adds to their charm!
5. Add wire hanger
Finally, wrap a small piece of black wire around one side of the mason jar,
twisting it to secure, then doing the same on the opposite side, creating a
loop. In the supplies list above, I linked to the exact wire I used. The gauge
is perfect for creating a stiff loop but the wire is still able to be bent by
hand.
Ideas for displaying the flower
I think these flowers look a little like faux fabric dahlias and here are a
few ways that I've displayed them in my home.
Hung from a command strip hook
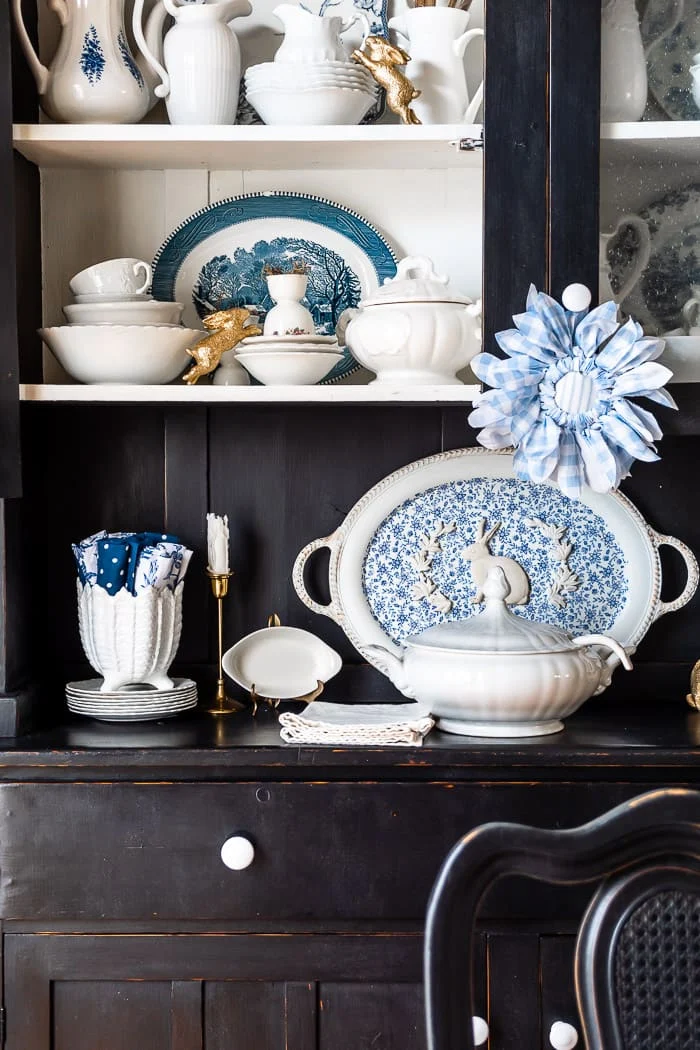
Hanging on the knob of my china cabinet
Hung from cabinet knob on white dresser
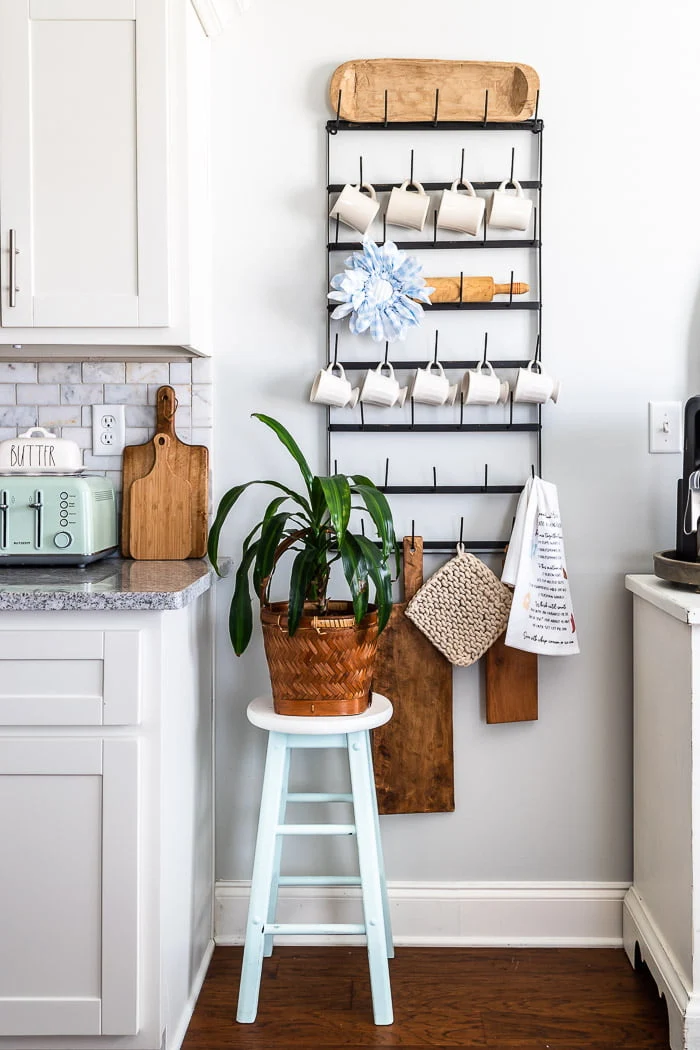
Added to my wall mug rack
Displayed on a decorative ladder
Let me know if you are inspired to make some flowers from mason jar lids, I'm
sure you have a few sitting around!
Pin to Save
Pinning and sharing my images is a great way to support my site, thank
you
❤
More THRIFTED Ideas for Your Home
Redhead Can Decorate -
How to Create a Thrift Store Basket Wall Corner
Our Crafty Mom -
How to Make a Vintage Tea Cup Planter for Spring
I Should be Mopping the Floor -
Cheese Dome Turned Seasonal Cloche
The How To Home -
10 Ideas for Decorating with Antique Thrift Store Bakeware
DIY Beautify - you are here
Songbird -
Thrift Store Bunnies Makeover
Simple Nature Decor -
DIY Beautiful Decoupage Wall Art
A Life Unfolding -
Ten Thrifting Tips and Tricks
Zucchini Sisters -
Thrift Store Ceramic Cherub Makeover
Exquisitely Unremarkable -
Vintage Wooden Candle Holder Makeover


.jpg)


The flowers turned out so cute (love that bunny tray too) have a great weekend!
ReplyDeleteThese are just darling, Cindy. That blue gingham is perfect for spring!
ReplyDeleteThanks so much Kim!
DeleteOh my gosh, this is so cute. And now, I have another Cindy craft to add to my make it list. Thank you for the inspiration! Now, I have to go search through my fabric stash and I was literally going to donate a bag of mason jar lids and rings so I have to go through the box in the garage to dig them out.
ReplyDeleteThanks MB! Oh, great timing!
DeleteCindy, these flowers are seriously the CUTEST! I love that you trimmed the fabric into petal shapes...that was the perfect touch. I can think of hundreds of spots I'd want to hang one! Happy Spring! xoxo, kristi
ReplyDeleteOh my goodness! Cutest idea EVER!!! I'm picturing a daisy with white petals & yellow middle...so clever, Cindy! ~ Julie
ReplyDeleteWow! You did it again, Cindy! These are just the cutest things I’ve ever seen. I want to make some for my home. Thank you so much for the easy tutorial your home looks just lovely. Happy spring!
ReplyDeleteThanks Michelle!
DeleteWell now these flowers are decadent! But so is every single image in this post. Your entire home is so inspiring! I strangely have a need to clean up now. LOL
ReplyDeleteOh gosh, thank you Donna! I've never been told I inspired someone to clean up before, LOL! I'm the girl who dusts before I take pictures haha. xx
DeleteThese flowers are adorable and I can't wait to make some. Thanks for sharing.
ReplyDeleteThese are adorable...just wondering if they would turn out okay if the fabric strips weren't as long?
ReplyDeleteI would cut them after you tie them into knots!
Delete