Double Sided DIY Rabbit Pillow with Printed Designs
Print any design onto fabric using your home printer and turn designs into temporary (or permanent) no-sew decorated pillows! This method is a budget friendly way to make DIY home decor for any season!
This post may contain Amazon or other affiliate links. As an Amazon
affiliate I earn from qualifying purchases.
My full disclosure policy can be found here.
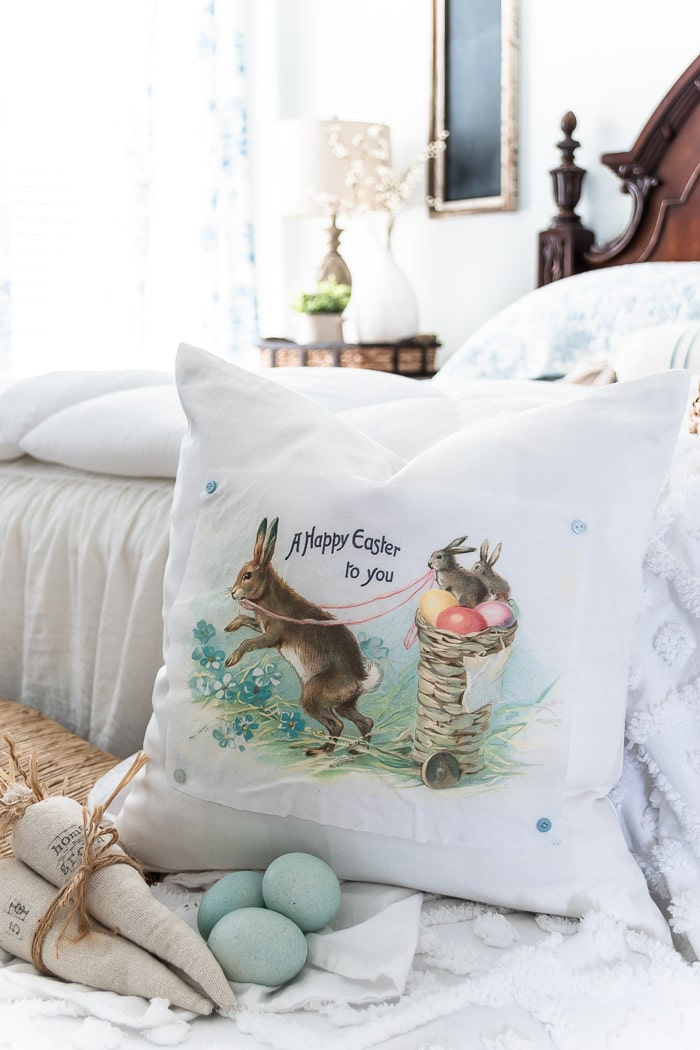
With just a few simple items, you can make the cutest DIY rabbit pillows for
your home! I made a double-sided pillow with Easter bunnies on one side and
a farmhouse rabbit on the other side.
This no-sew DIY is a wonderful way to create inexpensive decor for your home!
I'll share some of my favorite websites below where you can source free and
inexpensive images to use.
How to make double-sided printed pillows
Easy and affordable are the most important considerations when I'm
creating seasonal decor and these pillows certainly fit the bill! I'm
notorious for changing my mind, so I designed these pillow designs to be
temporary, much as I did with my
black and white houndstooth pumpkin pillows.
I used leftover canvas drop cloth and white cotton remnants to make my pillow
designs. But maybe my favorite part about this DIY project is how easy it is
to transfer your favorite images onto fabric using your home printer! I'll
show you how to do it so you get the best results!
Supplies
- pillow cover (I like these white canvas covers)
- fabric for design (I used both canvas drop cloth as well as cotton sheeting)*
- home printer
- regular copy paper
- adhesive spray
- scissors
- buttons
- needle and thread
*if using drop cloth fabric, be sure to wash and dry first before proceeding
with design

Select design(s)
If you're already making something for your home, creating double sided home
decor projects just makes sense because you can get double the bang for your
decorating buck! For my pillow, I decided to have a seasonal Easter side, as
well as a simple neutral bunny face that I could leave out all year
long.
Here are some other double-sided home decor projects I've made:
-
Man in the Moon Sign (click
HERE to see the other side)
-
Farmhouse blush double-sided sign
-
Double-sided pumpkin coasters
These are the designs I chose for my rabbit pillow. You'll want to download
printables at their largest size and then resize if you need to fit your
pillow cover. You might also be able to resize the image in your printer
settings.

|
| Source |

|
| Source |
Both of my designs are free images available for home use, be sure to read any
copyright information before selecting images you find on the web!
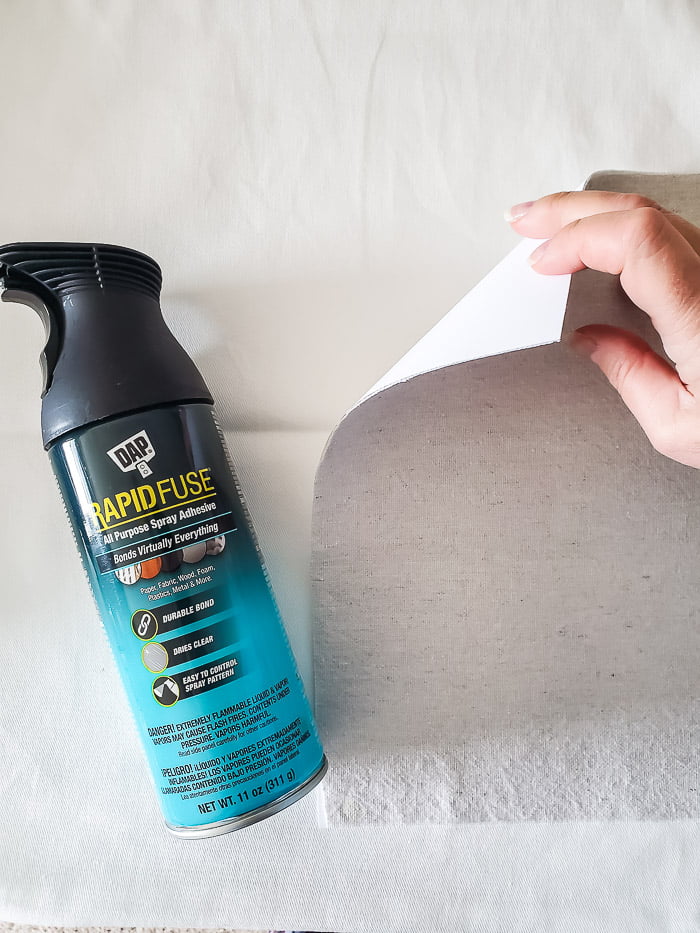
Adhere fabric to copy paper
In order to run fabric through your printer, you will need to first join it to
a piece of copy paper. It must be the exact same size.
I tried using tape around the edges, but that didn't work and my fabric got
stuck in my printer. I found spray adhesive to be the best solution to quickly
adhere the fabric to the paper, although there is also a freezer paper method
that I haven't tried. Keep in mind that unless you use a
temporary spray adhesive, you'll want to have everything ready to go and be ready to print
immediately after positioning the fabric onto the paper otherwise it might be
difficult to pull the fabric design off the paper.
I lightly sprayed the backside of the fabric, let it get tacky for a minute,
and then placed a sheet of copy paper on top, pressing to secure. Be sure to
trim around the edges of the fabric if it overlaps the paper at all.
Read before you proceed! I don't want you to mess up your printer. For that reason, you want to be sure to have NO loose threads on the edges of your fabric. Fabric sides should have totally straight edges. If you need to trim your fabric, you'll get the best results if you do this after you've joined the fabric to the copy paper with spray adhesive.
Run fabric through printer
Disclaimer: the method I'm sharing worked for me with my inkjet printer and
fabrics I chose; results may vary depending on the type of printer and
fabric you use!
You will need to first determine the placement of your printer and what side
it prints on. To quickly do this, I took a piece of copy paper and on one side
wrote 'Front' and on the backside wrote 'Back'. Then I ran that piece through
my printer and noticed which way the design printed.
I have a Canon printer and am able to select 'light fabric iron on transfers'
for my print setting. If you don't have that setting, look for either
'specialty paper' or 'photo paper'.

Heat set design
When your design comes through the printer, set it aside for a few minutes to
allow the ink to dry so it won't smear. Before you proceed with the next step,
take a minute or two to iron the design, both front and back. The heat from
your dry iron will seal the ink. Then gently peel the fabric from the copy
paper backing.
Attach design to pillow cover
To keep this project no-sew, I secured my designs to the pillow cover with
buttons that I stitched on. If you don't know how to sew a button, you could
try using
velcro adhesive dots, or you might want to make your design permanent and use the spray adhesive
to join the design to the pillow cover. Or refer to the easy way I secured the
temporary covers on
these seasonal pillows.

I love how quick and easy this double-sided seasonal pillow was to make and it
looks so cute in my
Spring decorated bedroom, no matter which side is facing out!


Favorite Sources for Printable Designs
You may already have some places you go to find images but here are a few of
my favorites. Most of these are free or just a couple bucks to download:
- The Graphics Fairy (hundreds of wonderful images, many vintage ones)
- Pixabay
- Canva
- Digital Alice (love printing her designs and framing for cheap wall art!)
- Chocolate Rabbit Graphics (love their vintage style!)
I hope you found this pillow tutorial helpful and are excited to try this
method! If you share, be sure to tag me on social @diybeautify so I can see
your project ❤
Pin to Save
Pinning and sharing my images is a great way to support my site, thank you!

bringing beauty to the ordinary,


Comments
Post a Comment
Your comments are like sunshine and chocolate! Thanks for taking the time to leave a nice one ;) I read all comments and love to respond. If you don't have Gmail, please leave your name!