Air Dry Clay Botanical Tags
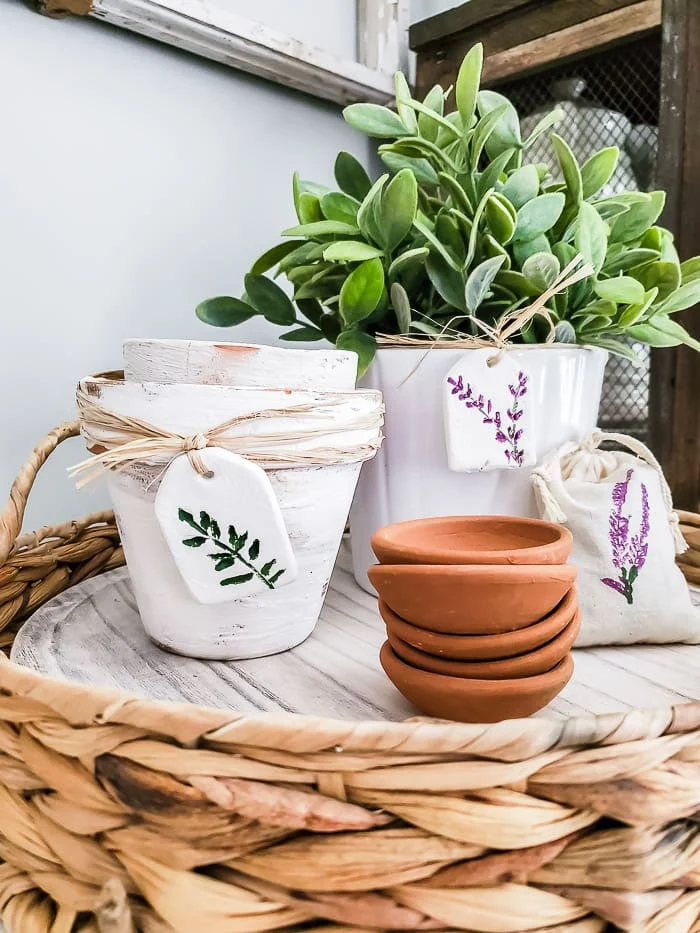
Air dry clay is hand cut into tags, pressed with botanicals and then painted for a watercolor effect. Clay tags add a special touch to a favorite plant and make the perfect gift!
This post may contain Amazon or other affiliate
links. As an Amazon affiliate I earn from qualifying purchases.
My full disclosure policy can be found here.
It's the week of clay crafts, lol! Early this week I shared the
terracotta round clay herb markers that I made for some of our herb seedlings. They turned out so good! I
also updated an old thrifted pot for the third time (yep, the joy of being
an obsessive creative!) and turned it into an Anthro Minka pot dupe. You can
see the before and after
here, and if you want to watch me make one, be sure to check out
this video. This is a big pot and it turned out so striking! I'm sure you'll be
seeing it a lot here on my blog as I move it around my home.
Today I'm joining some sweet creatives on Instagram as their guest. We're
each sharing a DIY and you can catch all the projects on
my Instagram page. I wanted to share the full tutorial for these botanical clay tags here on
the blog as well, as I know so many of you appreciate a step by step
tutorial!
I really enjoy crafting with clay. It is relaxing and you don't have to be
an expert to make something beautiful!
Let's get started.
How to make air dry clay botanical tags
These botanical tags are handcrafted. They're not perfect by any means but they turned out so pretty and colorful and I'll bet you can find a hundred uses for them! Here are a few ideas.Ideas to decorate with clay tags
- Wrap them around potted plants (real or faux) as I have here
- Use as gift tags for a prettily wrapped package
- Make several and string as a garland for your mantel
- Bundle them in a small basket or crate, along with jute twine and these scissors and gift them
- Tuck them into a pretty bowl as table decor
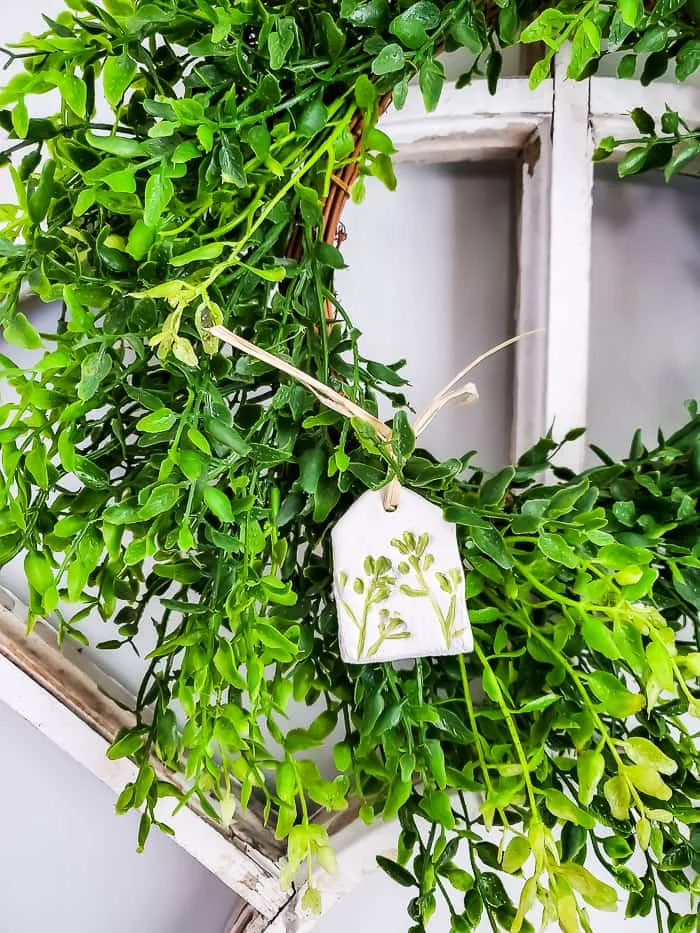
- Tie them onto a wreath (see example below)
Clay tags are not only easy to make, they're very affordable and the supplies
list is quite short!
Supplies
- air dry clay (I'm using Craft Smart clay that I picked up at Michaels, but I usually use DAS)
- silicone or cutting mat
- rolling pin
- skewer
- plastic knife
- stiff botanical stems (faux work best like these lavender stems)
- acrylic paints and brushes
Note: I did not use the lavender stamp shown below but you could try
making imprints with
botanical stamps like these
I like to work on a
cutting mat (you could also use a
silicone mat) because it keeps my work surface clean. When working with air dry clay, it
tends to be messy on your hands so I wore disposable gloves. This brand was
not as wet and messy as other brands I've used.
Step 1 - roll out clay
Take a ball of clay and work it in your hands until it softens and becomes
pliable* Press it flat onto the work surface and roll out to about 1/8" thick.
My clay is usually a little thicker than 1/8" because I find if I make it too
thin, it has a tendency to curl a little as it dries.
*if your clay seems dry you can add a couple drops of water and work it with
your hands to soften it
Step 2 - hand cut tags
If you have trouble with this step, make a cardboard tag template and trace
around it. I like the imperfection of creating these tags by hand. No two are
alike!
Some tips for cutting tags from clay:
- use a straight edge (or even piece of cardboard as I did) to cut clay into a rectangle and then divide into fourths
- add a hole for hanging using a skewer
- use plastic knife to cut corners off the tops of tags*
- press edges with either the knife or fingers to smooth edges
*rather than pulling the knife through the clay, which can distort the shape,
use a short up and down motion to cut through clay and then pull away the
excess
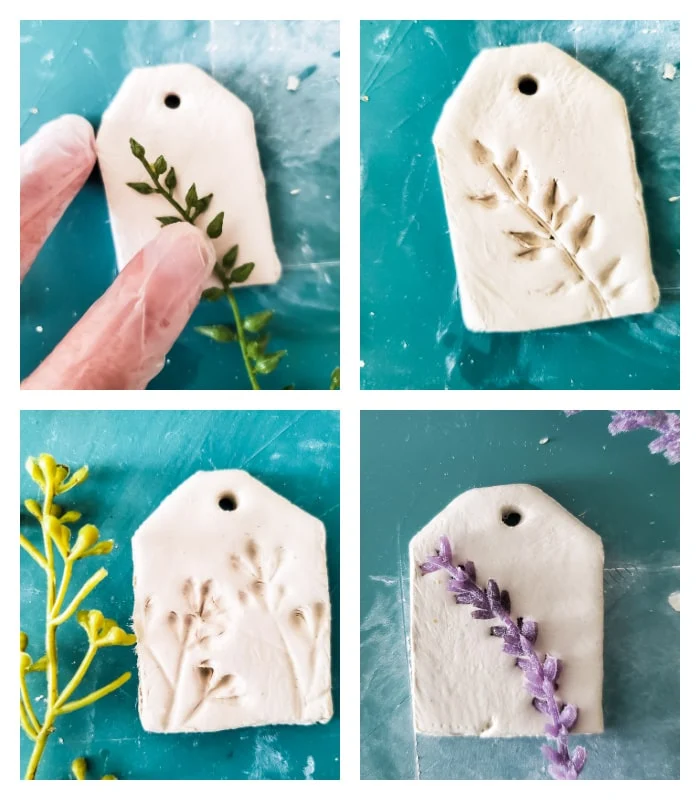
Step 3 - stamp with botanicals
I found I got the best impressions with faux botanicals that had a stiff
texture. I used a variety of pieces, just snipping a small piece off a garland
or wreath. The faux boxwood (piece on the far right below) did not make a good
impression so I didn't use it.
Set tags aside to dry, flipping them over after about 12 hours. It usually
takes between 16-24 hours for smaller clay projects to fully dry.
Step 4 - sand tags and paint
Now for the fun part! Once the tags are fully dry, use a small piece of
sandpaper to smooth the rough edges and even round the corners slightly, and
then paint.
I used a craft brush with a very fine tip, dipped it into a glass of water,
and then picked up just a little bit of paint onto the end. You're really just
making short strokes to add paint to the impressions left from the botanicals.
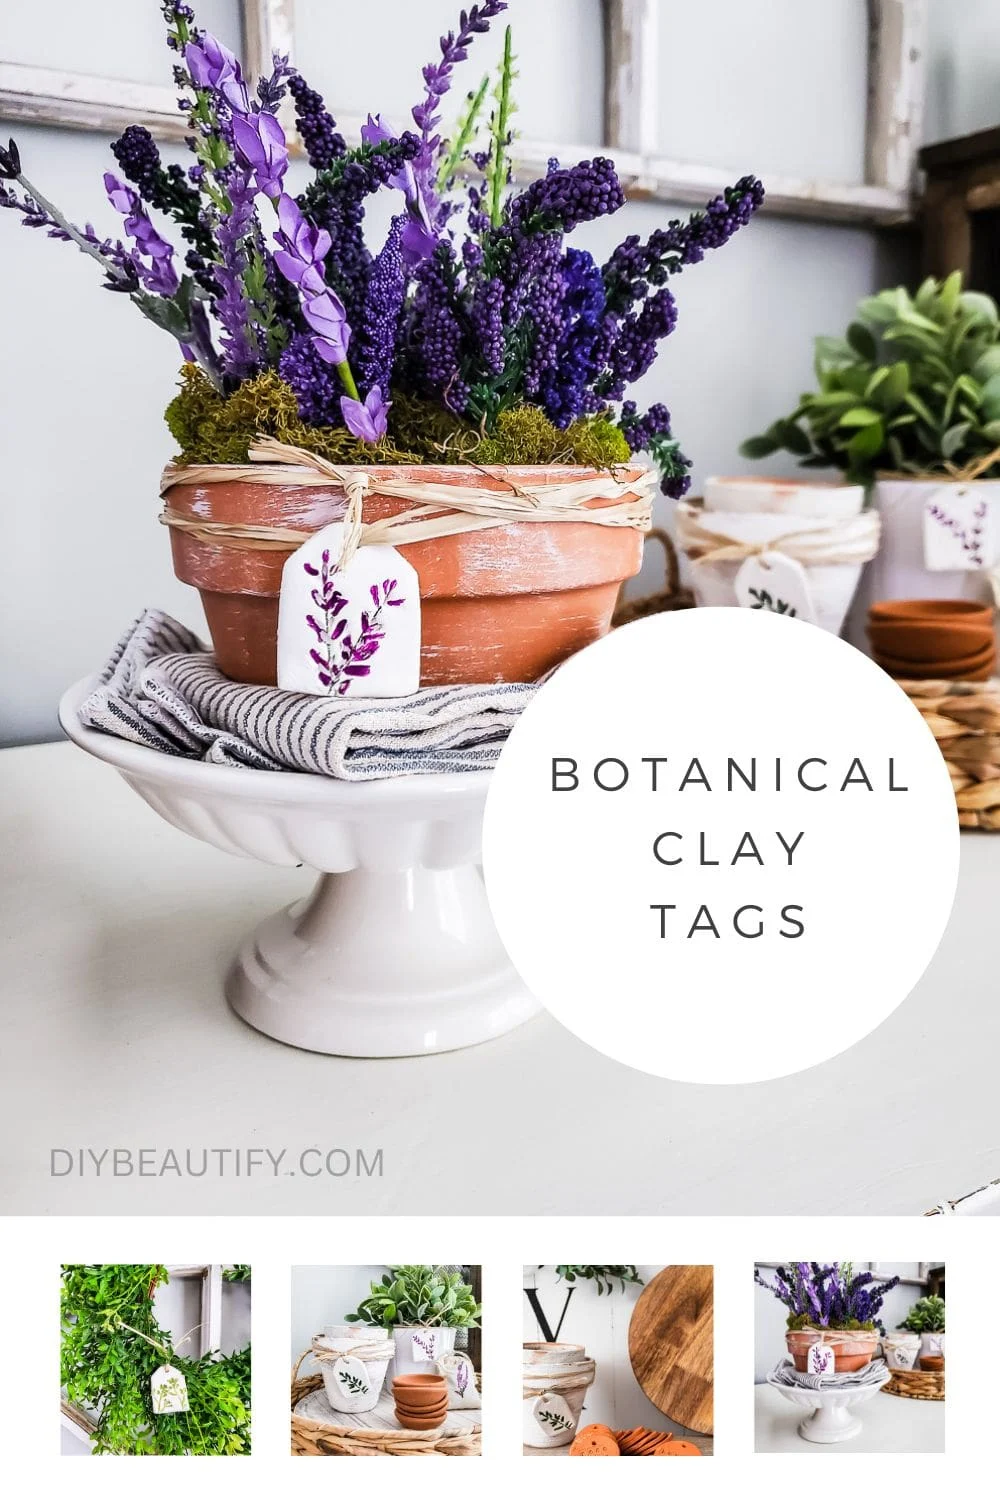
I knew I wanted to use the lavender tag with a pot of lavender, but my real
lavender plant only has one flower currently. But, I had a variety of faux
lavender stems and quickly 'planted' them in a clay pot to create this
pretty vignette. A piece of Styrofoam tucked into the pot holds the stems in
place and I added moss around the top to fill in the empty spaces and hide
the Styrofoam.
I think a single tag tied onto a greenery wreath adds a beautiful yet simple
touch.


This is one of the prettiest and most useful crafts I’ve seen.
ReplyDeleteThanks Patricia, I really appreciate that and am so glad you like these little clay tags!
Delete