Easy DIY Paper Ribbon for Your Christmas Tree
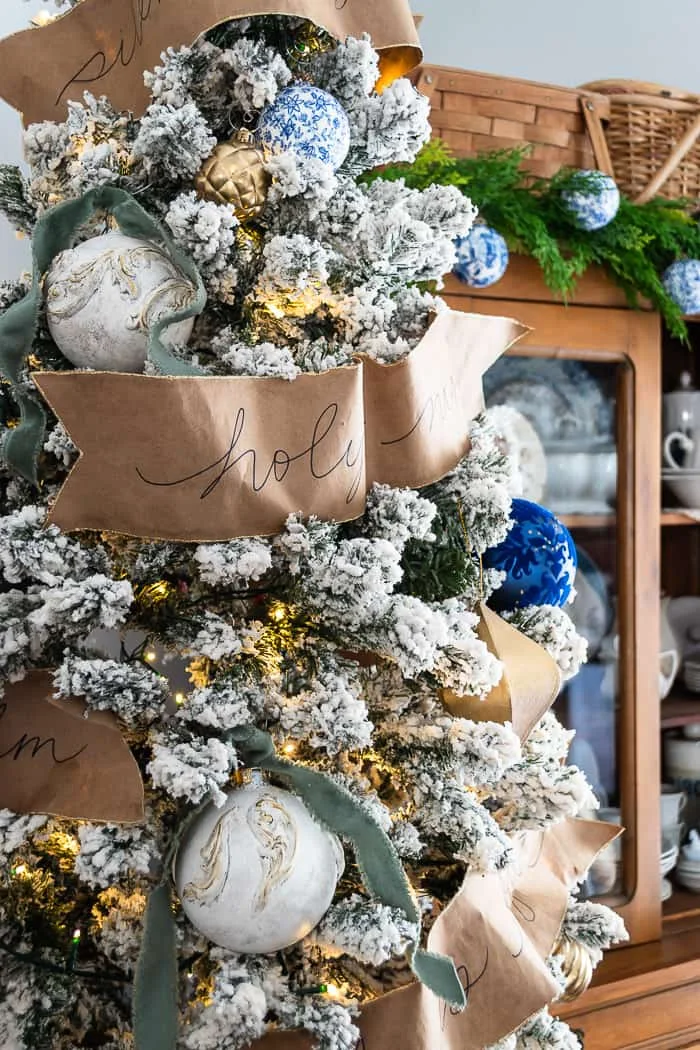
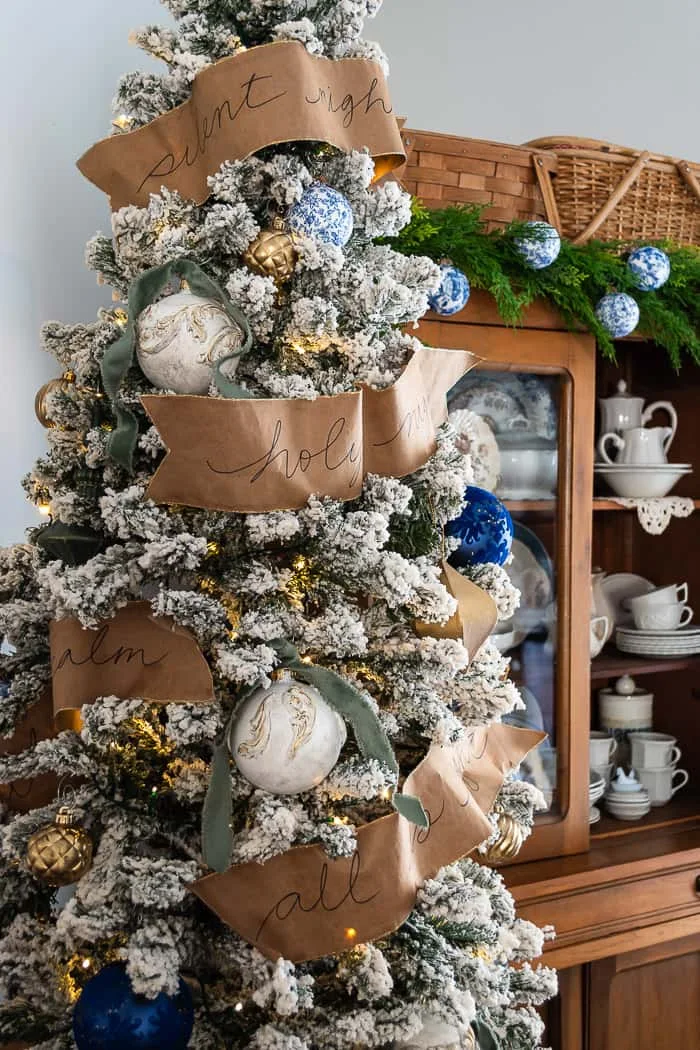
Save money this Christmas and make your own wide tree ribbon from an inexpensive roll of kraft paper! Handwritten song lyrics and glittered edges will make it sparkle on your tree.
This post may contain Amazon or other affiliate links. As an Amazon
affiliate I earn from qualifying purchases.
My full disclosure policy can be found here.
This is the year I decided to decorate for Christmas using only what I already
have! One of the things I've spent the most money on over the years is ribbon
for my Christmas trees. Even when ribbon is on sale, you need so much of it
that the price quickly adds up!
If you need some thrifty ideas for decorating your home this holiday season,
read on and see how to make your own paper ribbon!
How to make beautiful paper ribbon for your Christmas Tree
I came up with this DIY paper ribbon using basic supplies I already had on
hand, and it looks fantastic on my dining room tree. No one will guess the
humble origins of this beautiful, custom ribbon that adorns your Christmas
tree! Because it's handmade, you have lots of options to customize it, and
I'll share additional ideas as we get further into this tutorial. You'll also
be able to watch a short video tutorial.
Supplies you'll need:
- roll of kraft paper
- coffee stain (recipe below)
- foam brush
- black fine tip Sharpie
- scissors
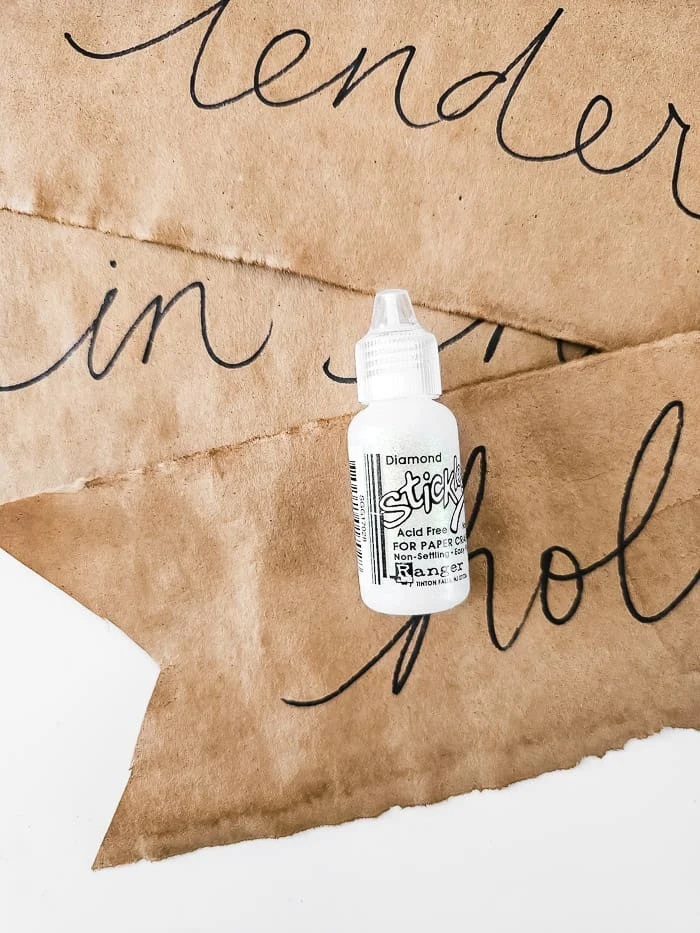
- glitter glue (I used this Diamond Stickles)
That may be the shortest supplies list of any of my crafts! You should be able
to find the roll of paper, Sharpie and instant coffee at the dollar store if
you don't already have these supplies at home. You can use any glitter glue, I
just really like the Stickles product.
Step 1: Decide on your lyrics
I chose to use lyrics from Silent Night, but you can pick whatever
you'd like. Don't have a favorite Christmas song? Pick a phrase or saying, or
even just a simple Merry Christmas that is repeated on each strip of
ribbon. It's up to you! Your ribbon can all say the same thing, or it can be
different phrases, you get to decide!
Step 2: Make paper strips
Decide how wide you'd like your ribbon to be. That is the beauty of handmade ribbon - you don't pay extra for the wider ribbon! Can I get a woohoo?
I folded my paper to about 4" wide. Rather than cut it with scissors, I ran my
fingernail along the folded edge, then folded it the other way and did the
same thing. I repeated this a couple times and then gently tore the paper
along the fold line.
The paper roll I used is 30" wide, which was plenty long for a longer phrase.
Don't cut the paper yet though.
Step 3: Notch ends
The paper will want to curl on you if you're using paper from a roll. Just
gently roll it the opposite way to get out most of the curl. We'll take care
of the rest in the next step!
Notch the ends of the ribbon by lightly folding the ends together and cutting
a diagonal line from the edge to the middle (you'll be able to clearly see
this in the video below).
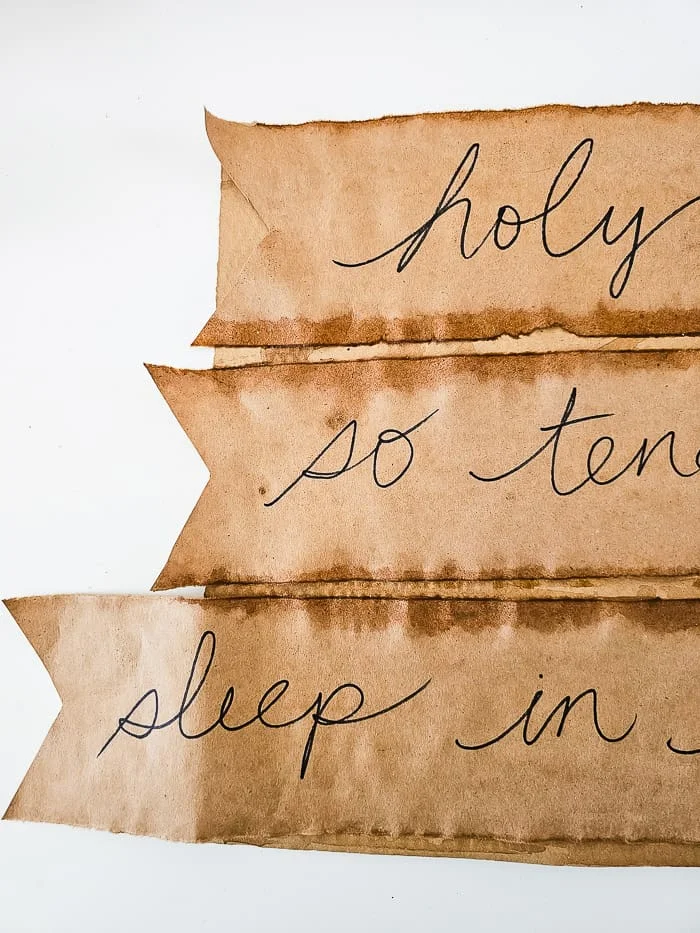
Step 6: Write lyrics on paper strips
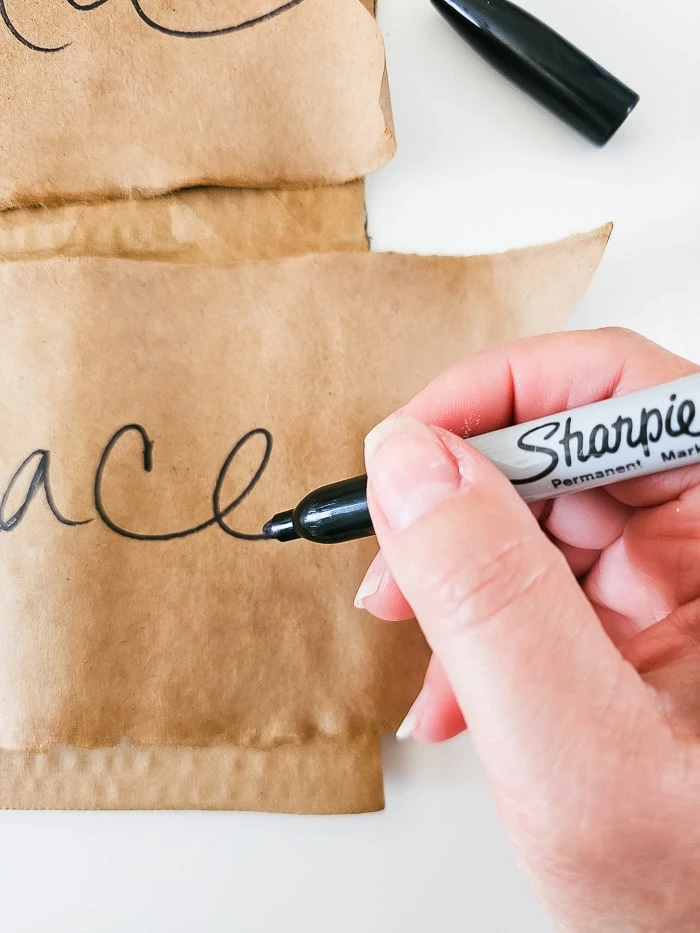
Use the Sharpie to write your lyrics or phrase. I always do a 'dry run' with
the Sharpie with the cap on to make sure I'll have enough room. You might need
to break up your phrase into smaller sections so they'll fit on the paper
strips. And be sure to leave a couple inches at the end of the strip so you
can notch that one too!
What if I hate my handwriting?
I honestly don't think anyone likes their handwriting, lol! My tips are just
to try it. Remember that your handwriting is unique to you, so if you want to
print it with all caps, or do a mix of cursive and regular style, that is
completely up to you! Try to have fun with it.
If you still hate how it looks, you can ask your teenage daughter to do it for
you, haha! Seriously though, we're not after perfection here! Once the ribbon
is woven through the tree, you won't even see all the words or the details
that well so I encourage you to just go for it!
Step 5: Brush with coffee stain
You might be wondering if this step is necessary, and I think it is. Here's
why:
- The coffee stain will get out all the wrinkles in the paper and it won't curl up on you anymore.
- While the color won't change dramatically if you're using kraft paper, the coffee will leave a pleasant smell behind (especially if you use cinnamon and vanilla!)
- Once the paper dries, it will be more malleable and easier to shape into ribbon and work into the branches of your Christmas tree.
Here's the recipe for the coffee stain I used. You can omit the cinnamon and
vanilla but it really leaves a nice scent behind! Do be aware that the
cinnamon won't dissolve, so if you don't want any little speckles of
cinnamon on your paper, just leave it out (or don't mix the contents of the
jar beforehand!)
Coffee stain recipe
- 1 cup hot water
- 1/2 cup instant coffee granules (very important!)
- 1 Tbsp vanilla
- 1 Tbsp cinnamon
Mix together in a glass jar with a lid. Use cheap products from the dollar
store. Store in fridge (I've kept mine for a couple months and it's fine!)
When ready to use, remove lid and heat jar for 30 seconds in the microwave.
Stir the clump of cinnamon to redistribute. The cinnamon won't dissolve.
I've used this coffee stain for lots of various projects like
these vintage inspired jars with faux rusted labels, even to add age to a printable like this
flea market DIY sign. I've used it to distress books, brushed it on fabric that I wanted to have
more of a grungy look. There are a ton of uses, of course you can make a
smaller batch if you don't think you'll use more of it.
You'll need a little bit of space for this step. Lay out a piece of cardboard
or something else to absorb the excess moisture and protect your table and
have a box or plastic tote nearby to lay the strips over to dry.
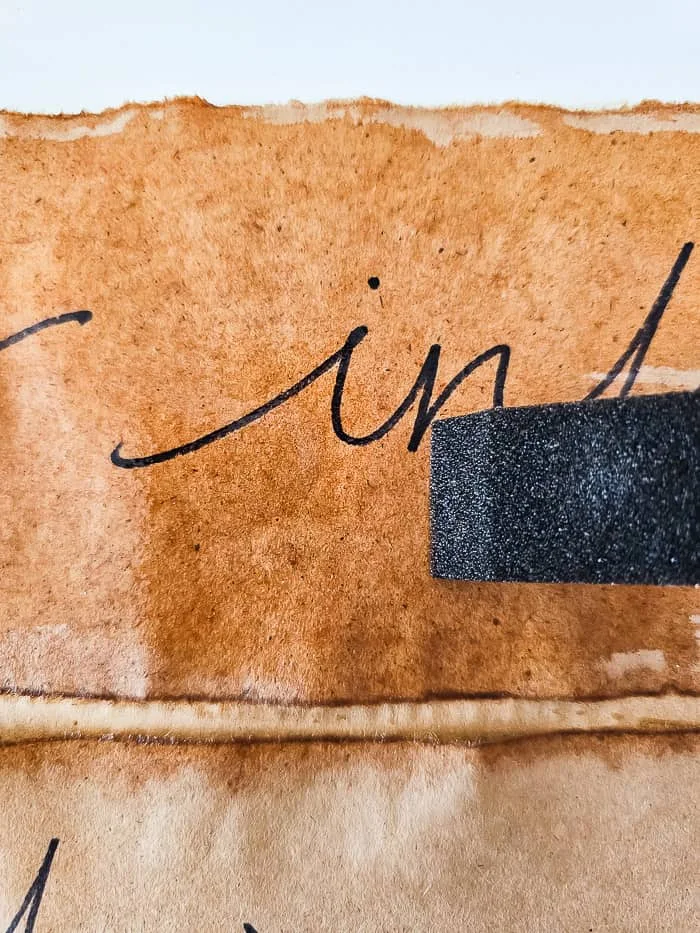
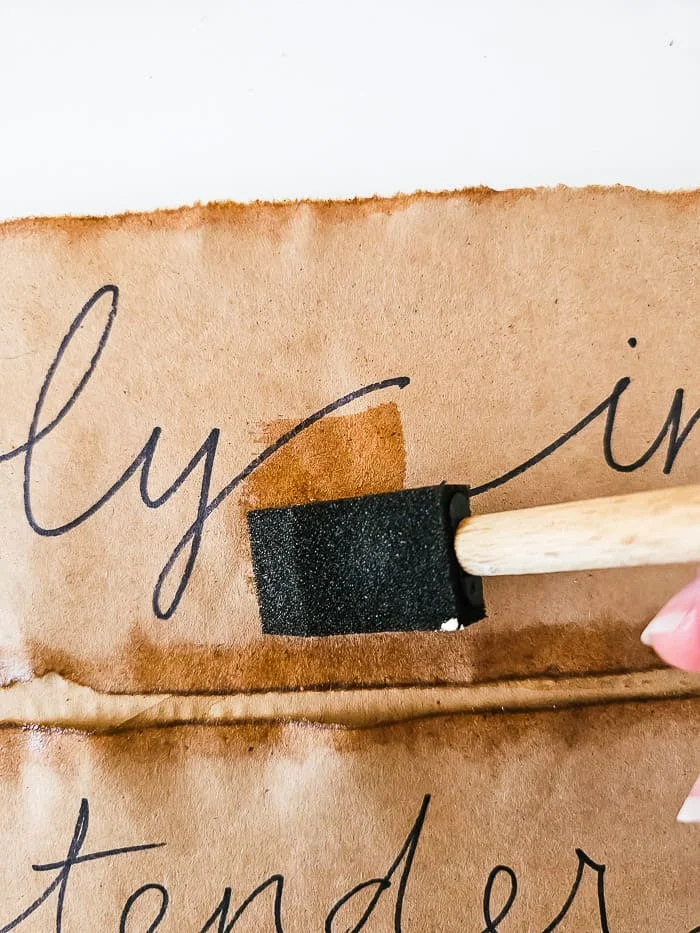
Dip the brush in the coffee stain and brush paper with long strokes until it's
been thoroughly covered.
Set aside to dry. You'll notice that the edges will take a little longer than
the middle. It will dry much lighter than it looks when wet.
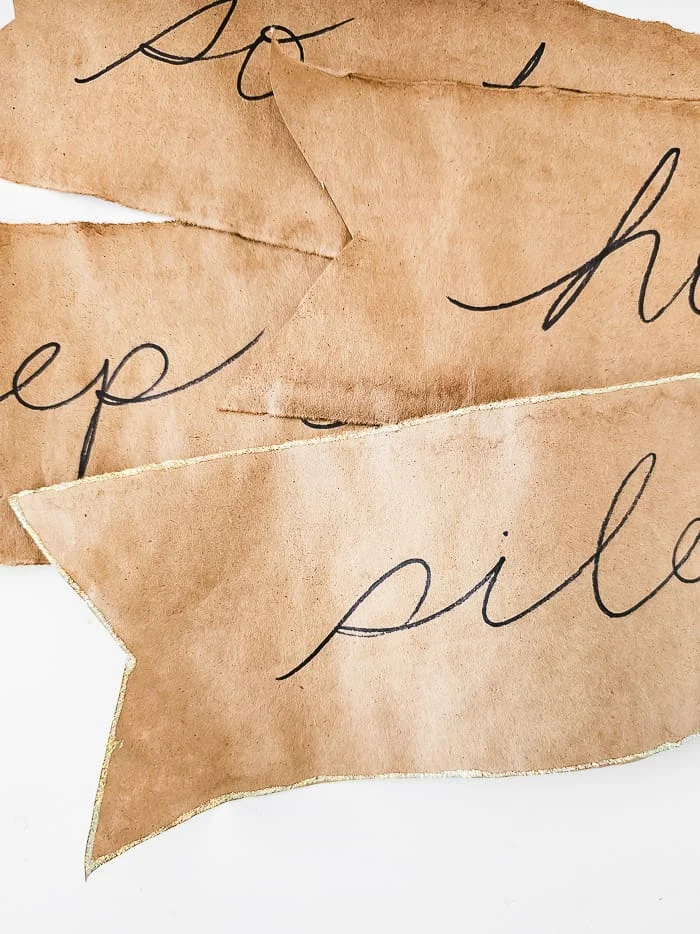
Step 6: Glitter the edges
This step really takes the paper ribbon from bland to wow! Plus when you add
the ribbon to your lighted tree, it really sparkles! The Diamond Stickles
looks white in the bottle, but when added to the brown kraft paper, it turns
gold!
You'll need a spot to lay your strips for the glitter glue to dry, just be
careful not to overlap them.
Here are a couple of additional ideas for making your own paper ribbon:
- use white kraft paper with red Sharpie and leave out the coffee stain (unless you love a vintage, primitive look!)
- use a favorite wrapping paper for your ribbon - I would try to pick one of the heavier-weight ones for durability, and don't forget to glitter the edges!
- make smaller ribbon strips and, for those who realllllly hate their handwriting, type out your phrase in your favorite font and print onto copy paper. See mine on this year's Christmas tree.
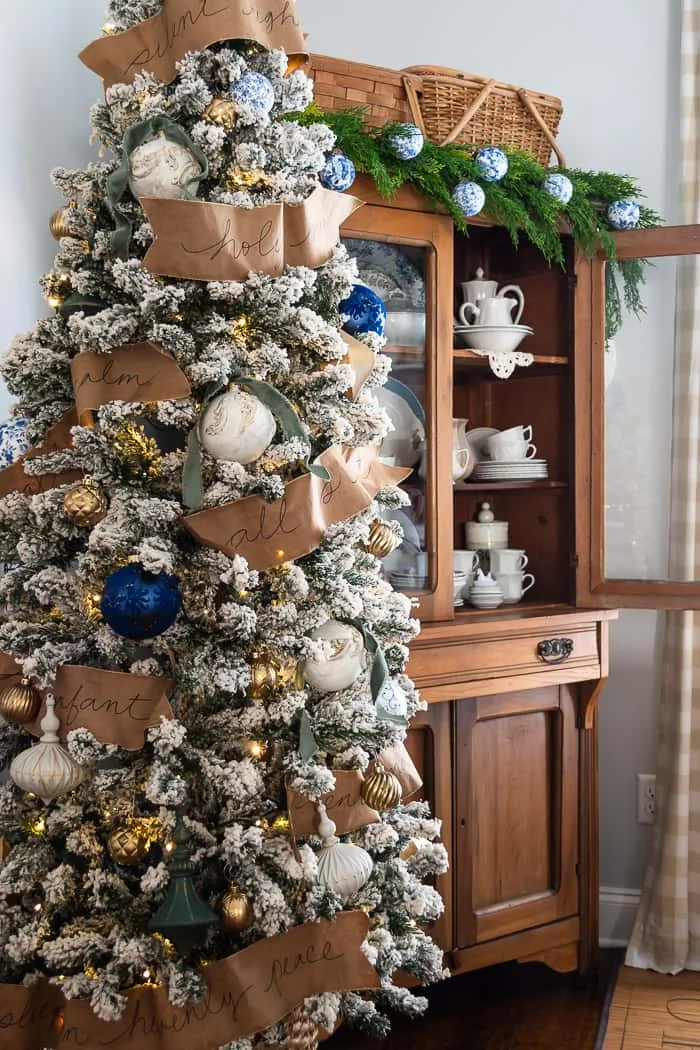
When you hang the handmade ribbon on your Christmas tree, pick areas that
are bare or have noticeable holes. This ribbon is a great way to fill in those
bare spots! Gently weave and bend the ribbon through the branches and
they'll hold it in place.
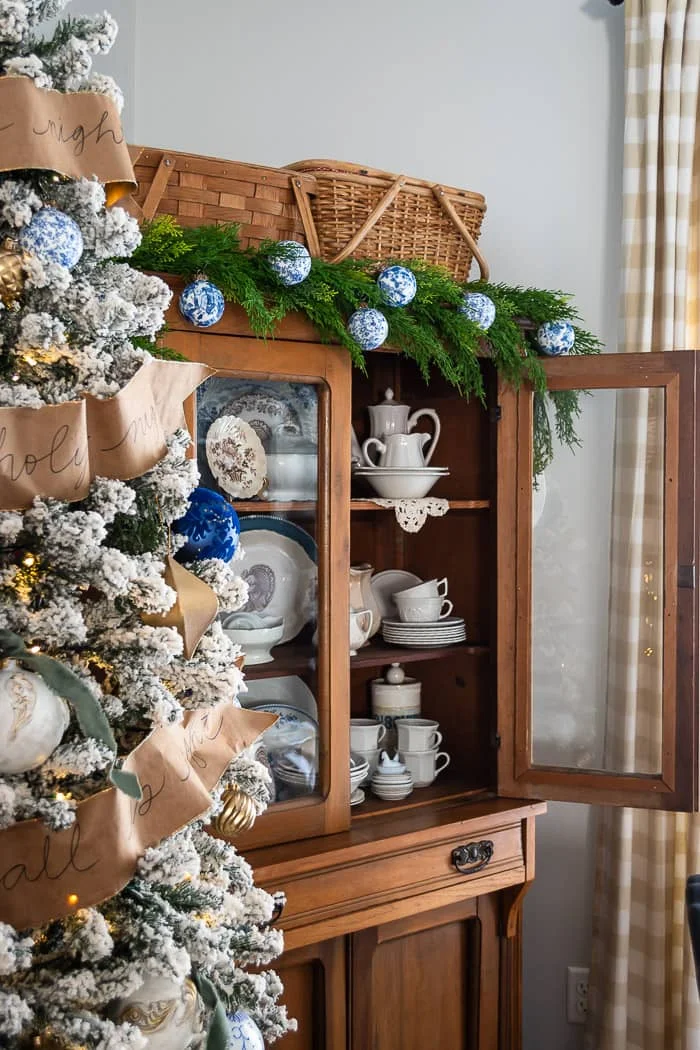
Because I used song lyrics, my first phrase is at the top of the tree, and
then the following phrases were put on in order.
I love the simplicity and beauty of this Christmas craft, and the money I
saved on ribbon this year!
Watch this 1-minute video reel
I would love to hear if you're inspired to save money this Christmas and make
handmade ribbon for your tree! Let me know in the comments below. I'm happy to
answer any questions you may have.
I have both Christmas and Thanksgiving happening in the dining room right now.
Once Thanksgiving is over, I'll add a little bit of red to my tree and inside
my hutch.
You can see more details of my
Thanksgiving dining room decor here.
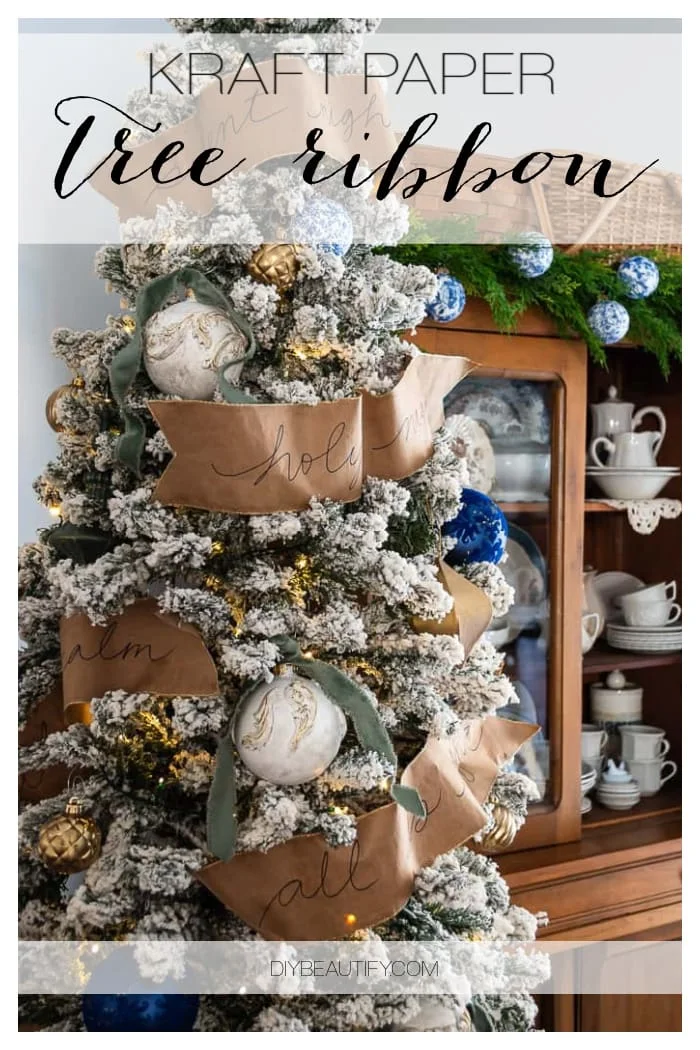
Pin to Save
Check out my
Christmas Resource Library, filled with hundreds of holiday DIYs, decor ideas, free printables and
more!
Don't miss my 12 Crafts of Christmas holiday eBook, available for free
to subscribers!



You are so crafty and creative! Love this idea. Here's your woohoo! And yep, I'll be having my daughter write the words on the ribbon. lol. Thanks for sharing this! pinned
ReplyDeleteThank you my friend, for the love, and the woohoo 😉 Let me know how it turns out!
DeleteI definitely want to try this. Such an inexpensive idea with amazing results. Thanks for sharing. 🙂
ReplyDelete