How to Make Fuzzy Pumpkins from Socks
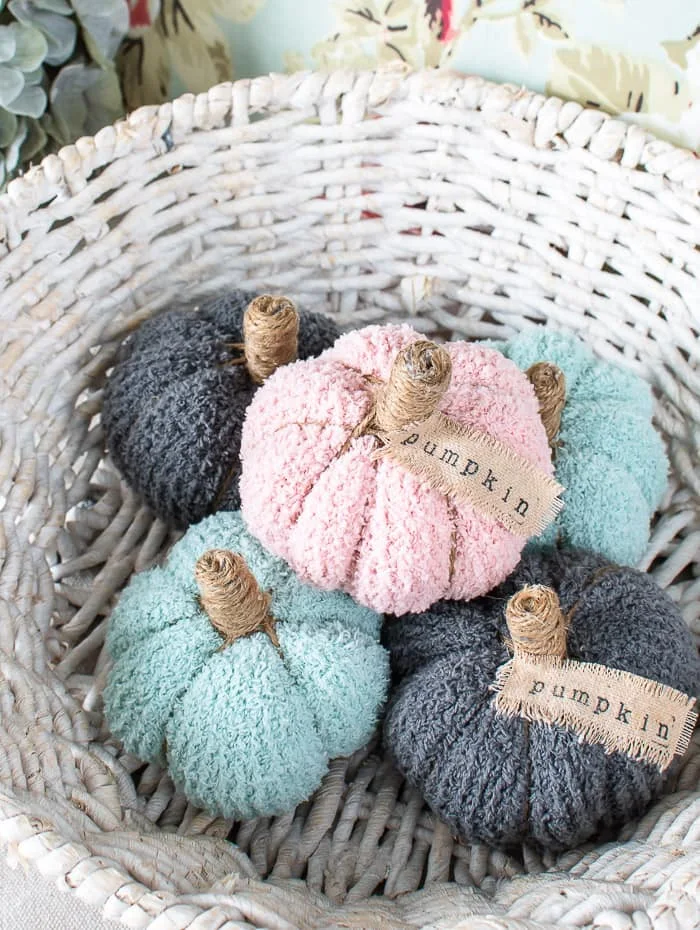
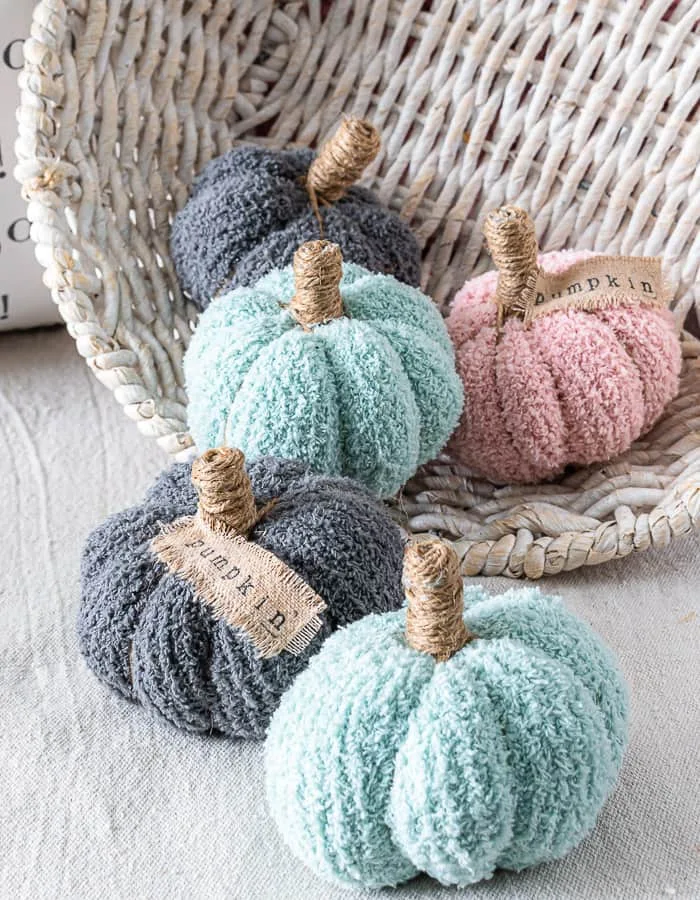
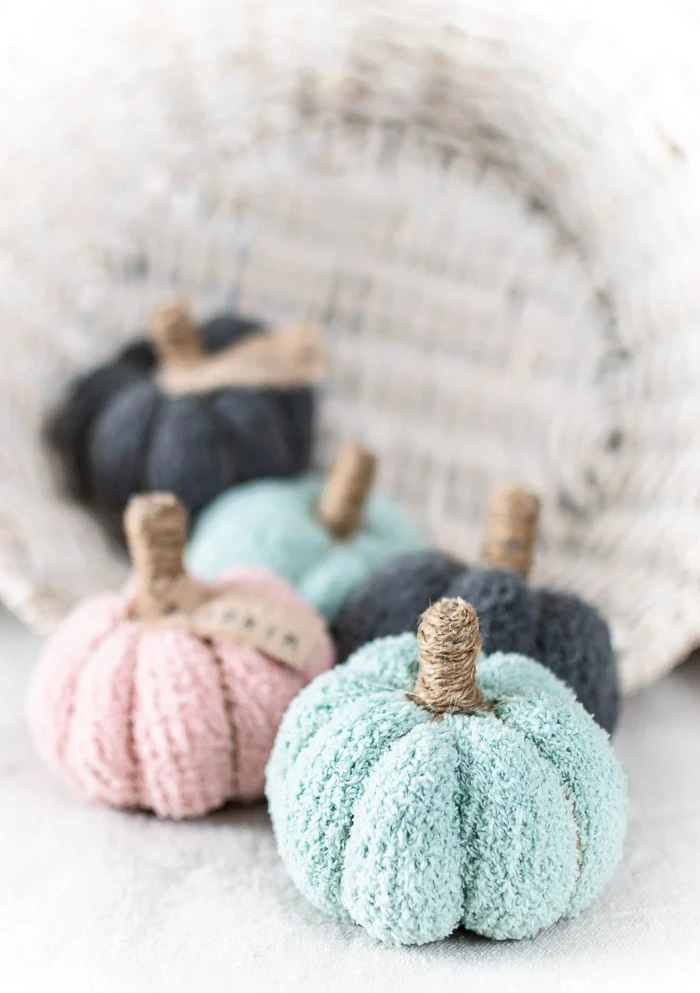
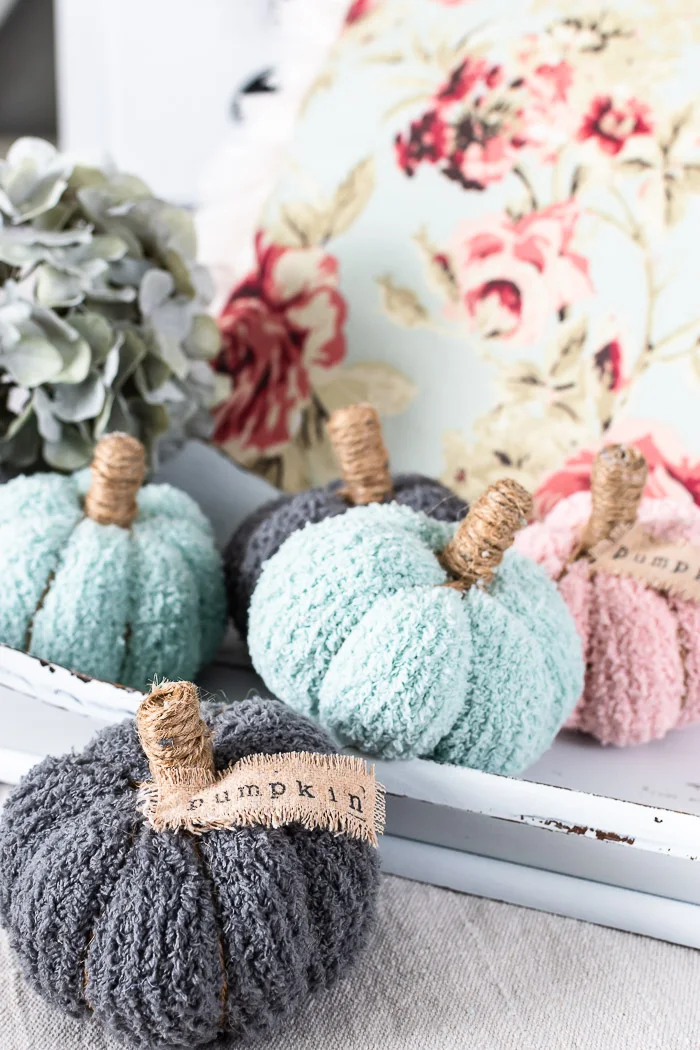
This tutorial will show you step by step how to turn fuzzy socks into the most fluffy and adorable pumpkins! Video tutorial included.
This post may contain Amazon or other affiliate links. As an Amazon
affiliate I earn from qualifying purchases. My full disclosure policy can be found here.
They're so fluffy! Are you drawn to all the soft and fuzzy things? If
you're looking for an easy fall project that requires minimal supplies, you
just might want to make a batch of these fuzzy sock pumpkins!
You'll use just a small dab of hot glue, and you won't need to thread a
needle! These DIY pumpkins couldn't be easier to make, I promise! I'm
including a short video tutorial to show you exactly how to make these fluffy
pumpkins, step by step. Be sure to read my Tips for Success below, to
help you turn out the cutest sock pumpkins!
I'm sharing all the steps below so you can have fuzzy sock pumpkins in no time
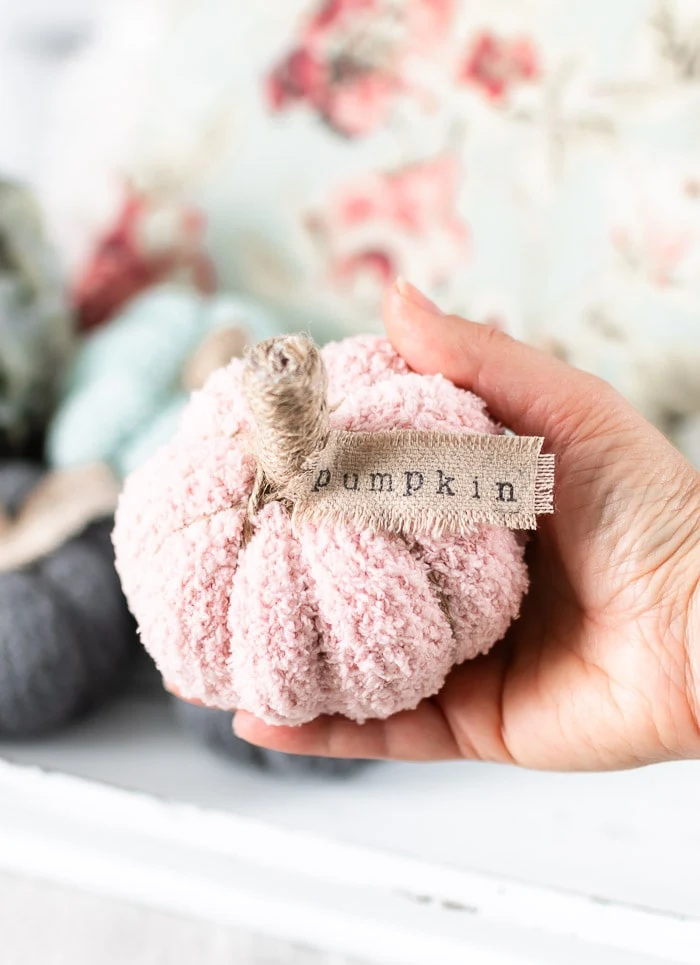
at all! You can make them any color you want, add a stamped tag like I did, or
add some felt leaves. They'll be the perfect addition to your fall decor
whether you make them in traditional fall colors, or pastels like I have.
I recently shared the cutest fluffy sock DIY ghosts and goblins
that I made, and these sock pumpkins are just as soft and fluffy! Let's get
right into the supplies and the tutorial!
Supplies Needed
- fuzzy socks (like these or these)*
- polyester fiberfill
- small dried beans, rice or popcorn kernels**
- hot glue
- jute twine
optional supplies:
- alphabet stamps- black ink for fabric
- coffee stained drop cloth (instructions are available on this post)
*short socks are best for this project as we'll be cutting them and
discarding the heel portion
**I've made many projects with dried beans/rice and never had an issue with critters. I store my items in a sealed plastic bin in the attic. You could always use non-edible stuffing beads like these if you are worried about critters.
How to make fluffy sock pumpkins
The steps below are shared in picture format a little further down, as well as
a video tutorial, so refer to both as you are making your sock pumpkins. And
feel free to reach out with any questions!
Step 1: cut sock
Lay sock flat, and cut straight across at the heel. Discard the shorter piece,
unless you used tall socks (make another pumpkin with the tall portion
following these directions for
sweater sleeve pumpkins).
Step 2: add some dried beans
Pour about 1/4 cup of dried beans into the bottom of the sock. This is just to
add a little stability. You can omit if desired, or use another item as
mentioned in the supplies list.
Step 3: stuff sock
Firmly stuff sock with polyester fiberfill. You will add more than you think
you'll need! Just keep stuffing and pressing down so you have an even fill.
Step 4: tie top
Use jute twine to tightly tie the pumpkin at the top. Double knot for
security.
Please note: DON'T CUT the jute! We'll be working with a long strand
of jute and there's no way to know how long you'll need it, so keep the roll
or ball intact until we're finished with the stem.
Step 5: make segments
Wrap the jute from the top down and around the bottom of the pumpkin, bringing
it back up to the stem. Wrap it around the stem and continue until you have
6-8 pumpkin segments. Again, don't cut the jute!
Tip: as you bring the jute to the top, pull on it slightly so the pumpkin
segments look indented.
Step 6: make stem
Wrap the jute tightly around the top of the pumpkin to create a stem. Pull
tightly so jute is secure. Once the stem is as tall as you want it, cut the
top of the sock, then use a little hot glue to secure the jute around the top
to create a seamless stem.
Once you make one sock pumpkin, you'll get the hang of it and the rest of them
will go faster and be easier!
Tips for Success
- stuff the pumpkin so it's firm
- when wrapping the jute around the pumpkin to make segments, pull snugly, and wrap the jute around the base of the stem before moving on to another segment
- pull that jute tightly when making the stem, otherwise it may unravel or look loose; you may need to overlap the jute to cover the sock completely
- you'll need just a little glue on the very top of the stem to secure the jute in a circle and cover up the sock
If you'd like to include a stamped tag, you can use cardstock or
coffee-stained fabric like I did. Hot glue the tag to the base of the stem.
The tag certainly isn't necessary, but it's a charming little detail that
makes these DIY pumpkins that much more special!
Idea: Stamp the name of your Thanksgiving guests and include a pumpkin at
each place setting! What a fun gift for your family and friends to take
home with them!
I had so much fun turning fuzzy socks into these cute pumpkins and I hope you
love this idea! Let me know in the comments below if you plan to make sock
pumpkins this year! Also check out links to a few additional DIY pumpkins
below.




These are the most adorable pumpkins ever!!!!! The colors you used are seriously perfect!!! I always love your your diys. Thanks so much for sharing another wonderful project.
ReplyDeleteLove these! I cut some fluffy socks from Dollar Tree for a snow man’s hat and scarf and it fell apart in places. Any advice on what to put on fabric to keep it from falling apart?
ReplyDeleteThe quality of the sock makes a big difference! A better sock should perform better!
Delete