Easy Paper Bag Easter Baskets
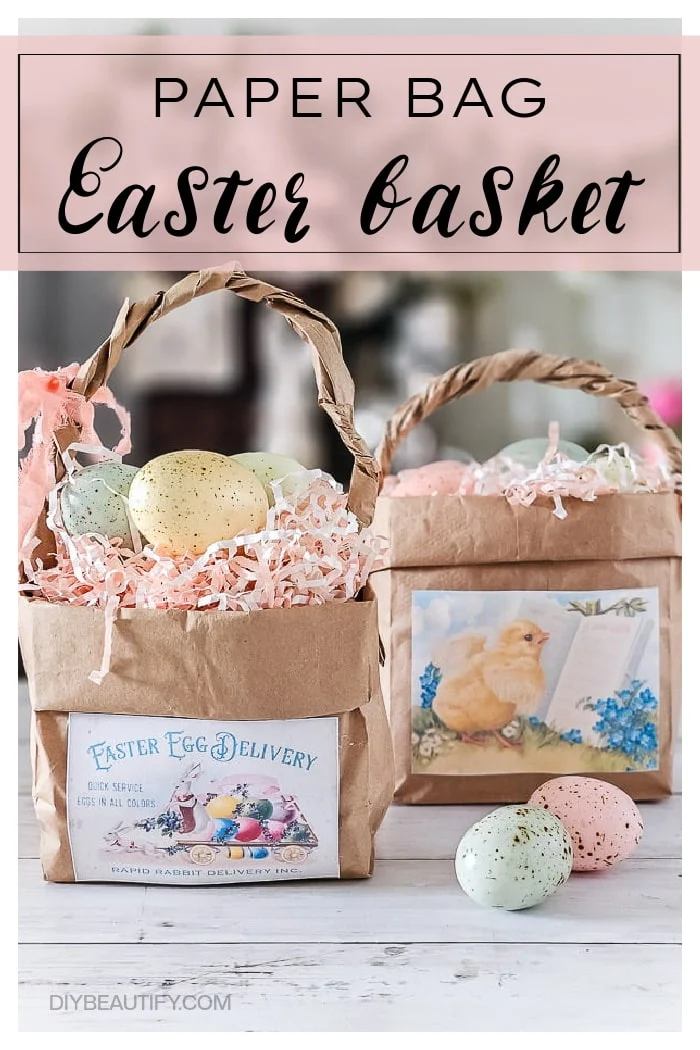
Make the cutest Easter treat baskets from paper bags, complete with woven-like handle! Perfect for holding treats or small gifts and easy to customize. Read on for the step by step tutorial.
I love budget crafting and sharing inexpensive ideas with you! These small Easter baskets made from brown paper lunch bags couldn't be cuter! They're easy to make using simple items you probably have at home right now! What are you waiting for? Let's make some paper bag Easter treat baskets!My kids are all grown but I still enjoy making them Easter treat bags...believe me, as soon as the first grandbaby arrives, that will allll change 😁
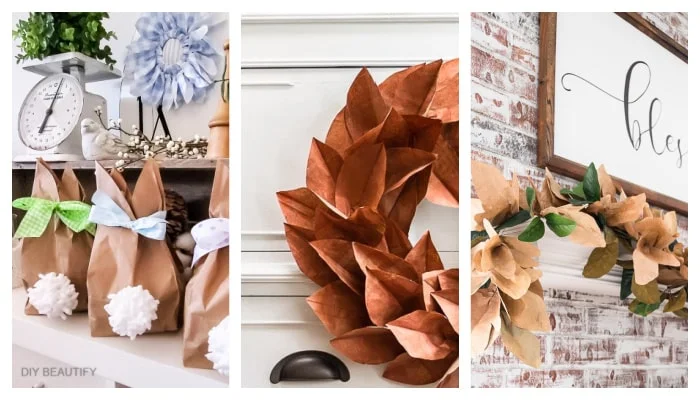
Paper bag home decor
Crafting with paper bags is a great way to make amazing decor for less!
Last year I made bunny treat bags with pom pom tails. You can watch the short
reel on my Instagram
here. I've also used paper bags to make a
copper magnolia wreath
and an
paper bag oak leaf garland. Take a peek at these paper bag projects below.
This post may contain Amazon or other affiliate links. As an Amazon affiliate I earn from qualifying purchases. My full disclosure policy can be found here.
How to make paper bag Easter baskets
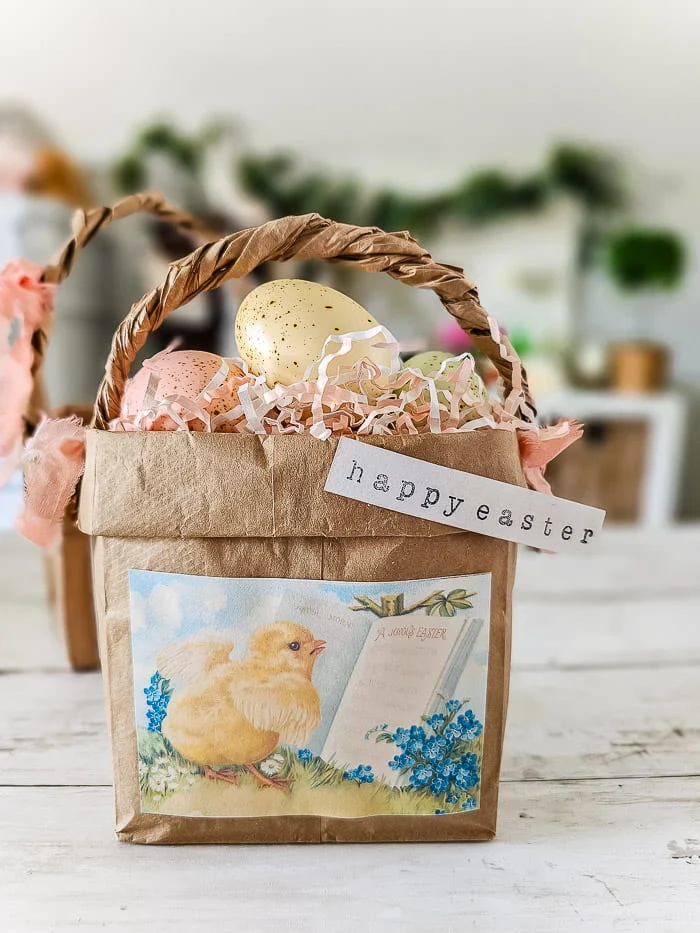
This year I wanted something a little bit different, and came up with these
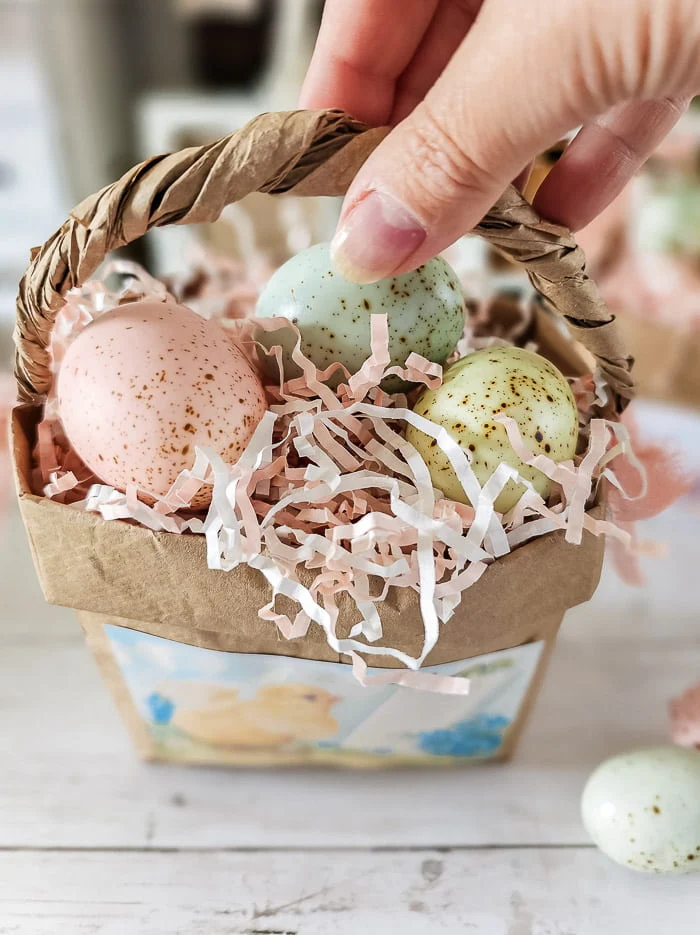
little paper bag Easter baskets. What makes them special is the twisted
handle! It really resembles a woven basket handle, and it's so easy to make!
Let's get right into the tutorial.
I put the steps into a collage and will share the details below as well as
additional ways to use these little DIY Easter baskets.
Supplies
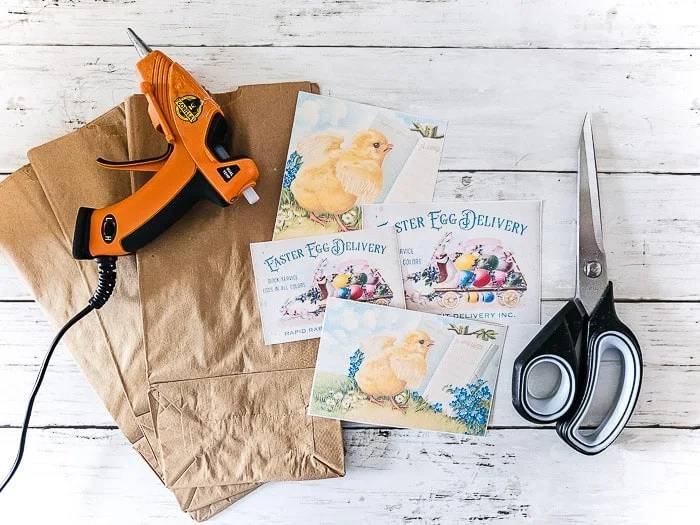
- paper bags (I used lunch sacks - you will need two bags per basket)
- scissors
- hot glue
- Easter printed designs (I used vintage ones from The Graphics Fairy, you'll find many free images on her site)
- ribbon (I used a narrow strip of this handmade dyed ribbon, made from a cotton sheer curtain)
I'll do my best to explain the steps below, but I know we all process things
differently. If there's any step that confuses you, please reach out via email
and ask!
Steps to make paper bag Easter treat baskets
1. Measure down from the top of the bag about 5-1/2" and cut along the side
seam on each side of the bag. How far down you cut determines how tall your
basket will be, so adjust as needed.
2. Fold each side of the bag down several times until you get to the end.
3. Refer to the picture to see how your basket should be looking at this
point.
4. Cut the end off another bag and fold the bag itself into thirds.
5. Cut along the folded lines to get 10 strips.
6. Fold each strip of paper in half lengthwise.
7. Glue two strips together
(mark the middle of one strip and glue the second strip at the middle
point). You'll do this 4x so you'll end up with 4 double strips using 8 pieces of
paper.
8. Squeeze and twist each strip of paper...be careful not to rip the paper!
9. Twist the strips together. Your four strips will become two strips and then
one strip. At this point, it will be very sturdy. This will be your basket's
handle.*
10. Tie a ribbon at each end to hold the strips together and glue to the sides
of the basket.
* you could also try braiding the strips together
Tips for success:
- if you want your basket to be sturdier and last longer, use two paper bags, one inside the other
- work gently so as not to rip the paper
- glue the ends of the handle to the space between the folds at each side of the basket
- a sheer, thin ribbon is best because you can make it really tight and securely tie the ends of the basket handle together
- if you prefer not to use ribbon, glue the ends of the handle inside the basket
Decorate Easter basket
Now it's time to decorate and customize your DIY basket. Print out and glue
the decorative printable to the front of the basket, add extra ribbon and even
a stamped tag. I used
these stamps,
this ink
and strips of cardstock to make simple Easter greetings.
You could decorate with stickers, paint, whatever you can think of! Consider
stamping the child's name on the bag to personalize it, or use alphabet
stickers.
I stuffed my baskets with crinkled shredded paper and added
my favorite pastel speckled eggs. Isn't this soft color pretty?
What else can I add to Easter baskets?
- If you have young children or grandkids, small toys or craft kits are a fun addition
- Fill your basket with Easter candy, in the form of chocolate, jelly beans, and plastic eggs filled with treats
- My favorite bunny munch mix (grab the recipe here) would be a yummy and appreciated addition, especially for adult kids (add the mix to a plastic bag first)
- If you're gifting to a teacher or hostess, consider adding a floral stem like a beautiful peony (stick into a foam ball inside a terracotta pot for weight and cover top with moss)
- A Spring bloom in a small pot, like a hyacinth, would be very special
- Easter decor, like this little bunny pillow hanging (tutorial coming soon) or a trio of my drop cloth DIY carrots would also make cute basket filler





.jpg)




Amazing, I love the handles you created here. It just add that little extra to the bag.
ReplyDeleteI visited you via County Road 407: Farmhouse Friday 339
My links: 62+62. We will be delighted if you share your blog post links with us at SSPS. Link under BLOGGING
I love this! Thank you for sharing it with us on Farmhouse Friday. I'll be featuring it tomorrow. pinned again!
ReplyDeleteThanks so much Cindy!
DeleteNO ONE will ever have a good excuse not to have an Easter basket on hand after this gorgeous tutorial using a paper bag of all things! Love the twisted handle too, it looks so wicker-like!
ReplyDeleteThank you Donna!
DeleteThese are so cute! I just made some for my grandkids and I love how they turned out! I happened to have a package of white lunch bags that I never used for another project and used the free printables from the Graphics Fairy as you suggested. Thank you for the sweet idea!
ReplyDelete