Three Steps to a Spring Hanging Basket Bouquet
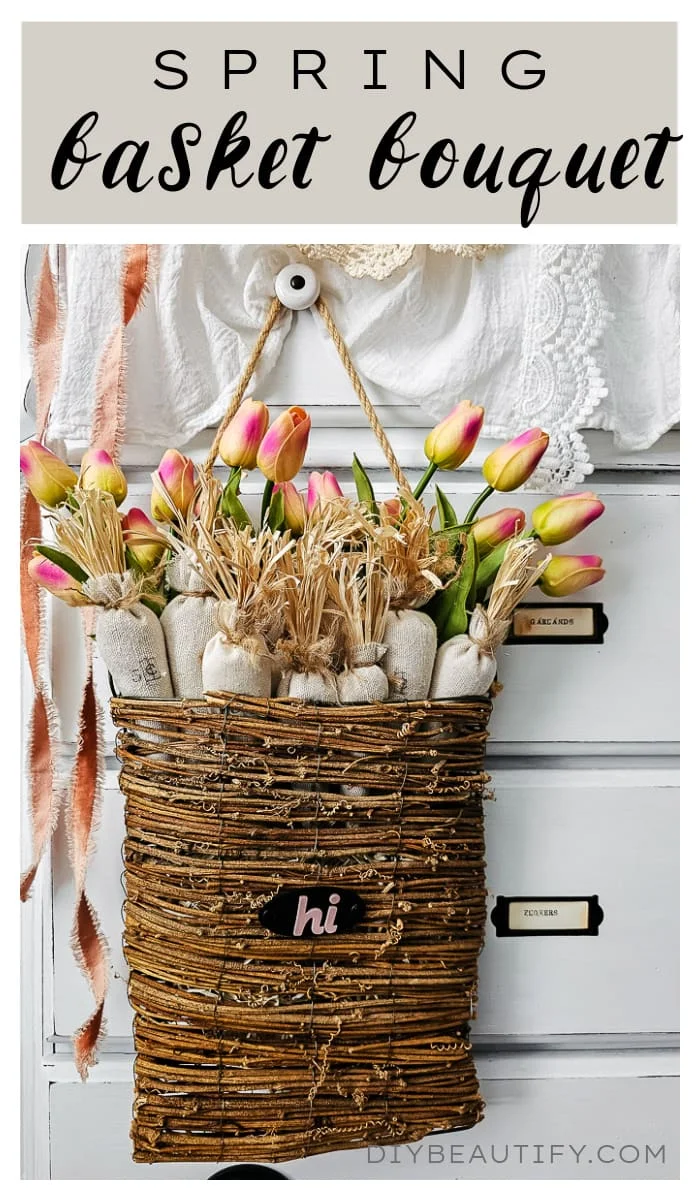
Decorate a hanging basket with tulips and faux carrots for an easy 10-minute unique Spring bouquet. Follow the tips below to create this look.
I have a bit of a basket obsession and my collection is rather large. I
justify it because I have found so many uses for baskets! I used them
extensively in my office to hold craft supplies, I use them for plants and to
display dishes. In fact, here are
9 creative ways to use baskets in home decor
- some you may not have thought of.
A pretty hanging basket can make a really beautiful and unique Spring bouquet
and I'm sharing tips for putting this look together. It's a very quick, 3-step
project that you can use as a front door welcome instead of a wreath, or
anywhere in your home!
Check out last year's
Spring decor
to see how I decorated with this basket and faux flowers. And if you're
looking for affordable faux flowers for Spring, you need to see
these!
This post may contain Amazon or other affiliate links. As an Amazon
affiliate I earn from qualifying purchases.
My full disclosure policy can be found here.
Easy Spring Hanging Basket Bouquet
I've had this grapevine hanging basket for several years and have used it in many different ways and for all seasons.
I recently gave it a quick update with a little tag and thought it would be a
great vessel for an easy Spring bouquet. A hanging basket is a piece you will
use over and over again, it's so easy to get different looks for different
seasons. Use the tips below as a jumping off point to decorate a hanging
basket for anytime of the year.
Here's what you'll need to get this look.
As always, shop your local stores for the best prices. I'm sharing Amazon
links here for your convenience.
Supplies:
- hanging basket (I used this one from Hobby Lobby - currently on sale for $4.99!) but I also own this one and love it.
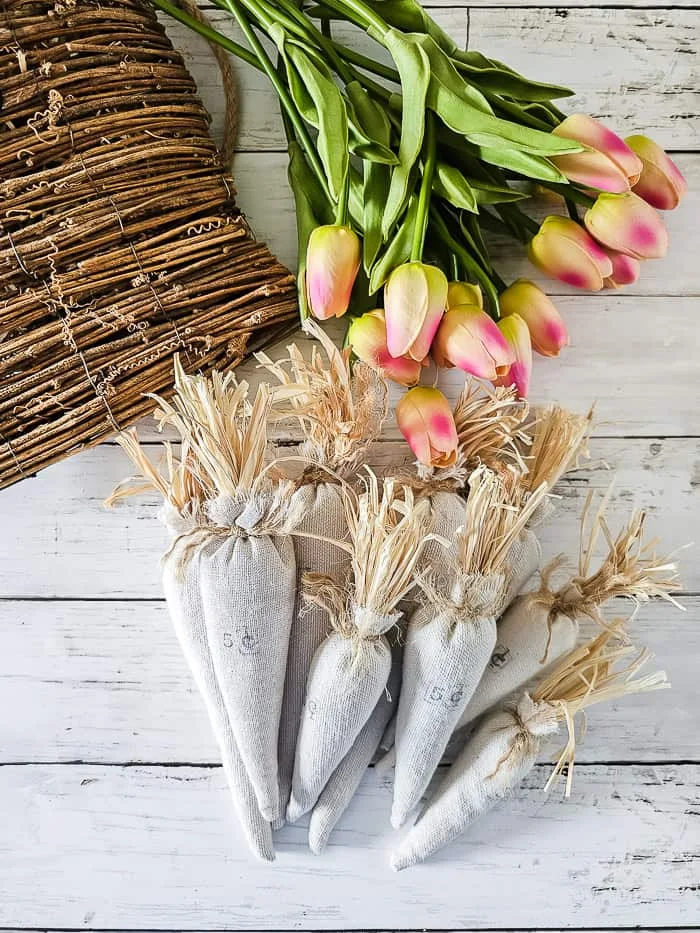
- faux Spring flowers (I used these real touch tulips - I have these in 3 colors!), in past years I've also used these faux daffodils
- excelsior
- faux carrots (I used these DIY ones) - I used 9 carrots in various sizes
This particular basket is pretty narrow but has a wide opening. It's also
really inexpensive (normally $9.99, now on sale for only $4.99) and has a
rustic grapevine look reminiscent of bird's nests. This makes it the perfect
basket to create this easy Spring bouquet!
Once you've gathered your supplies, follow the steps below to create your
Spring basket bouquet.
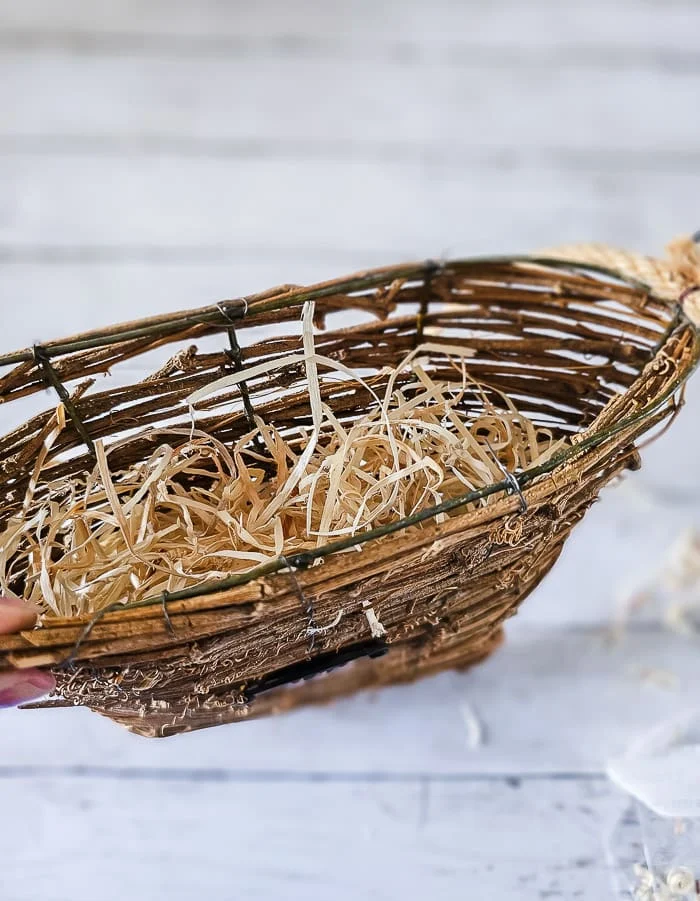
Step One - padding
To keep the floral stems and carrots from disappearing inside the basket, you
need to stuff or pad the basket with something. If your basket is solid, I
would suggest staying cheap and using crumpled plastic bags or whatever else
you might have at home.
Because my woven basket has openings, I used natural excelsior (really just
wood shavings) to give a natural feel.
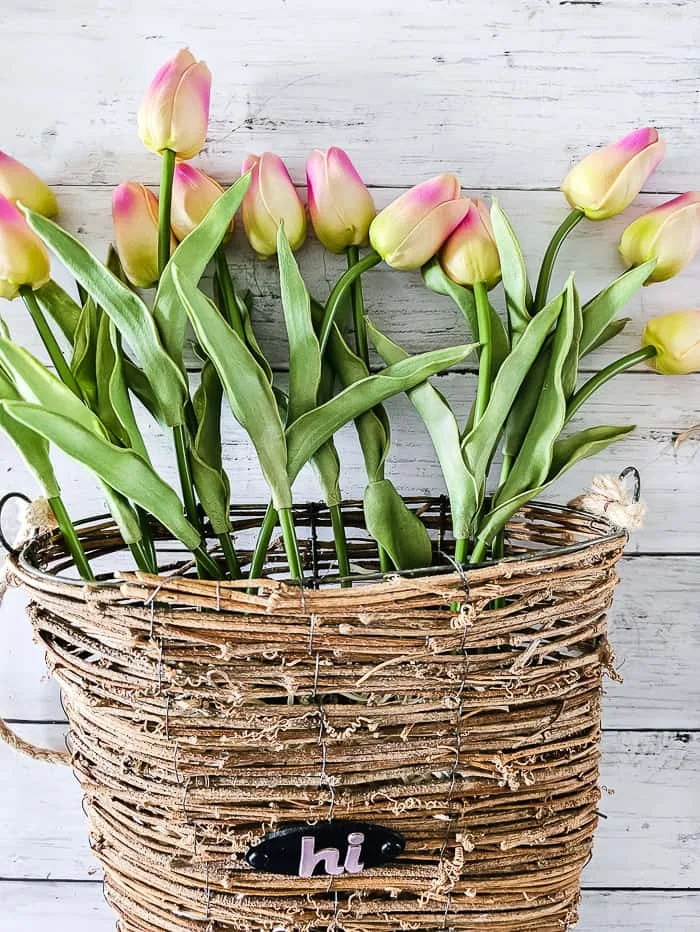
Step Two - flowers
The next step was to tuck in the flowers as a pretty and colorful backdrop.
These tulips come in a set of 30 but I only used about 12 to get this look. I
just inserted the stems into the excelsior across the back of the basket. This
was easiest to do when the basket was lying flat.
Step Three - carrots
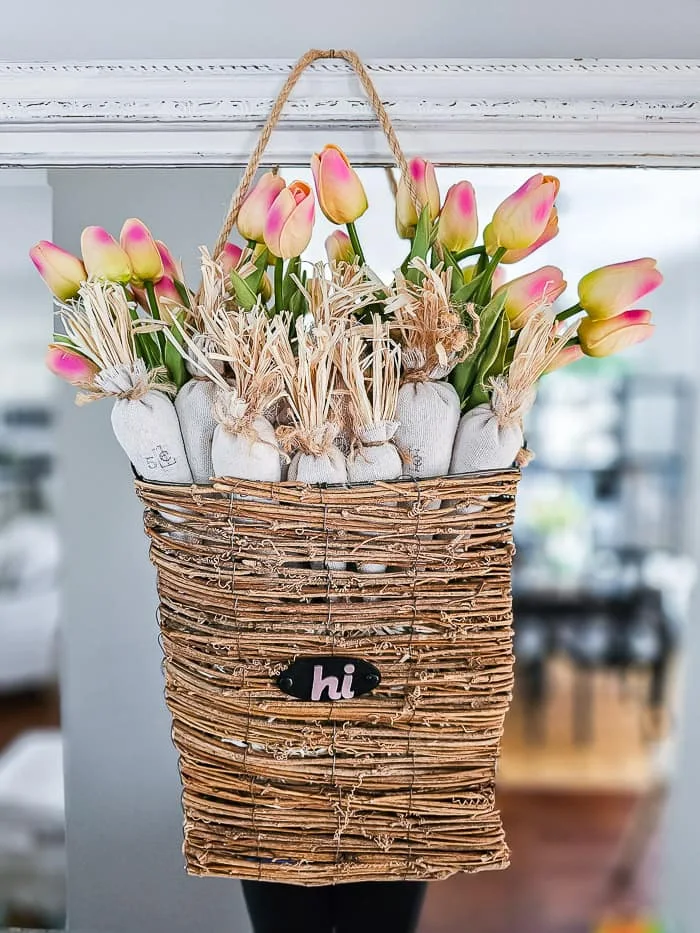
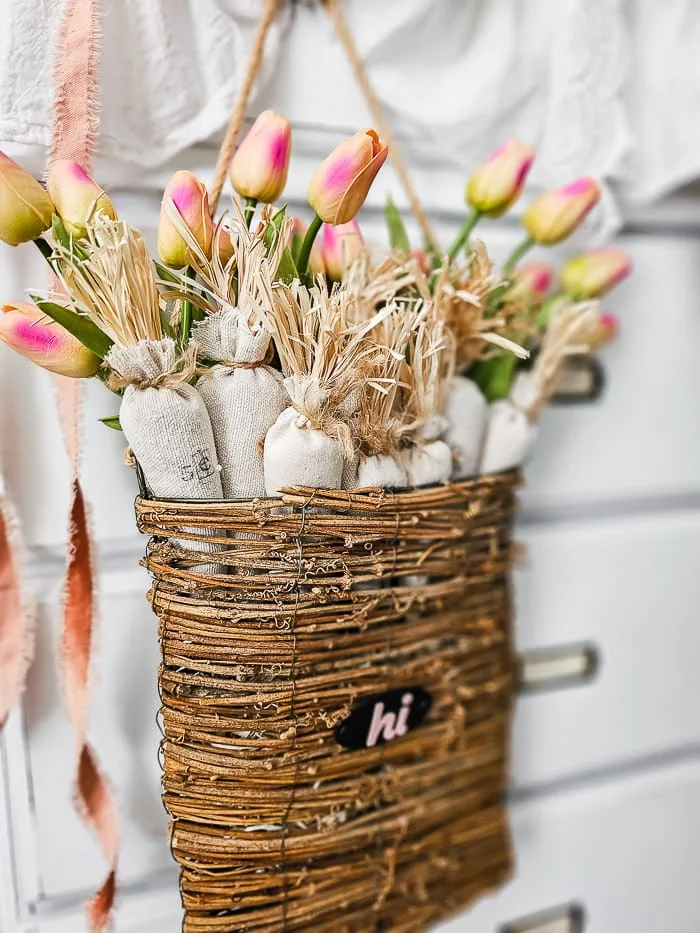
Finally, to finish off this basket bouquet, I added the drop cloth carrots
that I made. I tucked them into the space leftover in front of the tulips, for
a snug fit. The carrot tops hide much of the tulip stems and greenery, giving
this filled basket the look of a bouquet.
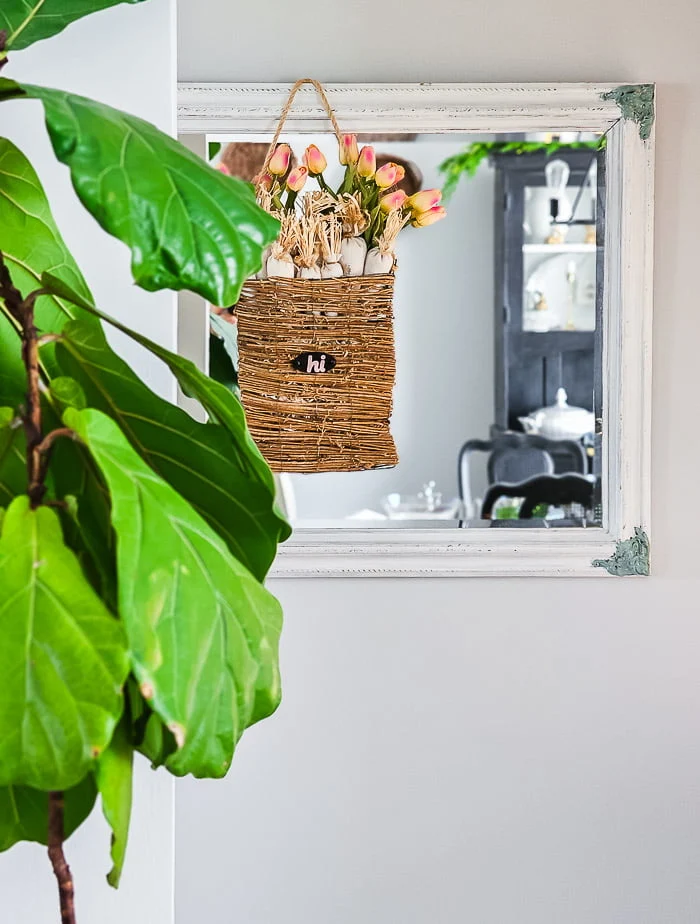
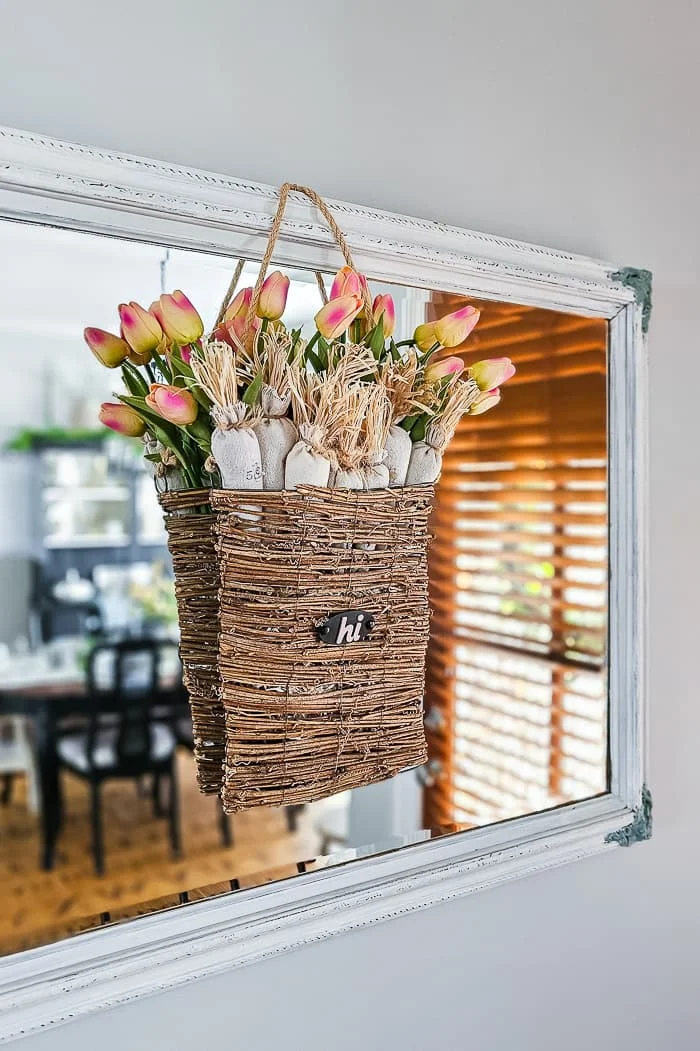
And that's it! This Spring bouquet is bursting with color and rustic goodness.
I hung it from a mirror at our entryway because I love how the mirror reflects
the contents and makes it appear even fuller!
You can hang a Spring basket bouquet as a unique welcome at your front door,
or even from the front of a dresser or cabinet.
I hope you love this easy Spring decorating idea!
Pin to Save
Don't miss my other budget-friendly Spring crafts and DIYS!
bringing beauty to the ordinary,





Comments
Post a Comment
Your comments are like sunshine and chocolate! Thanks for taking the time to leave a nice one ;) I read all comments and love to respond. If you don't have Gmail, please leave your name!