DIY Herringbone Coffee Table
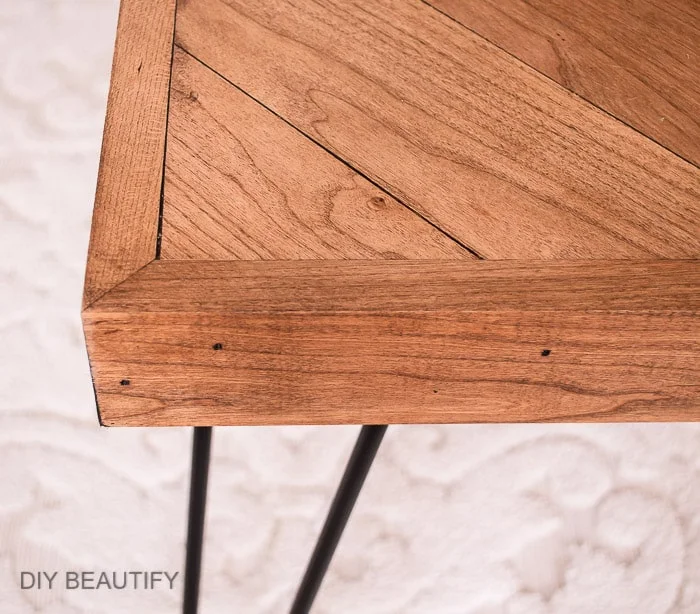
An easy beginner project, this herringbone top coffee table was a weekend DIY project that Mr DIY and I did together. The faux stained top (done with just wax) and hairpin legs add a classic look.
This post may contain Amazon or other affiliate links. As an Amazon
affiliate I earn from qualifying purchases. My full disclosure policy can be found here.
Let me start this tutorial by stating that Mr DIY and I are not builders. We own several tools and I became quite
proficient at the chop saw when we
installed our reclaimed wood walls. Mr DIY is much more experienced and skilled with power tools than I am.
Thanks to a friend's amazing workshop, he learned how to turn wood to make
feet for this
small cottage side table that he built around some vintage wood legs that I found.
As is usually the case, I got tired of something (in this case our living room
coffee table) and wanted to come up with an affordable DIY solution. The
coffee table had a faux concrete top that I was just tired of. Here's a
picture of it. See it in our living room
here.
My thoughts were to make a removable top with framed edges
that could just sit on top of our existing table top, giving us multiple
decorating options. We carried the coffee table over to our friend's workshop
and were halfway through the project when I changed my mind!
I decided that since I was tired of the table, why not sell it, make a little cash, and build a completely new coffee tabletop from scratch. I ended up selling my old coffee table, so we actually made money on this project! Good call, right?
Because we were going with something completely new, I was able to decide exactly what
dimensions I wanted, and I ended up choosing something a little narrower than
our concrete table. We decided to make the new table 47" long by 26" wide.
How we built a herringbone coffee table
Our friend actually had some leftover 1x8 cherry boards leftover from a
project so we didn't have to purchase any wood. But if you wanted to make a
similar table, Mr DIY suggests getting
1x4 boards. FYI, a 1x4 board is actually 3/4" thick by 3-1/2" wide.
The first step was deciding on the width of the boards that would make up our
table top in the herringbone pattern. We ripped the 1x8 boards down to size on
a
table saw, and cut each board so it measured 3" wide. The important thing is that each
board is the exact same width to get the herringbone pattern to look correct.
Here's our lovely pile of boards after they'd been ripped to size. The next
step was running them through the
planer,
which made them square and level. This was my first time watching some of
these tools at work, and it was quite fascinating at times. The other times it
was just plain boring lol! My job at the planer was just to grab the board
after Mr DIY ran it through and stack it. Then the boards went through the
industrial size sander, which is picture below. Of course most of us don't
have one at home, so sanding each board by hand with a
hand held sander
is necessary to get a smooth tabletop without any splinters!
Once all the boards were cut and squared, it was (finally) time to start
building the herringbone pattern table top. We used a chalk line to create the
beginning angle and then glued the boards to a
sheet of plywood. The boards were longer and extended over the edge. Once all pieces were
glued in place, we cut the tabletop to size on the table saw. That ensured each board
was perfect.
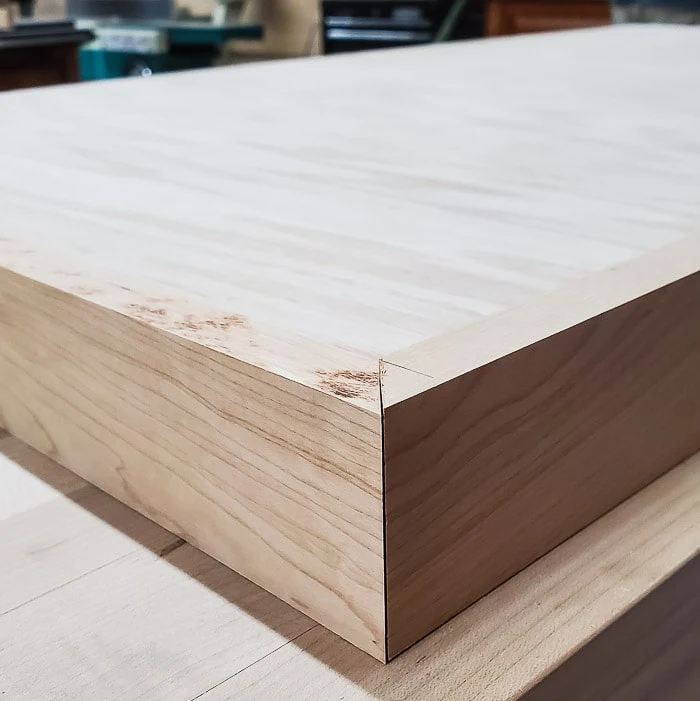
Next we needed to build the table apron, to hide the sides and make it look
finished. We used some of the leftover 3" boards for the sides.
The boards were miter cut at the corners and then glued and nailed in place.
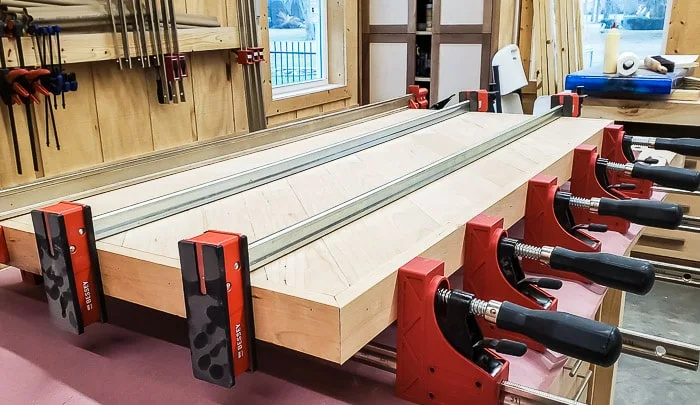
We used
long clamps to hold everything tight until the glue dried.
Here's how the bottom looked once we removed the clamps.
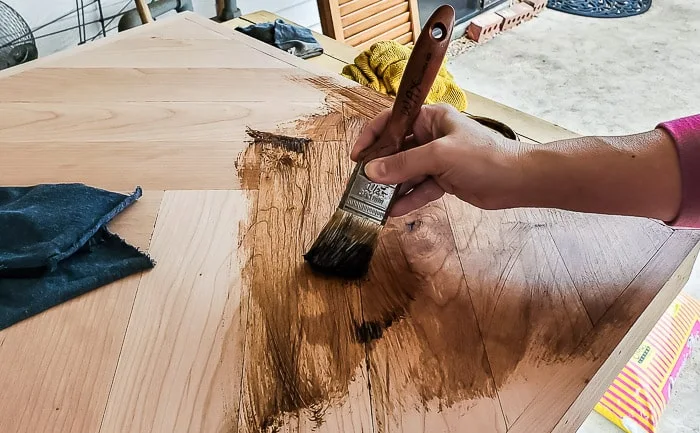
I faux stained the top using dark furniture wax and then Mr DIY attached
these black iron hairpin legs
in each corner and we were done!
Faux stain a table top
I didn't want a really dark stain but just wanted to enhance the wood we used for this DIY table. A great alternative to stain is dark furniture paste/wax. I used Annie Sloane wax, but this wax may be easier to find. I simply brushed it on in a random pattern and then buffed it in the direction of the grain as much as possible. Buffing removes the excess wax, really works it into the wood, and gives it a nice sheen. I did two coats of wax for durability, leaving a couple days between applications. I love the rich brown finish that isn't too dark. The grain still shows and it will be durable enough for a coffee table.Ready to see our new DIY herringbone coffee table in our home?


What a difference that made to your living room. It is just beautiful!
ReplyDeleteDenise TX
Thank you so much Denise!
DeleteYou did an incredible job on this! It looks great in your living room.
ReplyDeleteThanks Paula!
DeleteI love that coffee table! You and Mr DIY did a great job. This one should stay in the family and become an heirloom.
ReplyDelete