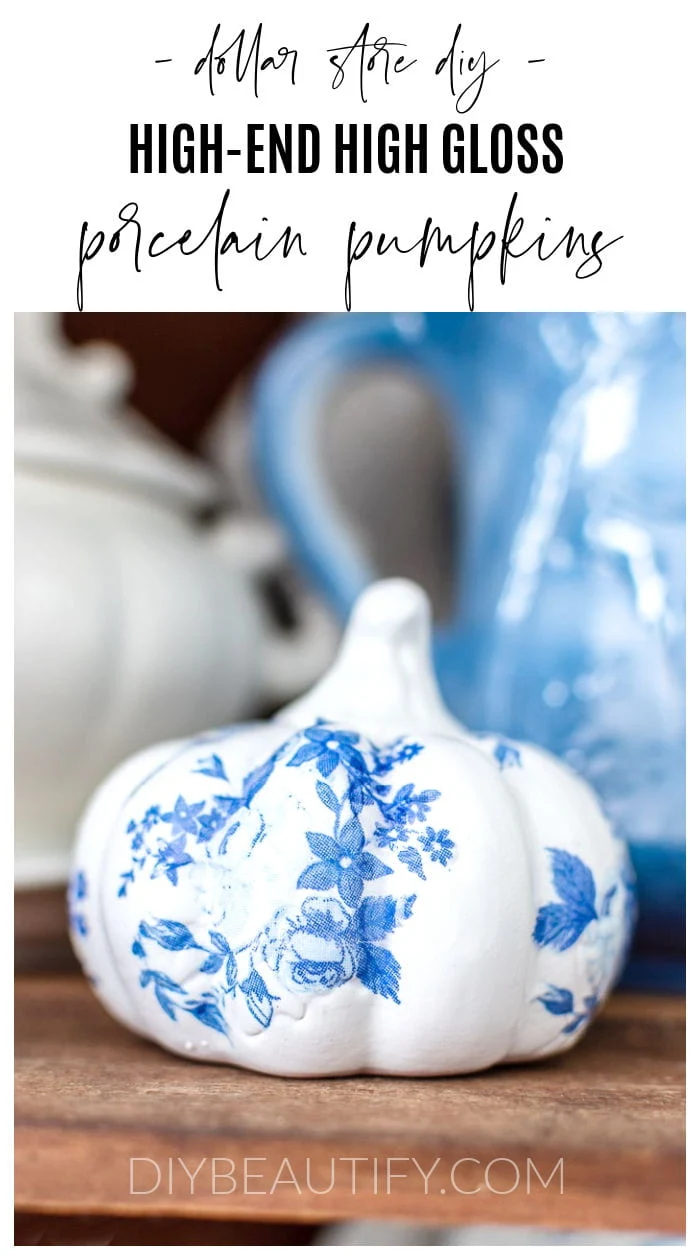
How to Make High Gloss Porcelain DIY Pumpkins
Follow this simple, three-step process to transform dollar store pumpkins into high-end porcelain ones. Video tutorial included.
I'm smitten by these vintage dishes and have collected quite a bit of
transferware that I've found at thrift stores over the years and from around
the country.
I not only decorate with these pretty plates, but I've
hung a vintage plate wreath
for my dining room, I've made matching
blue and white floral decoupage chargers, and I've even hung some of my ironstone and transferware on my
blue and white Christmas tree! Click any of these links for more details on each project and DIY.
So far in my 52 years, I've never made blue and white floral pumpkins! Today
we're changing all that and I'm so excited to show you this easy Fall DIY! I
made a video to show you exactly how I decoupaged these pumpkins, you can
watch the how-to video here.
This post may contain Amazon or other affiliate links. As an Amazon
affiliate I earn from qualifying purchases.
My full disclosure policy can be found here.
How to make dollar store high gloss porcelain DIY pumpkins
Whether you like blue and white floral or you prefer different colors and
patterns, you are only limited by the napkins that you find! Yep, we're using
inexpensive paper napkins to make these porcelain pumpkins. You'll find the
supplies list and the steps below.
Supplies
- dollar store pumpkins (I couldn't find a link to the exact ones I used, but these ones would work great)
- blue floral paper napkins
- Rustoleum Triple Thick Spray
- white craft paint (I used this product)
- Mod Podge decoupage medium
- foam brush
- paper plate
Step one: paint pumpkins
The pumpkins I bought were not white! I'll share a before pic below. I took
them outside and spray painted them with the white chalk paint, linked above.
I spray 3 light coats until I had complete coverage with no drips, then set
them aside to dry.
You might recognize these pumpkins because I bought 6 and transformed 3 of
them using white wax and Rub n Buff. It softened the bright colors and they
turned out so cute.
You can see that project here.
Step two: decoupage pumpkins
The next step was to decoupage the pumpkins using the blue floral napkins.
WATCH THIS VIDEO
to see exactly how I did it and to get all my tips and tricks for the best
results!
Millie makes her video debut in vocals!
Step three: add the spray gloss finish
This step is where the magic happens! This is the first time I've used this
high gloss spray, and I am hooked! I used it on a few thrifted finds that I'll
share in a little bit. This spray does a fantastic job of creating a super
glossy, high-end porcelain like finish. You cannot get this high gloss look
with a regular gloss spray paint, I know because I've tried!
The trick is to apply 3-4 light coats, allowing a few minutes between coats.
Once all the coats are applied, let the pumpkins fully dry for 24 hours. I
actually sprayed them outside and then brought them inside to dry in the AC!
Once the high gloss finish has dried, ooh and aah and admire your pumpkins!
And then decorate with them!
I styled my porcelain DIY pumpkins in my new old pine hutch. You can see more
details of this room and my
blue and white fall decor here.
Don't the decoupaged pumpkins work well with all my vintage ironstone and blue
and white transferware? I love it so much!
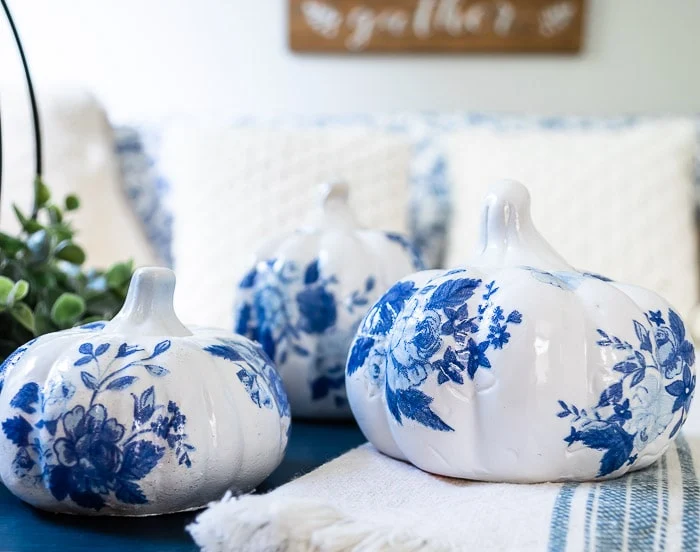
These pumpkins look NOTHING like their humble beginnings at the dollar store!
I love the high-end look that the glossy spray gave them.
I've used little
cupcake stands
to elevate them and you can see they're just as glossy as the porcelain
stands.
These might be my favorite pumpkins that I've ever DIYed!
Click here to see more of my DIY pumpkins.
And don't miss my newest
dollar store sweater pumpkins made with crochet chain! You don't need to know how to crochet to make these, I promise!
I'm not done crafting pumpkins yet...I have a farmhouse pumpkin with DIY clay
stems to share soon, as well as a pine cone pumpkin!
If you haven't subscribed to my newsletter yet, CLICK HERE to join my DIY tribe! You'll be the first to find out when I post a new project!
Thrifted finds
I mentioned above that I transformed some additional items and here they are.
I found both the pumpkin bowl and the small handled bowl at my local Goodwill.
I followed the same steps above to turn them into glossy porcelain beauties;
they look just like white ironstone!
I hope you're inspired to try making your own high gloss porcelain pumpkins
from the dollar store, and to use this high gloss spray to transform your
thrifted finds!
Pin it to Remember it
SHOP THE POST


The blue and white pumpkins are so pretty and what a great job you have done on them!!
ReplyDeleteThank you Linda, it was so easy to get this porcelain look... I'm excited to try it on other decor!
Delete