The Easiest Mother's Day Teacup Candle Gift Idea
This lazy girl's technique for candle making is perfect for those who don't want to invest in all the supplies. Make one or two tea cup candles as gifts this Mother's Day or as thank you gifts for teachers, friends and more!
Interested in learning how to make a candle or two but don't want to invest in a bunch of candle-making supplies? This is the lazy's girl guide for how to make the easiest ever tea cup candle, the perfect gift for Mother's Day! Read on for the full tutorial.
Welcome to the Mother's Day Gift Ideas issue of Pinterest Challenge,
hosted by my friend
Cindy of County Road 407. We are a group of budget-loving decorators and bloggers who share ideas
every month! This month is all about gifts for mom - you are sure to love all
the ideas, and you'll find everyone's original idea below my project. If you
arrived here from
Coco at The Crowned Goat, welcome. She is so talented and I know you'll love her countdown calendar!
How to make the easiest teacup candles
This post may contain Amazon or other affiliate links. As an Amazon
affiliate I earn from qualifying purchases.
My full disclosure policy can be found here.
If you're like me, you enjoy making gifts for others but you don't have the
room to store leftover product! This tutorial is perfect for those who want to
make one or two tea cup candles and not be left with a bunch of supplies to
store!
It's the lazy way to make a few stunning candles that you'll be proud to
give as gifts!
You don't need any special candle-making accessories to pull off a stunning teacup candle! I'll walk you through the process, and save you money in the process! Helpful tips are included below to ensure you have success in your easy candle-making endeavors!
Supplies
- tea cup (look for them at thrift stores, Marshalls, HomeGoods, etc)
- jar candle with enough wax for the size of your teacup (look for one with a wood wick)*
- pot of water
- wood skewer, popsicle stick or plastic knife
- oven mitts
- optional items include
essential oils (lavender is always popular),
lavender buds
*a wood wick is sturdy and much easier to work with
You can also create new tea cup candles using leftover wax from old candles or
even damaged candles! More tips below if you decide to go that route.
I spotted a whole shelf of pretty floral teacups and matching saucers on clearance at HomeGoods recently, and grabbed one for this Mother's Day candle idea. I also purchased a lavender scented candle in a glass jar that was also on sale. The lavender buds are leftover from when I made lavender lemon sugar scrub (a 5-minute project that also makes a great Mother's Day gift) and stamped lavender sachets.
Total amount I spent for my teacup candle was $11.
A note on the supplies
You can use a scented candle for this project, but it's not necessary. If your candle is unscented, try adding a few drops of your mom's favorite essential oils to give the candle a light scent. Look for a candle with a wood wick as it's easiest to work with, but not necessary.
Directions
We're going to melt the wax from the existing candle, and use it to create a new teacup candle!Be sure to protect your work surface in case any wax spills! A paper towel or piece of cardboard does the trick.
Step 1:
You'll need a pot of boiling water. Insert the jar candle into the pot, fill it about half of the way with water, and set on your stovetop over medium heat.
Please don't walk away from boiling water! Watch the melting candle the entire time to ensure it doesn't boil over.
Step 2:
As the water heats and begins to boil, lower the heat until it's simmering. Use a popsicle stick or other disposable object (like a plastic knife) around the edges of the candle to release the wax from the sides of the jar. This helps the wax to melt faster.
Be sure your teacup is clean and ready to use.
Step 3:
Continue to watch as the wax melts. Remove the pot from the heat when there's still a small blob of wax left on the wick. It will continue to melt. Let the wax cool slightly before moving on to the next step.
I had a few new candle wicks from another project and wanted to show you how it looks when all the wax is melted. Use a plastic fork to pull the wick from the melted wax. You would insert the wick into the bottom of the tea cup, using a little bit of hot glue to secure the metal wick holder to the base of the teacup. Even with the hot glue, a normal wick has a tendency to want to move around once the hot oil is added, so the wick needs to be secured in the center of the teacup using a few skewers laid over the top of the cup.
If you pick a candle with a wood wick, it's super easy to remove the wick from
the melted wax and reuse it for the easiest ever teacup candle! A wood wick is
much sturdier and will give better results with little effort.
Step 4:
Secure the wick in the center of the teacup, and then carefully pour the melted wax into the cup. Use oven mitts to hold the jar, and be careful as the wax and jar will be hot!
Tip: Don't fill the teacup to the top. Leave about 1/2" of space. Depending on the type of wax you're using, the candle may cool with a little indentation around the wick. You will be able to fill that in with wax. My soy candle cooled without that.
Step 5:
After filling the teacup with melted wax, sprinkle in some lavender buds if you're using them. Please note I'm not adding lavender buds to the entire candle, just at the top where they can be seen and appreciated!
Step 6:
Once the candle has cooled (it will take about an hour), trim the wick. If the cooled wax has left a little indentation around the wick, pour in a little more melted wax to fill that hole (you may need to melt the wax again).
Using damaged or leftover candle wax
If you have some candles that are broken, or partially used, you can melt
them all together and use the melted wax to create new candles. You will
need something disposable to melt the wax in. I recommend buying an
inexpensive pot from the thrift store, or even using a large metal tin from
canned food, washed well.
You will follow the same instructions above, using the can in place of the jar. Insert the candle pieces into the can, insert that into a pot of water, and let the candles melt together before pouring the melted wax into candle containers.
If you are melting multiple candles, you may need to do them in batches!
How to package your teacup candle to gift
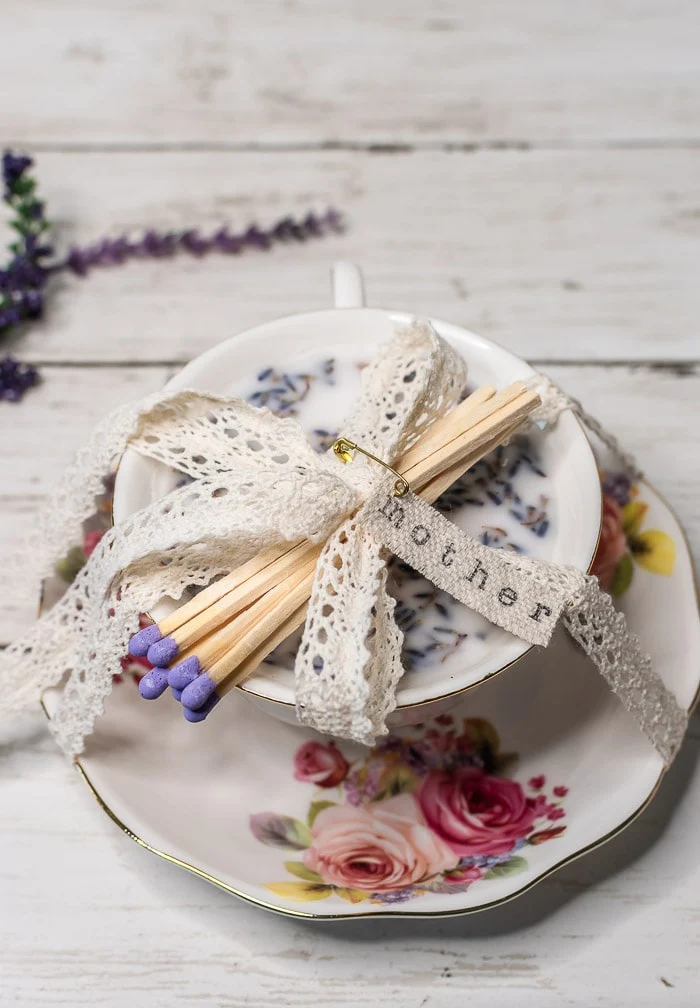
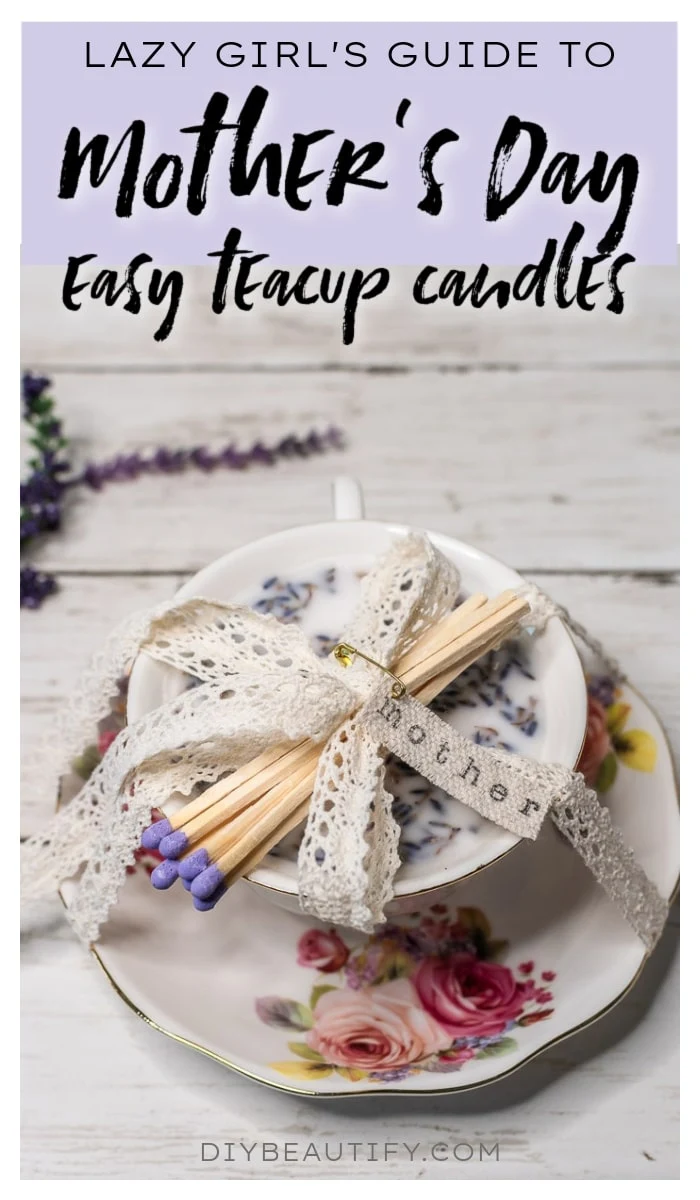
I used some dollar store embroidered lace, and wrapped it around both the
teacup and saucer, tying a bow on the top. I included a few colored
matchsticks
(not necessary, but extra cute for gifting! Check out
this set of colored matches that come in a little cloche).
A stamped tag pinned on top is extra cute! It's made from a strip of drop
cloth fabric and
these stamps.
I hope you loved this idea for making easy mother's day teacup candles,
without the hassle of buying a whole bunch of candle supplies! Of course,
you're not limited to Mother's Day...or teacups!
What other vessels can I use for DIY candles?
Be sure that the material you use is heat-safe! Ceramics, glass and
metal are typically safe for candles, you wouldn't want to use anything
plastic or wood!
- oui yogurt glass jars
- small mason jars
- metal food tin cans
- spaghetti jars
- any glass drinkware
- shot glasses
Keep reading for more Mother's Day gift ideas from the Pinterest Challenge
team! Lora is next and I can't wait to check out her
handkerchief wreath! You'll find all the links below.


This is my kind of project, Cindy! I just adore this idea.
ReplyDeleteThank you Laura!
DeleteWhat an awesome gift, Cindy! I have 2 candles sitting in my stash that will barely stay lit but still have a lot of wax in them that I've had no idea what to do with until now because I didn't want to throw them away. I can't wait to grab the supplies and get started. Talk about a game changer! Sending you lots of hugs, CoCo
ReplyDeleteThat's great to hear CoCo, so happy it was a helpful post!
DeleteI love this idea, Cindy. What a pretty idea for mom or a friend or our own homes. I have a few tea cups I could use. Thanks for sharing.
ReplyDeleteThanks Carol, happy to inspire!
DeleteThis is so pretty! Love the feminine cup and the addition of the lavender buds. Perfect sweet handmade gift idea. I've never made my own candles before; I probably should start:)
ReplyDeleteThank you Lora! It can be daunting because there is so much you need. I was hoping to simplify the process, hopefully I didn't over complicate it...I tend to get stuck on details 🤭
DeleteFor years I've been wanting to make one of these and have yet to try thinking it was too difficult. Thank you for posting this! I love it and moms will too. Hope you have a wonderful Mom's Day! Glad you were able to join us. This is awesome!
ReplyDeleteI'm so glad, Cindy! Have fun making your teacup candles!
DeleteI love this gift project idea Cindy! I have a couple of candles that I love the scents, but the containers...not so much. Your tea cup candle solution is soooo pretty!
ReplyDeleteThanks Michelle!
Delete