DIY Scalloped Edge Flower Pots
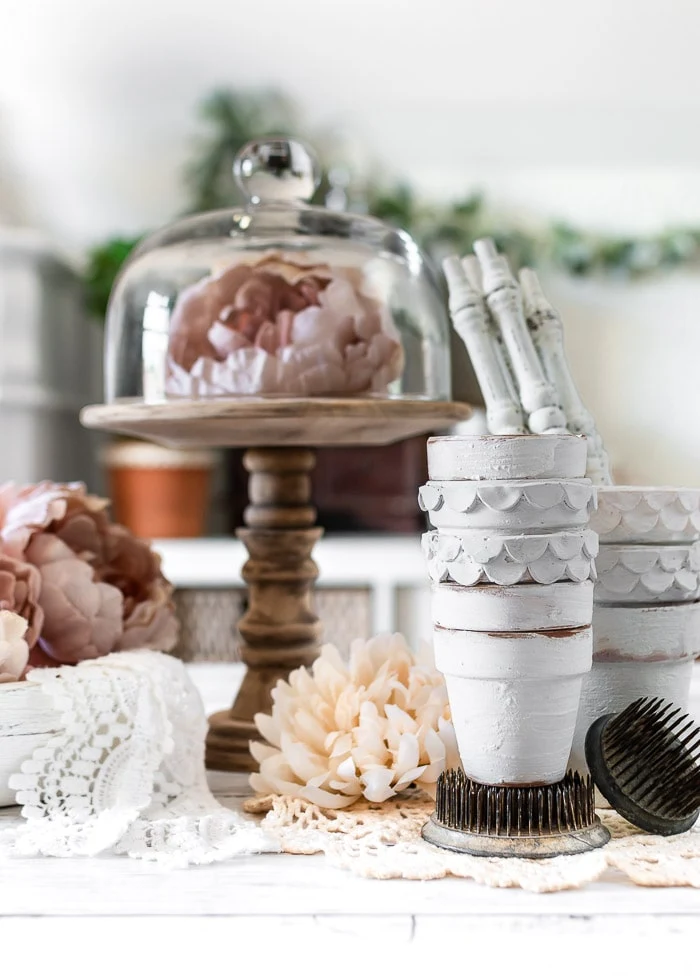
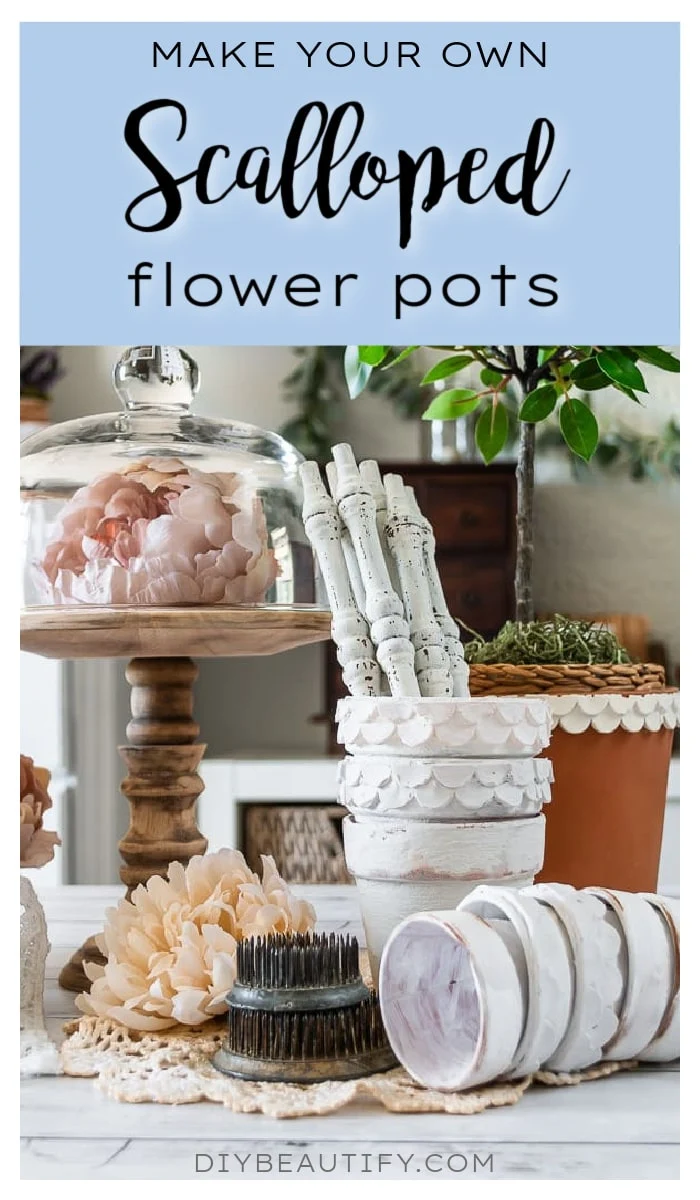
Add a pretty scalloped edge to terracotta pots with this easy and inexpensive idea. You won't believe how simple it is to get this look!
This post may contain Amazon or other affiliate links. As an Amazon affiliate I earn from qualifying purchases. My full disclosure policy can be found here.
Scallops are a fun way to update plain terracotta pots and soften the edges a little. If you love this look but don't want to pay a crazy amount of good money for a scalloped clay pot, let me show you how to make your own for so much less!
These pots are my inspiration for this project, but they are pricey! I don't have $50 to drop on a small terracotta pot, no matter how pretty! I doubt you do either. So how to get that look without spending the money? Let me show you this brilliant solution and you can be adding scallop edges to all your pots!
How to add scallop edge to flower pots
You are not going to believe how easy it is to add a scalloped edge to your flowerpots! In fact, it can be a little addicting and you might want to transform all your pots! We are going to use hot glue, yep, you heard that right.
Why hot glue and not clay?
I considered using clay in the silicone mold, but I didn't have any at the time and I was impatient! I have a very talented friend on IG who uses hot glue in silicone molds all the time, and she inspired this project! You should follow Erin @southernhomeandliving as she posts new crafts and ideas pretty much daily!
Could you use clay to create scallop borders?
I think it's definitely worth trying, especially if you already have some. I have used Crayola's model magic clay (see this Anthropologie pot dupe) and like how lightweight it is and easy to work with (no residue on hands), but I've found when it's dry, it has a tendency to crack.
I have also tried air dry clay in silicone molds, but it is difficult to get out cleanly and I was looking for easy!
Supplies
The supplies list for my easy scalloped pots is pretty brief, which is nice! Shop sales and use coupons when you can, I always recommend checking your local stores. Amazon links are included here for your convenience.
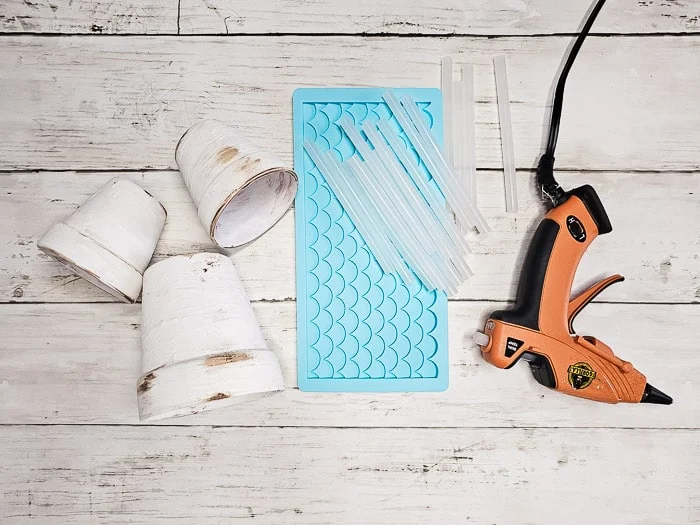
- hot glue (LOTS of hot glue sticks) - I used this mini glue gun
- silicone mold (I used this exact mold, notice the scallops)
- terra cotta pots (mine are 2-1/2" and 3-1/2")*
- chalk paint (I used this paint, but this white chalk paint is a good substitute)
*most of my terracotta pots were purchased from Dollar Tree a couple years ago, however I have been unable to find them and wonder if they've been discontinued. Amazon has a great selection of small 2.5" flower pots and medium 3.5" pots in bulk, but check other discount stores
Before you start
- Hot glue dries clear, so you will need to paint the finished scallop. You could use colored hot glue to eliminate this step.
- You have lots of options here as far as the finished look of your pots. I painted and textured my pots first because I love the look of the white.
- If you're expecting perfection, this is not the project for you! If you love rustic looking flower pots, keep reading!
- Also, if you think you can melt hot glue in the oven, don't bother. I tried it and it doesn't work! The finish is bubbly and the edges lose their distinction.
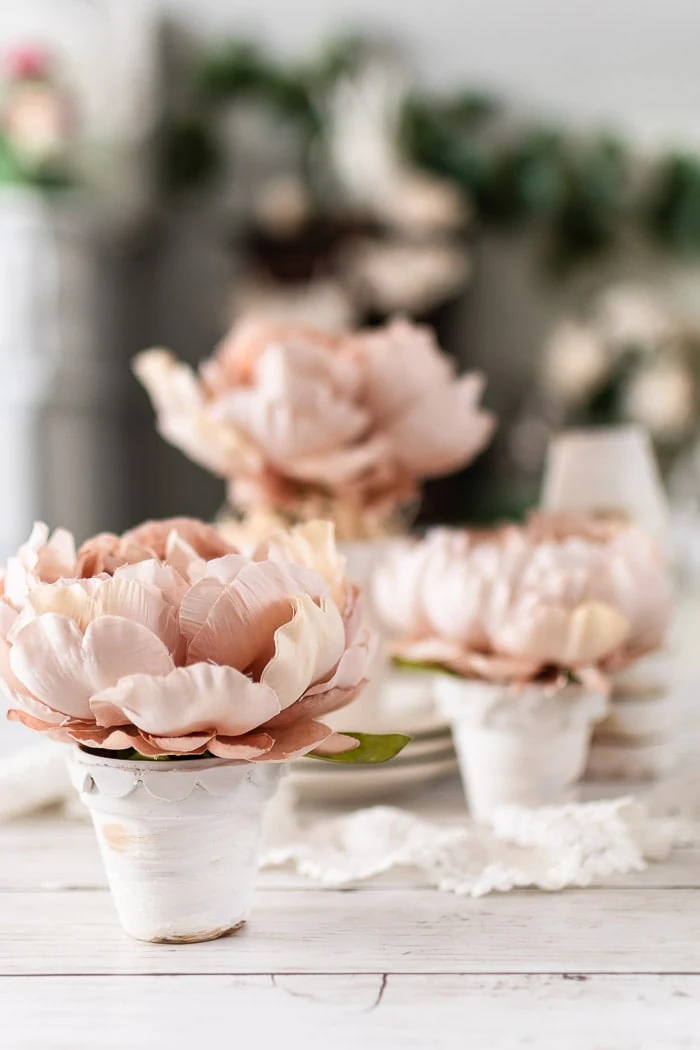
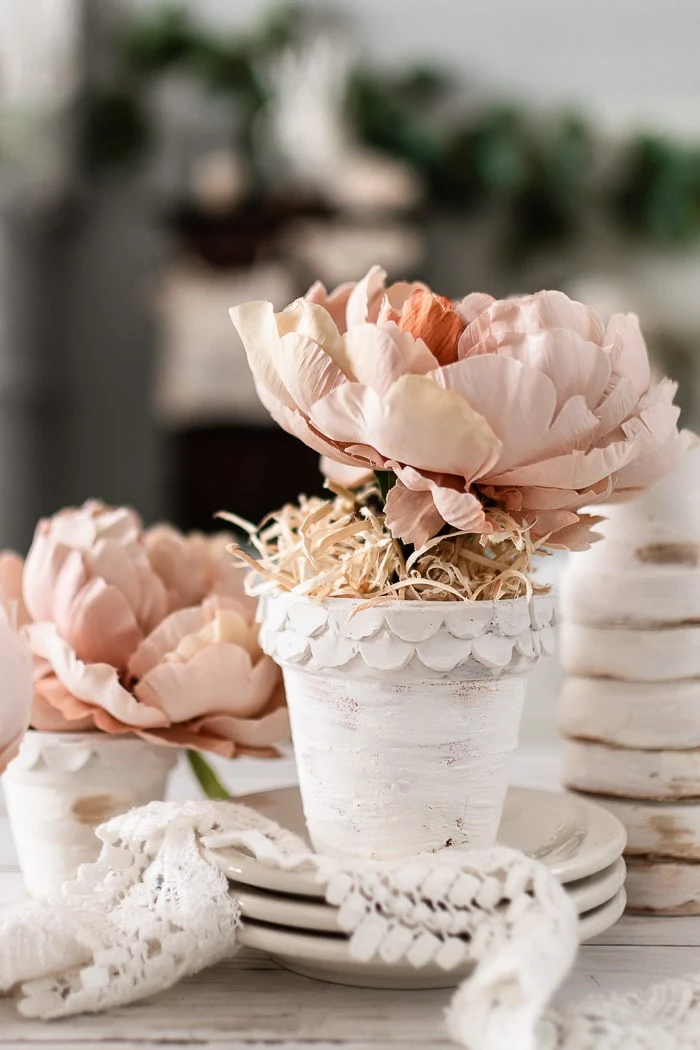
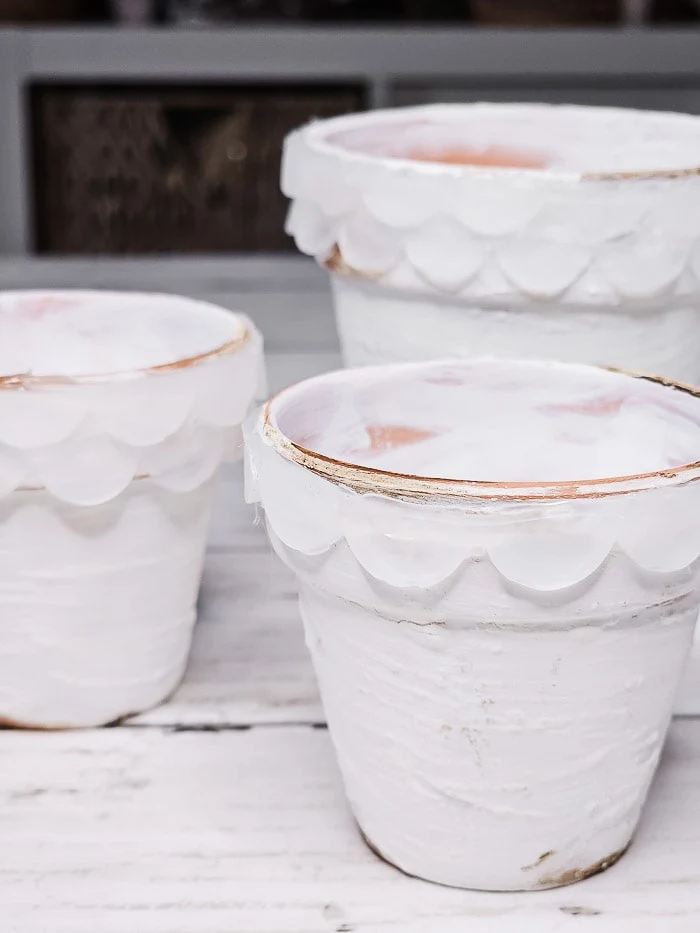
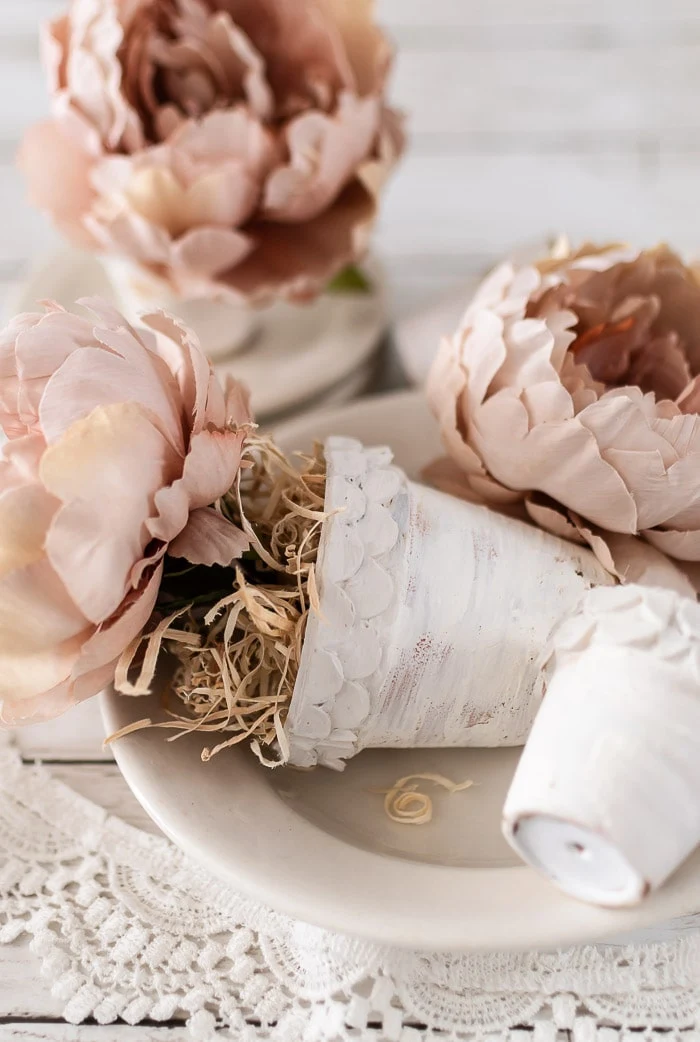
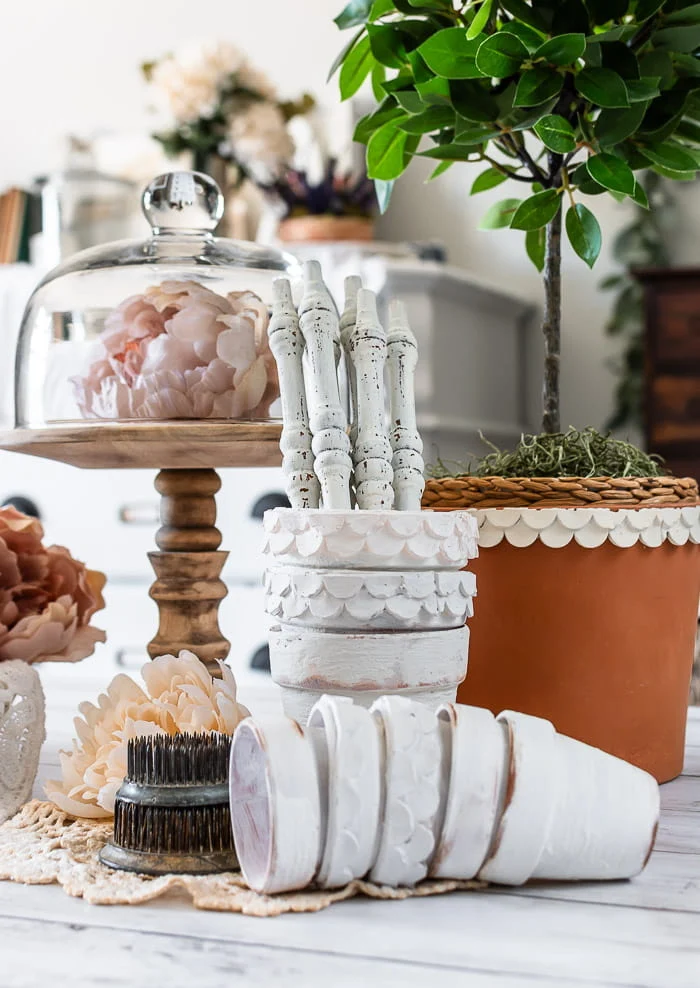
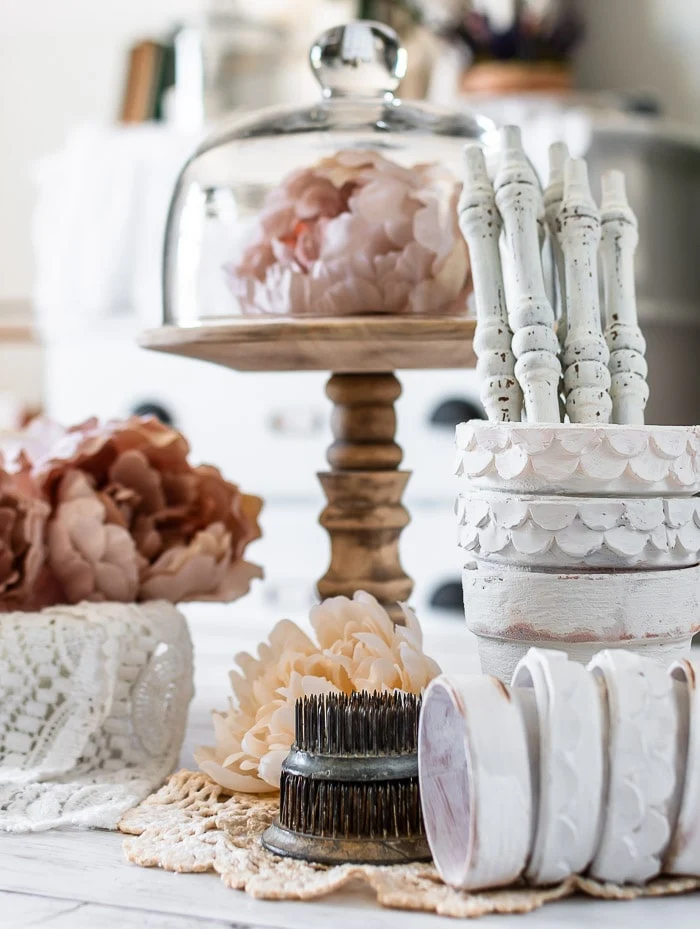
Here are a few pretty images before I share the tutorial. You can do a single scallop edge, or make it double or even triple, as you can see from the images below. I recommend starting with a single scallop border until you get the hang of it.
The steps are illustrated below, and you'll find additional tips and troubleshooting.
Step 1
Heat hot glue gun. When ready, start squeezing the melted glue into the mold. Work one scallop at a time and finish it before moving on.
Step 2
Let hot glue dry, then peel the scallop border from the mold. Once the glue is completely dry, it peels easily right out of the mold (you don't need to spray the mold or use anything to prevent sticking!)
Step 3
Cut cooled hot glue scallop border to size. Depending on the size of your flower pot's rim, you will need to make additional scallop borders.
Step 4
Hot glue scallop border to edge of flower pot.
Step 5
Embrace the imperfections, holes, bubbles. Here are the scalloped edges unpainted.
Step 6
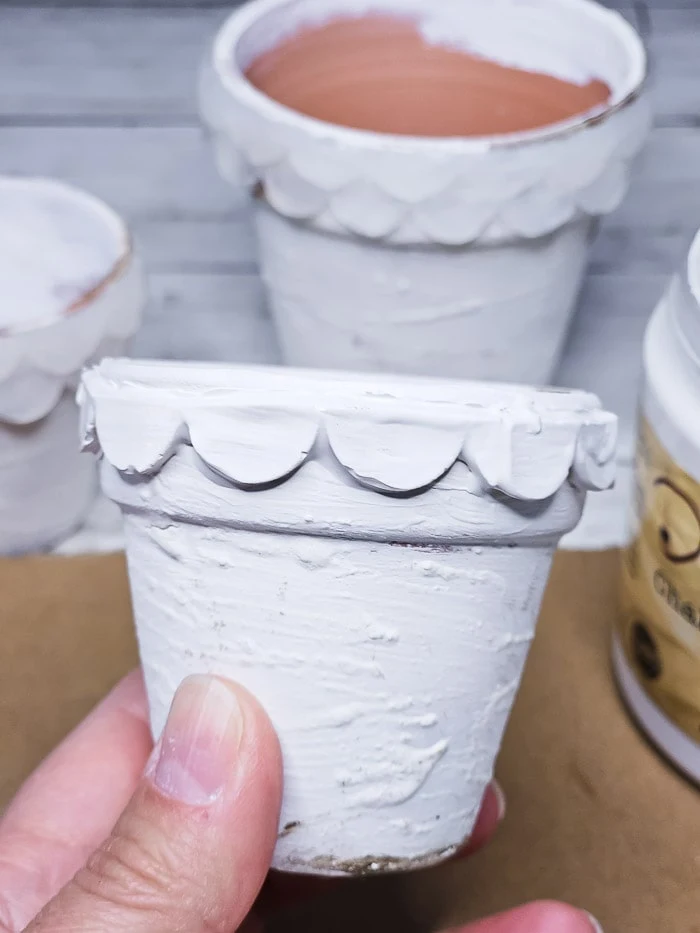
Paint scallop edge with chalk paint. Two coats should cover fully.
This close up below shows the imperfections in the scallop edge. Rather than be frustrated that they're not perfect, just go with it! It adds to the rustic, earthy nature. It definitely helps if your pots are textured and rustic, then the imperfections really just blend in. You can see how I textured my terracotta flower pots with this tutorial using baking powder and paint.
Tips for success:
- work one scallop at a time and make sure each one is filled with hot glue before moving on
- use the tip of the glue gun to work out air bubbles as you go
- try to keep the glue contained within the mold
- go slowly and have lots of hot glue sticks ready to go
I added painted scallop trim to a terracotta pot in its original clay finish so you could see how it looks. I love the contrast, it's so vibrant and those scallops just pop!
Pin to Save
Similar posts you may enjoy:
bringing beauty to the ordinary,

-min.jpg)


Oh my gosh, those are just SO sweet! I have seen people use hot glue in molds and have been wanting to try it too. It worked beautifully on your pots :)
ReplyDeleteThanks Tania, I'm loving how they turned out!
DeleteMy goodness those are the cutest things! I have always loved scallops. Thank you for sharing them with us on Farmhouse Friday. Featuring them tomorrow. pinned
ReplyDeleteThanks Cindy, I can't get enough of scallops right now!
DeleteHot glue? Genius! You really upscaled a plain terra cotta pot with these adorable scalloped edges!
ReplyDeleteThanks Donna, they're so very easy to do!
DeleteHello thank you for the inspiration. I was wondering how the scalloped glue hold up in hot weather and wondering if the paint help to keep from melting or falling off of the pot? Thank you for taking the time to answer.
ReplyDeleteHi Leslie, I wouldn't recommend this project for outdoor pots as I don't think they would hold up in the weather. Mine are months old and are holding up just fine inside! Hope you try it!
Delete