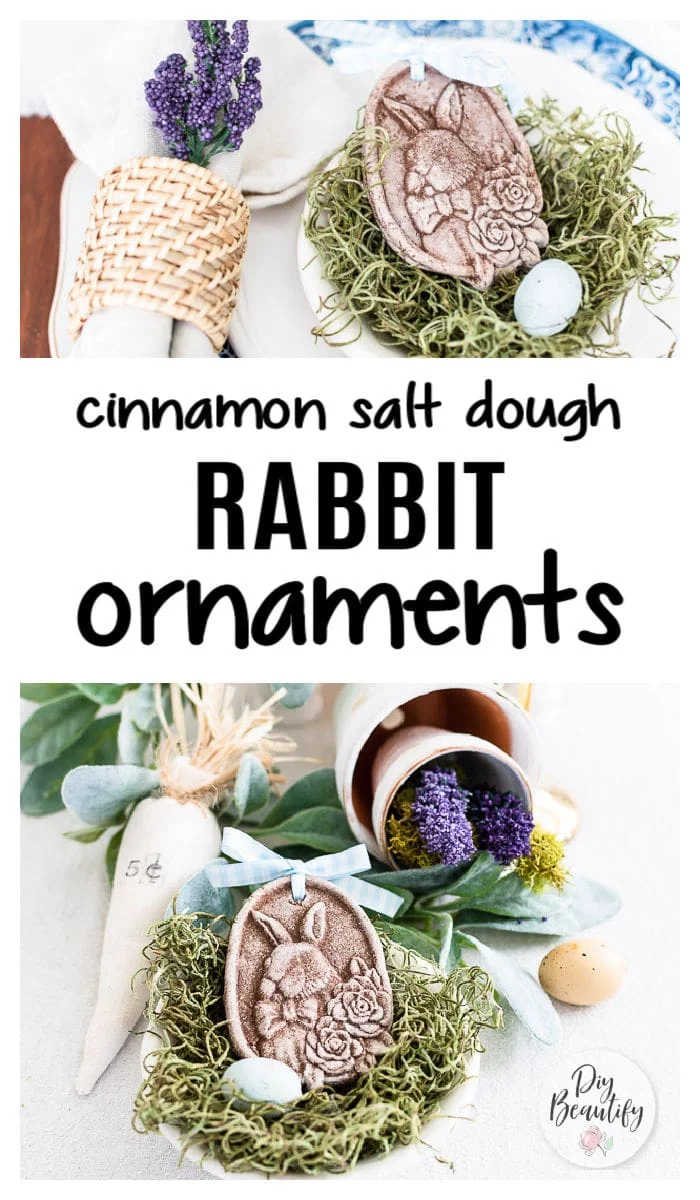
Salt Dough Rabbit Ornaments for Spring
Make these adorable rabbit ornaments for Spring using salt dough and cinnamon for a vintage look. They're a great table decorating idea, Easter filler or gift!
This post may contain Amazon or other affiliate links. As an Amazon
affiliate I earn from qualifying purchases.
My full disclosure policy can be found here.
Hello sweet friend!
Are you dreaming about Spring? I have started decorating my home and it's
always fun to unpack the bunnies and eggs!
It's Thrifty Style Team again, when I join several blogging buddies to share
our budget-friendly home decor ideas with you! It's a bittersweet month as we
lost two dear friends from this group, Paula from
Virginia Sweet Pea
to cancer just a couple weeks ago, as well as Michelle from
The Painted Hinge. We will miss our talented friends and think of them often ❤❤
Salt dough rabbit molds
Have you ever made salt dough before? I shared some fun ideas for Valentines Day, making two different heart garlands for my mantel. Salt dough is so easy to make, it's just flour, salt and water! It mixes up just like cookie dough and is easy to roll out and cut out with cookie cutters.
Today I'm spicing it up...literally! I was so inspired by
Miss Mustard Seed's gingerbread salt dough ornaments
at Christmas. The addition of cinnamon gives the salt dough more of a vintage
look, and it smells amazing too! I didn't add as much cinnamon as MMS did, but
the dough still smells amazing and is easy to work with.
I bought the cutest
wood rabbit mold on Amazon
to make some Spring decor and thought I would share all the details with you
today. There are definitely some tips I'll share to ensure you have success if
you try this at home.
First of all, here are the ingredients you'll need for a batch of cinnamon
salt dough.
Cinnamon Salt Dough Ingredients
- 1-1/4 cup all purpose flour
- 1/2 cup table salt
- 1/2 cup ground cinnamon
- 3/4-1 cup room temp water
Mix the dry ingredients together, add the wet and mix until it just comes
together (you don't want crumbly dough so add a little more water if
needed). Knead the dough for a couple minutes on a floured surface until
it's a smooth ball. See more detailed steps and pictures
here.
How to make salt dough rabbit molds
The first time I tried pressing the salt dough into my wood mold, it was stuck
bad! I had to pick out the dough little by little.
Tips for success
I found that a
stiff kitchen brush
was much better than my fingers to clean the wood mold! I also found that
dusting the mold with flour
before I pressed the dough into it helped the dough to release much
easier.
Once the molds are completely cooled and dry, it's time to decorate!
I threaded some
blue gingham ribbon
and lace through the holes of my rabbit molds and used them on my Spring
dining table. I used a wooden dowel to poke the ribbon through the hole. I
also had a small piece of
blue velvet ribbon
left, and it was just enough to make two small bows. A little button finishes
it off.
I'll be sharing the full reveal and details of my table soon, but here are a
few sneek peeks and ideas for how to decorate with the rabbit molds!
Ideas for decorating with rabbit molds
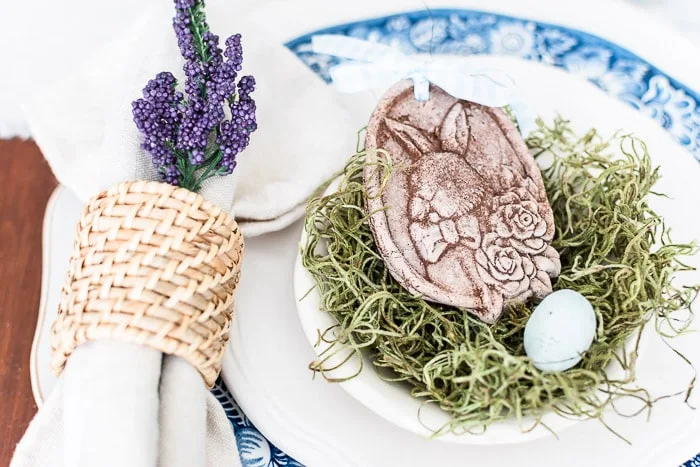
Layer the cookie molds in a nest of moss with robin's eggs.
Add the rabbit molds to a small bowl (like this ironstone pudding bowl) as
decor. You can see a peek below at the
air dry clay mushrooms with polka dots
I made last week.
Place a rabbit mold at each place setting, either in a nest or bowl, and
accent with a mini egg.
Other ideas
- hang rabbit ornaments from an Easter tree
- make them with cookie dough as edible ornaments
- brush the cookies with a little chocolate to make chocolate bunnies
- attach them to Easter gift bags for teachers, friends, etc
- make ornaments using regular salt dough and paint them with watercolors
I would love to know if you're inspired to try making your own wood mold
decor and ornaments for Spring! Let me know in the comments!
Pin it to remember!
Please visit the rest of the Thrifty Style Team projects by clicking on the
links below! I know you'll be inspired 🌷
Redhead Can Decorate -
3 Simple No-Sew Home Decorating Ideas Using Fabric
Our Crafty Mom -
Bumble Bee Craft Spring Floral Mason Jar
DIY Beautify -
you are here
Postcard From the Ridge -
3D Paper Egg Ornaments
2 Bees in a Pod -
Stamped Eggs for Spring
Vinyet Etc -
Thrifty Vintage Planters Springtime Plants
The Tattered Pew -
5 Thrifty, Chic and Simple Spring DIY Projects
Lora Bloomquist -
7 Ideas for Decorating the Tops of Armoires and Bookcases
My Family Thyme -
Easy Side Table Makeover with Fusion Mineral Paint
Cottage on Bunker Hill -
Magnolia Inspired Antique Brass Planter
The How-to Home -
DIY Hand Stamped Napkins
Songbird -
Easy Fresh Flower Spring Wreath
Amy Sadler Designs -
Easy DIY French Country Table Runner
You may also like these Spring projects
Happy almost Spring!


These are so lovely and totally have a vintage vibe, Cindy! The detail is amazing. I haven't made salt dough since I was probably in my early 20's or late teens so I need to revisit this crafty experience. Thank you so much for the inspiration dear friend. xo
ReplyDeleteCindy, these are so beautiful! They look like antique pieces with the cinnamon that you added. Perfect for your spring vignettes!
ReplyDeleteThanks so much Angie! I thought they looked vintage too...which makes me love them even more! ;)
DeleteThese are brilliant! Do you think I could use air dry clay for the same project?
ReplyDeleteThank you! I really don't see why not.
DeleteAlso, I usually order from Amazon.ca. I thought I would mention it so you could get your commission from your Canadian fans. It seems a shame for you to miss out. Just a thought.
ReplyDeleteThanks, that's so sweet! I think even if you link to Amazon from my site and then switch to Amazon.ca I still get commissions. Not sure on that though.
DeleteI just can't...these are so pretty and your styling is perfect! I really love this project.
ReplyDeleteaww, thanks for that great compliment Jennifer!
DeleteWow! Cindy, these are beautiful! I am inspired to give these a try! Thank you for sharing!
ReplyDeleteThanks so much Lynne, I hope you enjoy making your own version!
DeleteThese bunny ornaments, are so adorable, Cindy! I made a "salt map" in 2nd grade of the state of Maine...I bet kiddos would love this project.
ReplyDeleteThanks Julie, I remember doing something with salt dough as a kid...I think I remember "sampling" the dough haha ;) Yes, this would be fun to do with kiddos!
DeleteI LOVE your salt dough ornaments, they are simply adorable! I seriously have to try to make them. I LOVE that you've added cinnamon, the colour is perfection!
ReplyDeleteThanks so much Laurie, I'm so happy with how they turned out! Send me a pic when you make some! ;)
DeleteThese turned out just beautifully, Cindy! They totally look vintage with the cinnamon. I've never used wood molds before; didn't know they were so readily available. Now you've got me thinking...
ReplyDeleteThanks Lora, you will love crafting with them!
DeleteCindy, these are simply stunning. I definitely want to try this project especially with the cinnamon. I love love the vintage look at creates. thank you so much for sharing your talent with us happy Spring! Michelle
ReplyDeleteI'm so glad you like them Michelle, it's always fun when a project turns out better than you expected! Happy Spring!
DeleteI love your rabbit ornaments Cindy and can't wait to try them out. I guess I'm on the hunt for cookie molds now! Pinning!
ReplyDelete