How to Make Faux Antique Ironstone Broody Eggs
An easy tutorial to make faux antique ironstone broody eggs using clay and craft paint. Pair with antique ironstone or stacks of white dishes for a vintage look in your home all year long!
This post may contain Amazon or other affiliate links. As an Amazon
affiliate I earn from qualifying purchases.
My full disclosure policy can be found here.
I have been collecting vintage and antique white ironstone for over a decade
and have amassed quite a collection. I have antique ironstone plates, bowls,
casserole dishes, butter pats and even French escargot pots! I love to
decorate with my vintage dishes and find uses for them all around my home.
One ironstone item that I've been seeing a lot of lately are antique broody
eggs.
What are ironstone broody eggs?
Broody hens are ones who feel the desire to 'nest', or sit on their eggs until they hatch. They often stop producing eggs and can become aggressive. Not every hen will become broody in her lifetime, but those that do are fiercely protective of their nests.
Ironstone eggs were also called
training eggs, and were used to encourage hens to produce more eggs. As
long as there was an egg or two in their nest, the hens would keep producing.
Antique ironstone 'broody' eggs date to the early 1900's, and just like the
antique advertising jars that everyone is collecting, they are being dug out
of dumpsites in France and England and sold to collectors.
Are broody eggs still used today?
Egg producers have come up with more modern methods to discourage hens from
becoming broody. Things like keeping the nest cool, removing the nesting
material, and blocking off the nest box are modern methods used to fool hens
into thinking they're not broody.
Because the ironstone eggs are no longer used or produced, they have become
extremely valuable and can sell for up to $50 for a single egg!
Getting the look for less
I learned to be frugal at a young age, and while I will occasionally splurge
on something I really want, I knew there had to be a cheaper way to acquire
some ironstone eggs to add to my collection of vintage and antique ironstone.
My faux ironstone eggs are affordable, look authentic and fit seamlessly
with my authentic ironstone pieces!
I was able to make a dozen faux ironstone eggs for $0, using supplies I had
already. Even if you need to purchase all the supplies, you won't spend more
than $20 for a set of eggs!
How to make faux antique ironstone broody eggs
There is a lot of variety in the authentic ironstone eggs, so I knew I had
some room to play with. I think the real trick to making my faux eggs look
like real ironstone is the porcelain ironstone finish that I achieved using
one very special product! Keep reading for details.
Supplies
- plastic craft eggs*
- air dry clay (I used both DAS as well as Crayola Model Magic and will share my results below as well as which one I prefer for this project)
- antique white chalk paint (I used this color, which was the perfect color)
- variety of brown, gray and black acrylic paint
- craft brush with loose bristles**
- Triple Thick Gloss Glaze by DecoArt
- brush
- rolling pin
- cutting mat, parchment paper, or surface to roll out clay
- glass of water
* you could probably also use wooden eggs or the smooth Styrofoam, but I
can't guarantee the results
** you know that brush that you've abused and the bristles are all splayed and
wonky? that's the one you want!
Let's make some faux ironstone broody eggs, it's so easy! The steps are each
described below and I've included images below so you can see more detail.
Steps to make faux ironstone broody eggs
Roll out clay
Using a flat surface, roll a small piece of clay out as thin as possible with
a rolling pin.
Cover egg
Set plastic egg in middle of clay and wrap the clay around it. Use your
fingers to gently pull and pinch the clay to seal it around the egg.
Smooth clay
Roll the clay between your hands to smooth any thicker areas or bumps. If you
get any air bubbles, pop them with a pin. A few cracks are okay, they will dry
to resemble the crazing and cracks often found in antique ironstone, but if
you get any large cracks in the clay, dip your finger in water and smooth
water onto the cracks until they disappear.
Dry eggs
Set eggs aside to dry overnight. Air dry clay takes about 24 hours to fully
dry. If you used the DAS clay, it will turn from gray to white. You can rotate
them halfway so both sides dry evenly.
Paint eggs
Use an antique white chalk paint to give eggs a coat of paint. Set aside to
dry or use a
heat tool
to speed up dry time.
Add antique looking flecks (faux aging) to eggs
Squeeze out very small amounts of craft paint onto a disposable plate or piece
of waxed paper. Using that old craft brush with the splayed bristles, take a
tiny bit of paint on brush and dab most of it off on a piece of paper towel or
paper plate. Dab flecks onto eggs to give an authentic antique look.
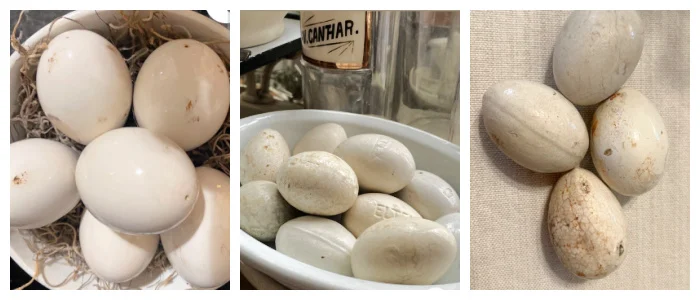
After looking at pictures of real antique ironstone broody eggs, I saw that
each one was different and tried to replicate that with my faux ironstone
eggs. Some got a little more flecking, the colors varied, and I made each look
slightly different.
The secret ingredient
I love a project that has a secret ingredient, or magical moment when it all
comes together! For these faux antique ironstone eggs, that product is the
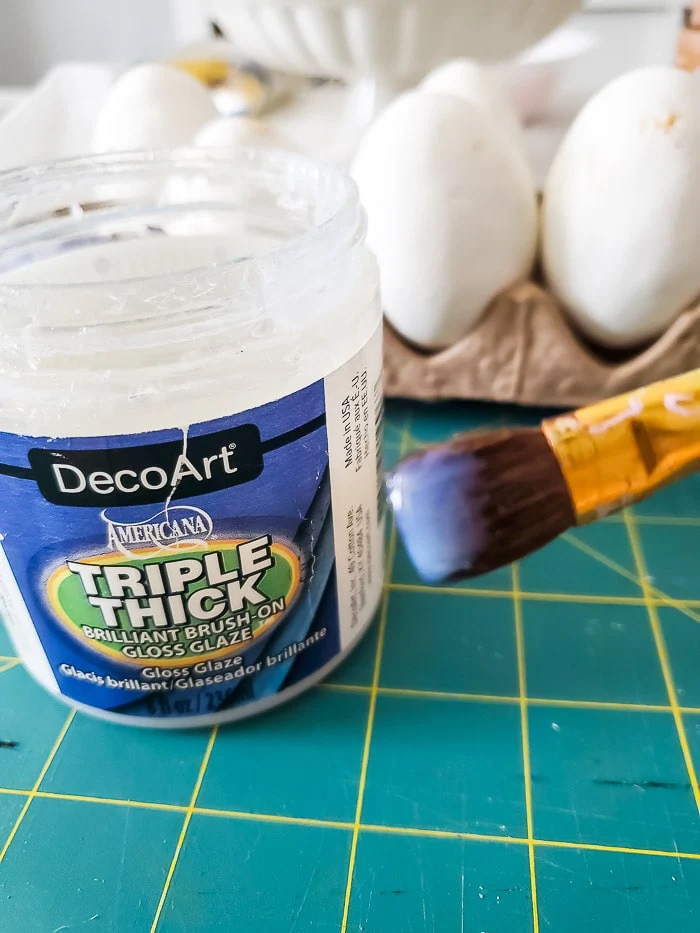
Triple Thick Gloss Glaze. It will magically transform nearly anything with a shiny porcelain finish.
I've used the
spray version
of this product to make
high gloss porcelain pumpkins,
clay mushrooms with shiny polka dot caps, and
glossy Christmas decor.
I brushed on a single coat of the gloss glaze, focusing on the top halves of
the eggs first, setting them to dry, then finishing with the bottom halves.
Once they dried, I had so much fun styling these faux ironstone eggs with my
Spring decor! But before I show you more pretty pictures, I want to share the
Pros and Cons of working with each type of clay so you can decide which one
you'd prefer to use.
Cons: The air dry clay is messy to work with and more of a wet clayPro: The model magic is a dream to work with, no mess
Cons: The model magic is so lightweight that the finished eggs are extremely lightweightPro: The air dry clay dries to a hard, cement-like finish and the eggs are much heavier, giving them more of an authentic ironstone feel
Cons: The model magic is white and a little spongy, so it can be hard to know when it's dryPro: However, you are able to paint the model magic covered eggs right away
I had so much fun styling my faux ironstone eggs and they look great with my
Spring decor. But I'm going to leave them out all year long with my ironstone
collection!
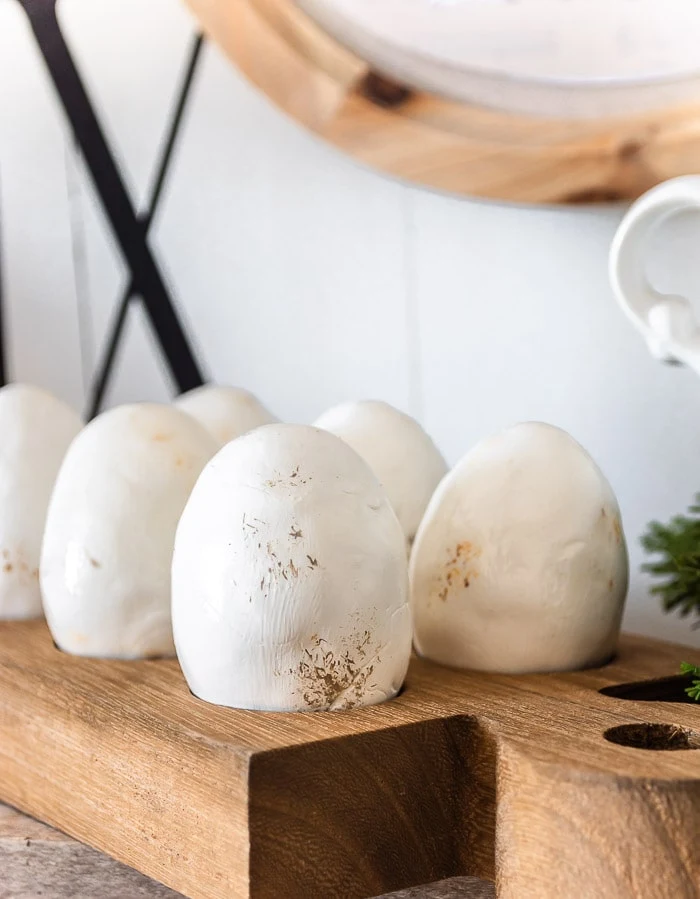
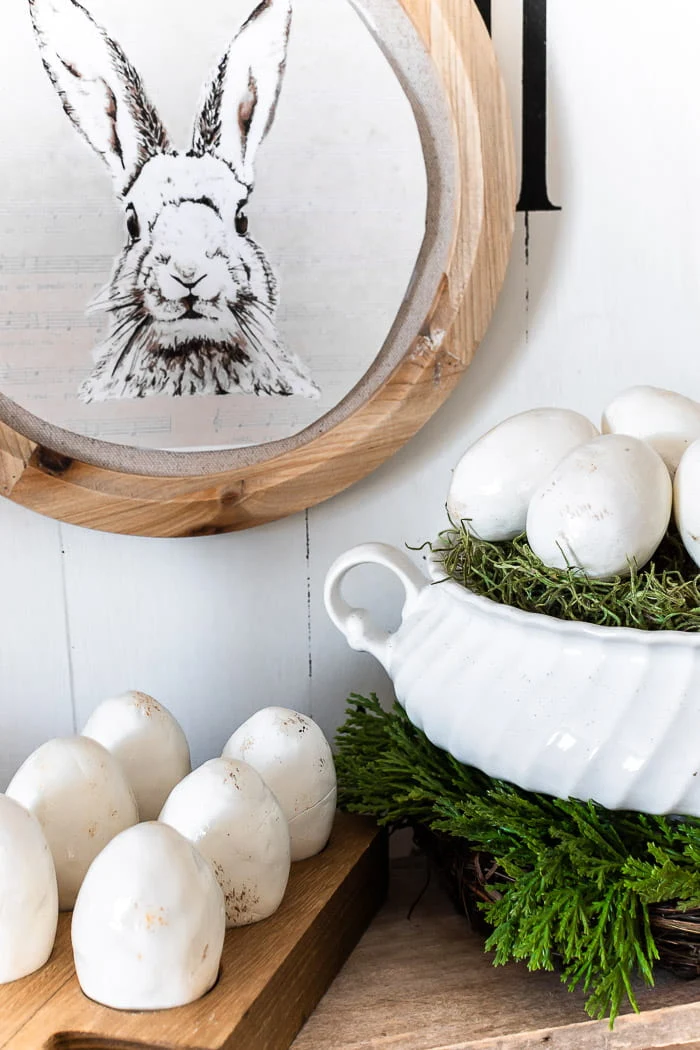
Look at that sheen! Pure vintage goodness!
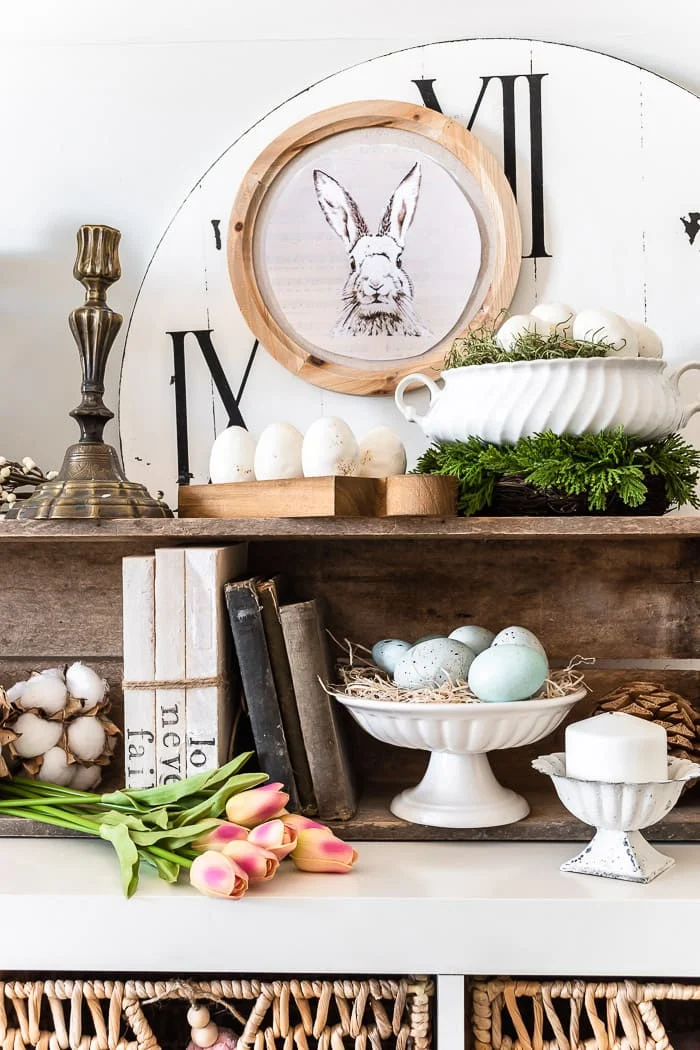
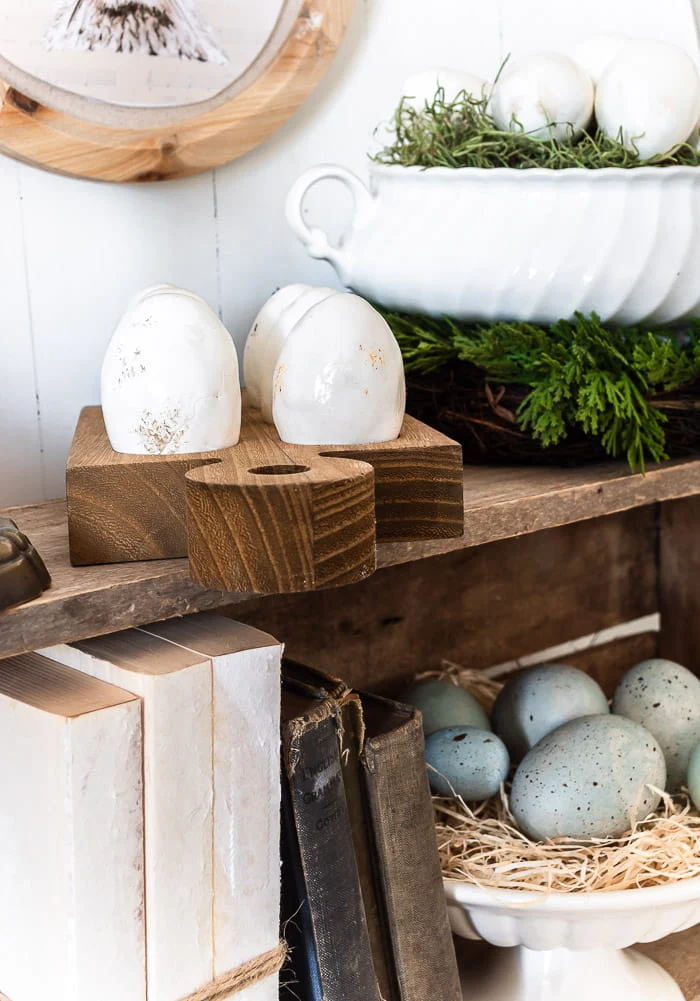
Here's a peek at the ironstone eggs in my primitive pine hutch in the dining
room, I'll be sharing more of this room very soon!
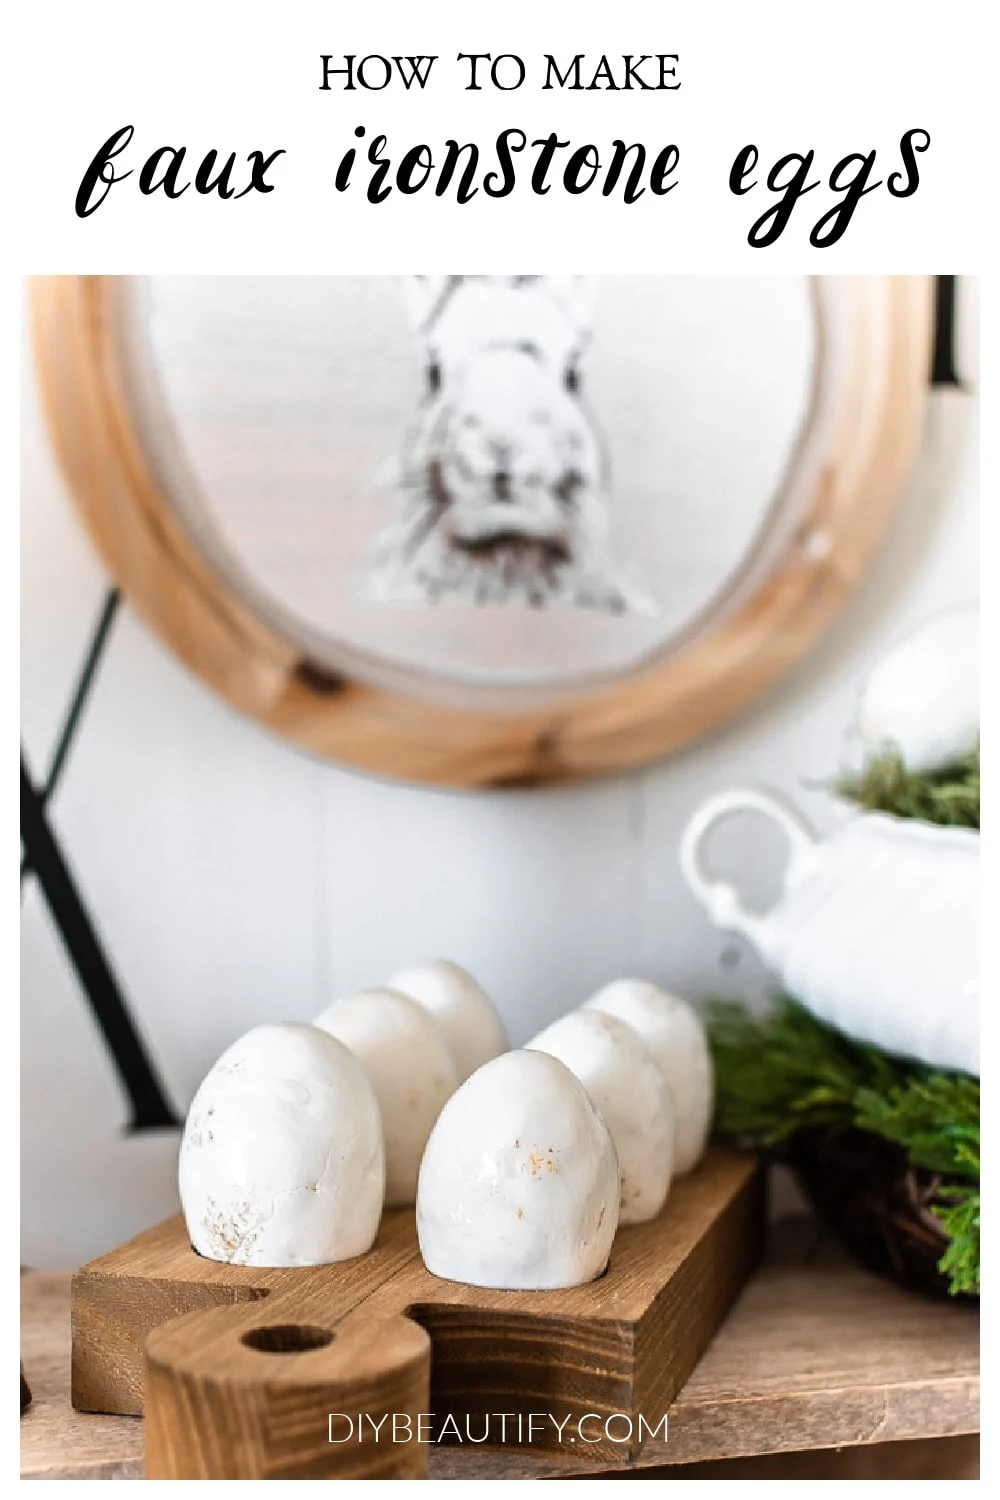
Pin to Save
Pinning and sharing my images is a great way to support my site, and allow
me to continue bringing you free crafts and DIYs! Thank you
❤
Looking for more DIY egg ideas? Check these out:
-
Easy Easter Egg Wreath
-
Salt Dough Rabbit Ornaments
-
How to Make Cottage Floral Eggs
-
DIY Antiqued Easter Eggs
-
6 Easter Egg Craft Ideas








This post was amazing, I had no idea what broody eggs are. We now live surrounded by farmers so I will have to ask around and see if it was practiced in Canada. I appreciate the knowledge you shared, and your Easter eggs are gorgeous.
ReplyDeleteI grew up in Canada so would love to know if ironstone broody eggs were a thing there too!
DeleteI love these! I learned something new about eggs and learned how to make a charming spring decor accent. They are truly unique and beautiful!
ReplyDeleteThanks Kim, happy to inspire you!
DeleteFaux ironstone?! Your eggs are so adorable! But you've opened up so many doors I don't know which one to walk through quite yet! haha So cool, Cindy!
ReplyDeleteThanks Donna, I know! Total game changer 😉
DeleteI love the broody eggs! Did you make the wooden egg crate too? Have any dimensions to create it?
ReplyDeleteThank you. I found the wood egg holder on clearance at Hobby Lobby!
Delete